— This article contains affiliate links —
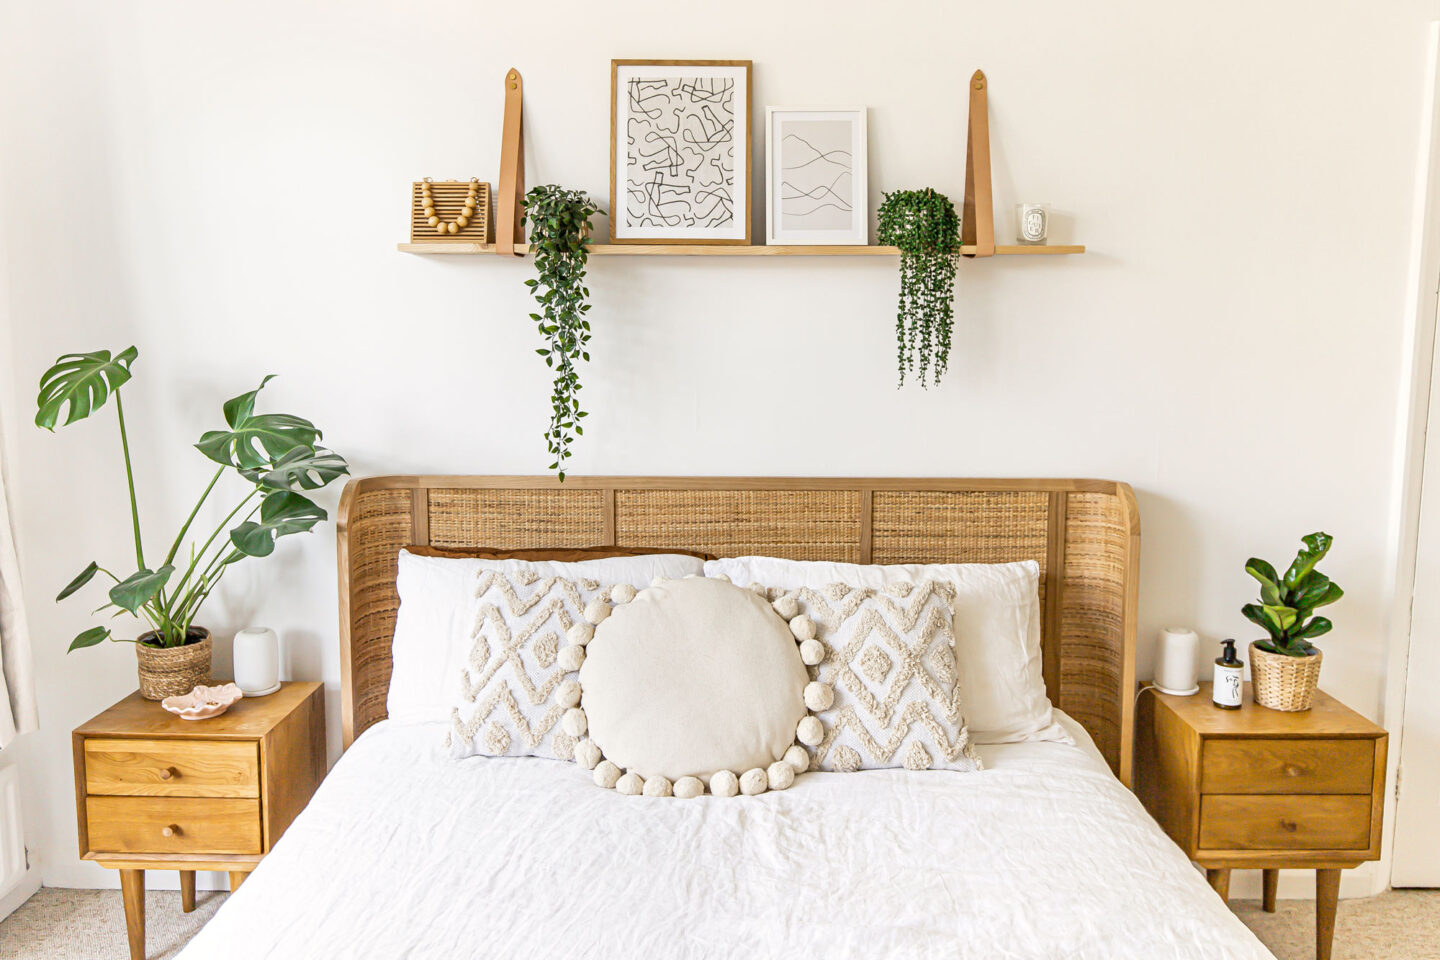
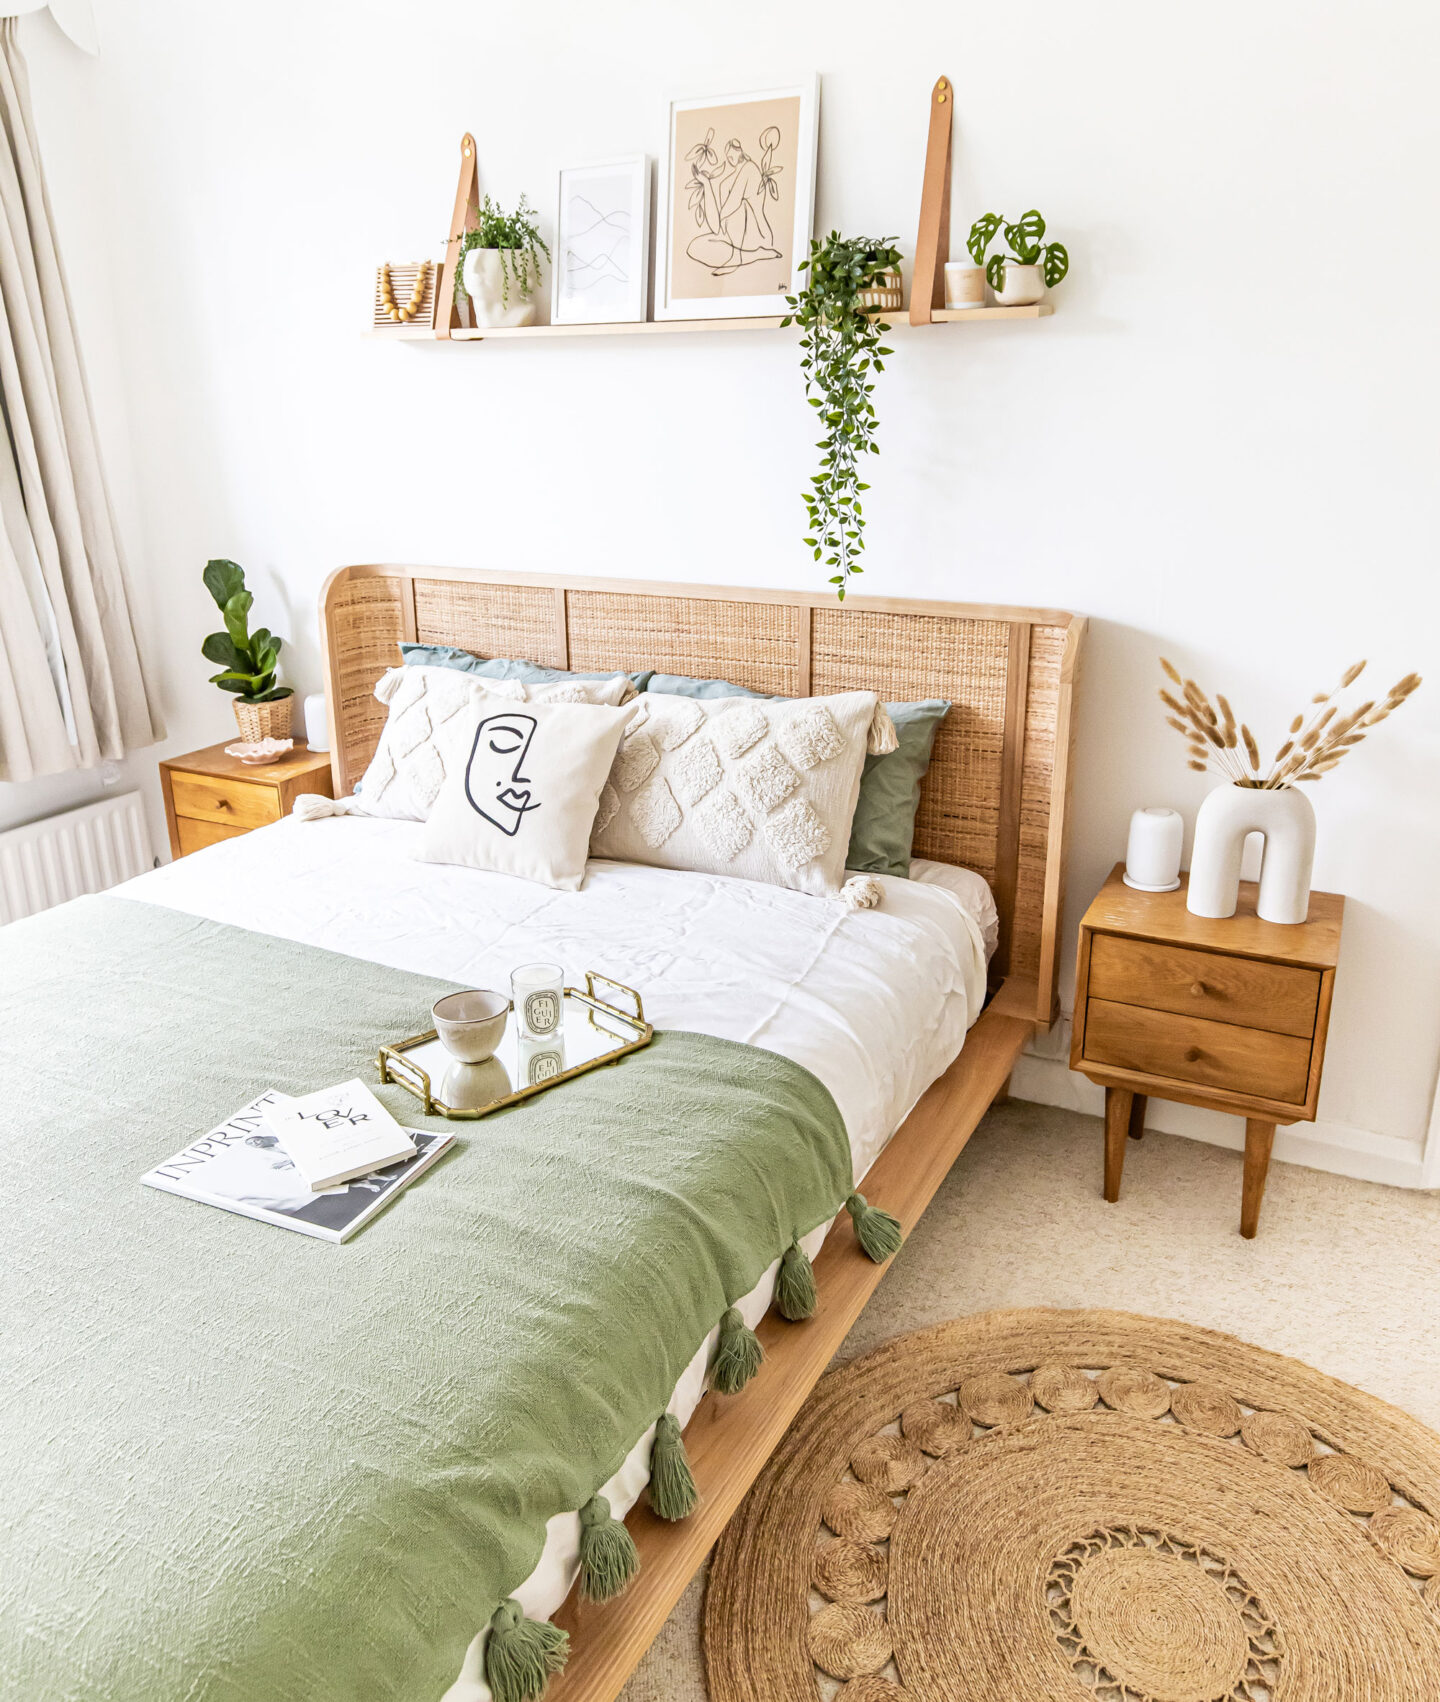
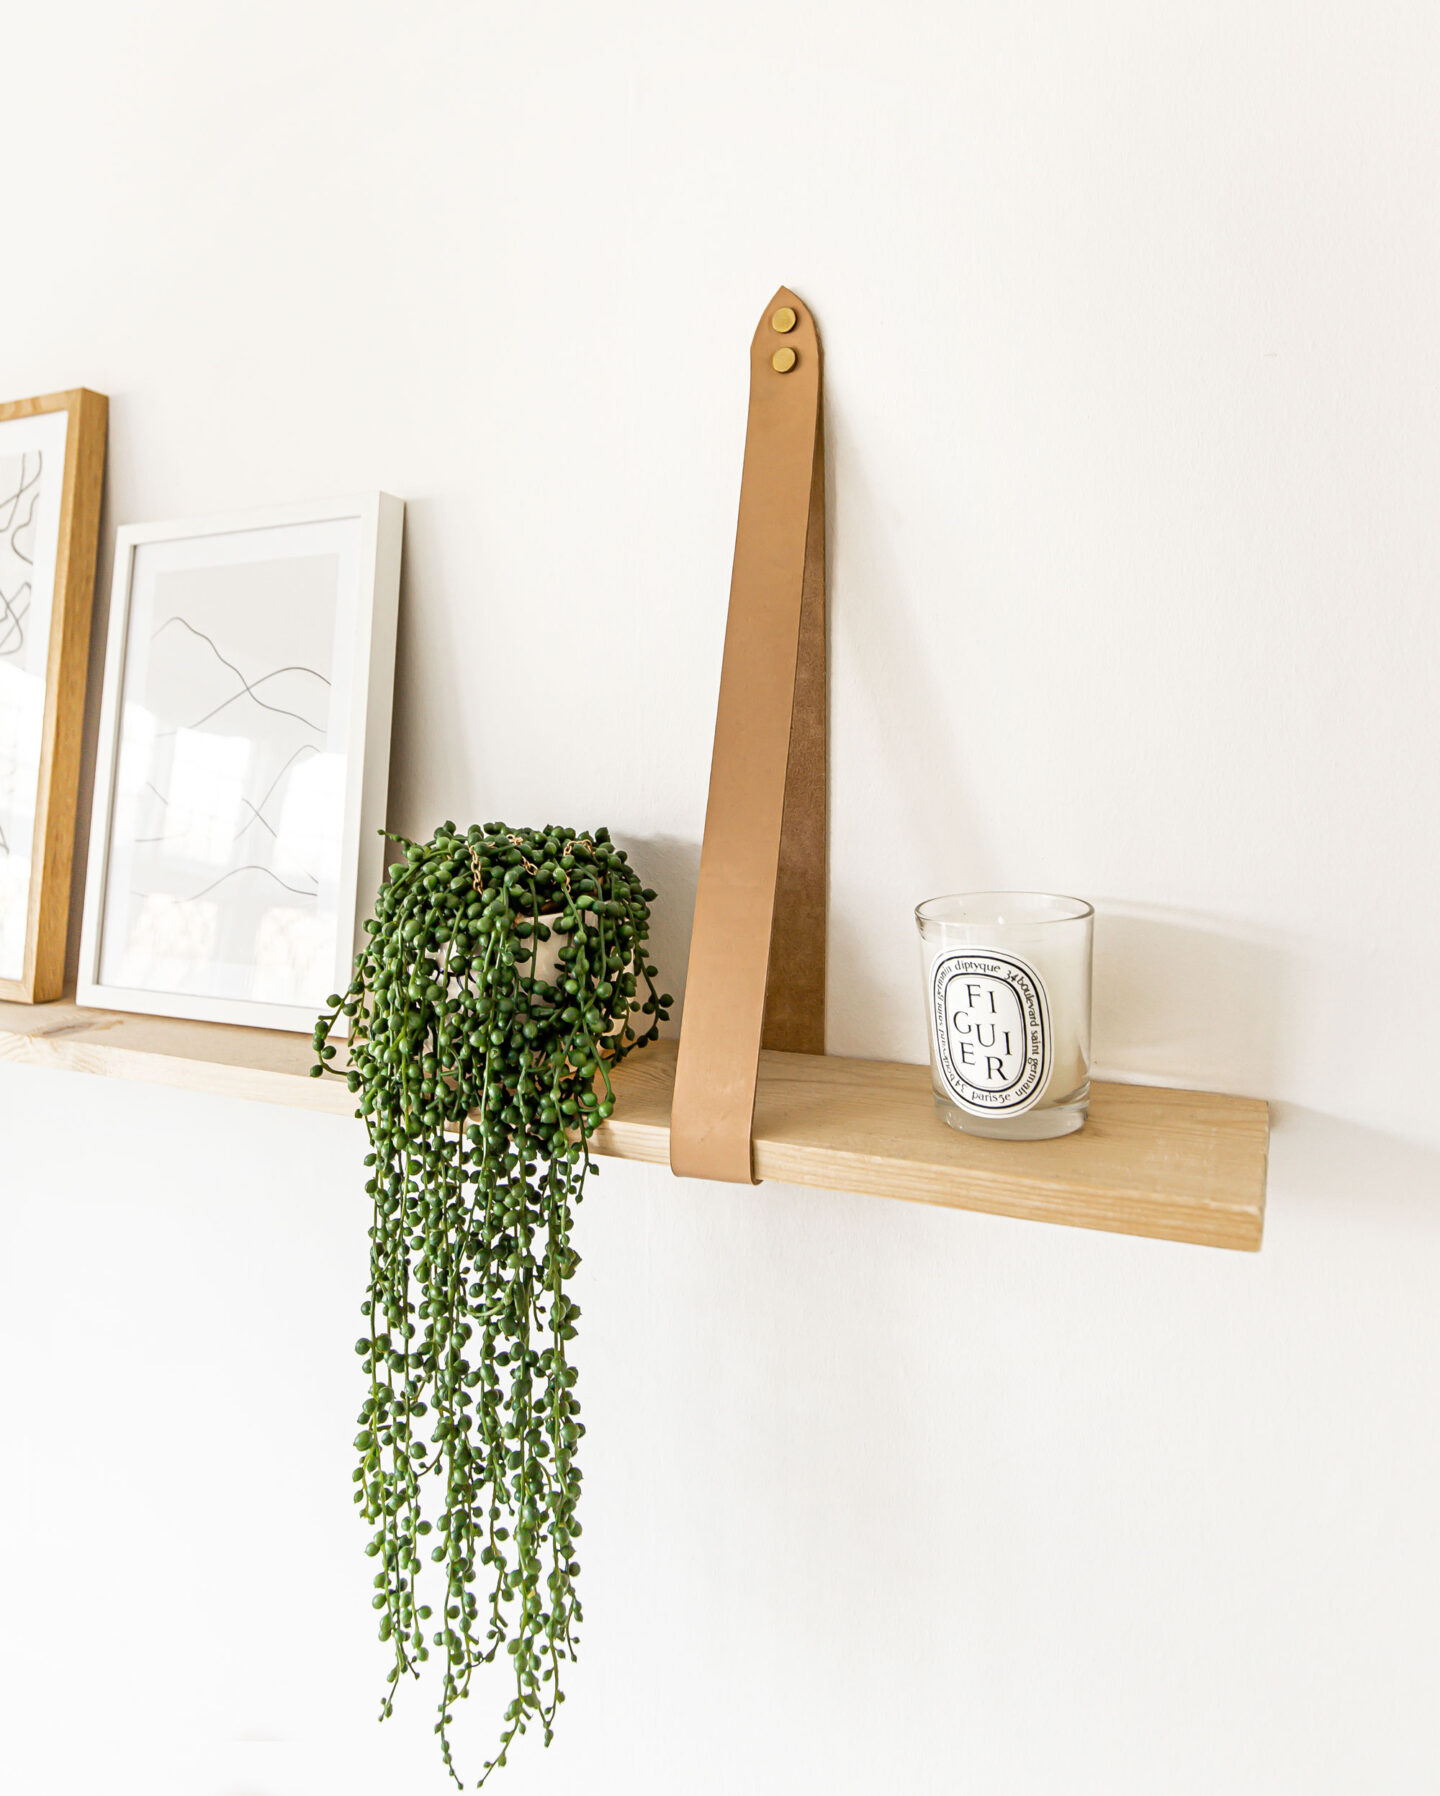
One of the first DIY projects we embarked on when we moved into our new home was this floating wooden shelf with leather straps. It’s a straight forward, affordable and fun piece of furniture to put together in the space two hours or less. You don’t need any woodworking experience or fancy tools either. However, if you really cannot be arsed (I’m not gonna judge you), here’s a link where you can buy a nearly identical ready-to-ship shelf.
If you’re like me and love an affordable DIY project, then read on and follow my step-by-step tutorial so you can build your very own stylish shelf from scratch. We bought all the materials from either B&Q, Homebase, Wickes or eBay (materials cost us £35 in total) – I’ve included a shopping list with links below.
DIY Shelf Tutorial:
WHAT YOU WILL NEED
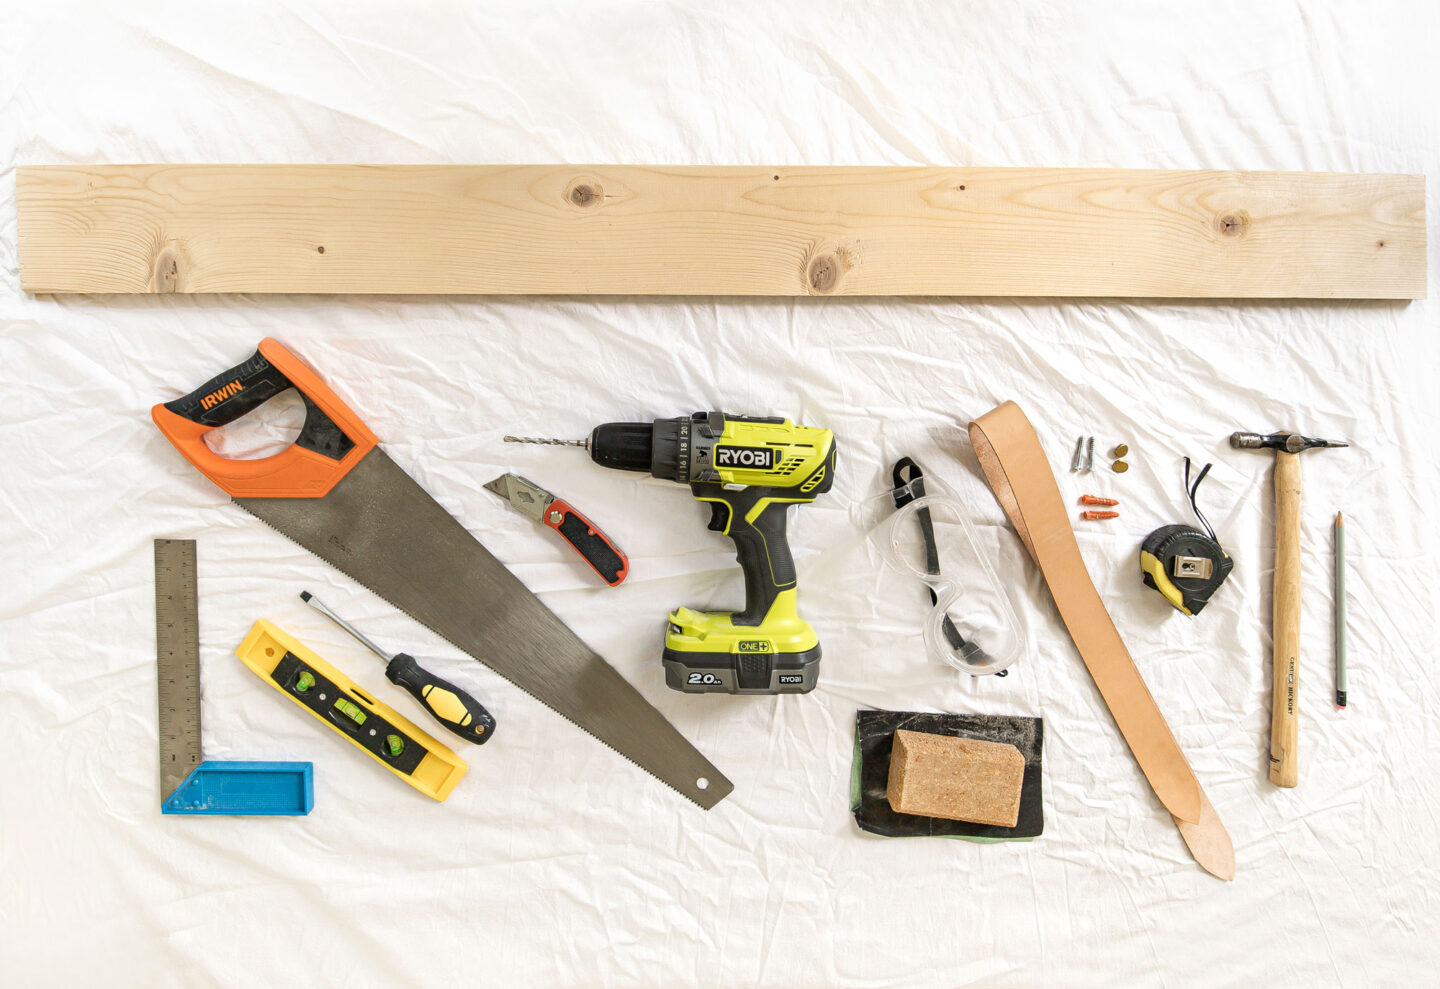
Tools & Materials Required
MATERIALS (Cost = £35)Smooth Square Edge Pine Stripwood
115mm (width) x 2m (length) x 16mm (thickness)
2 x Leather straps
40mm (width) x 140-160mm (length)
Colours: Natural (what we used)
Tan | Brown | Black
4 x Standard raw plugs
4 x Mirror Screws with gold cap
TOOLS
Hammer
Set square
Stanley Knife
Screw Driver
Spirit Level
Sand paper
Power drill
Standard Hand Saw
Dust sheet
Pencil
Instructions
Step 1 — Measure your space, drill points and wood
Looking at the wall that you’re going to put the shelf on, try and visualise a rectangular shape like the diagram below. Our total shelf area is 1.5m long and 416 mm in height.
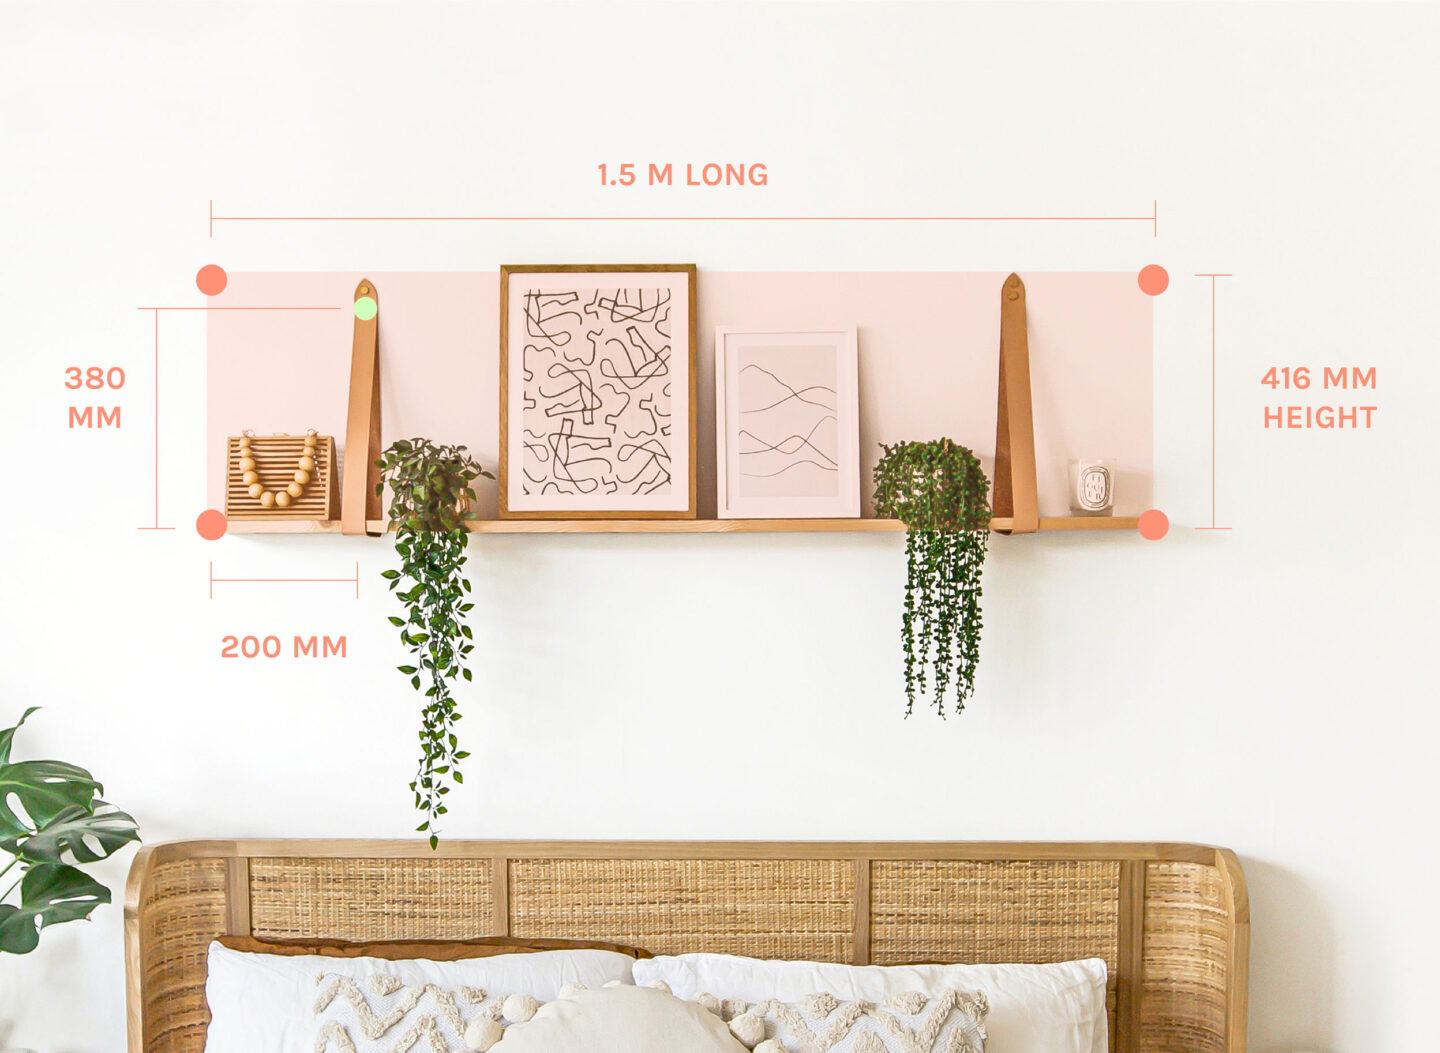
Mark the 4 corners of the rectangle (total shelf area) on your wall with a pencil (where the pink dots in the above diagram are positioned).
For the length of your leather shelf straps, ours measured 416mm from the top of the strap to the bottom of the shelf, however you can make yours as long or as short as you fancy. For the strap position, you can have them closer into the centre or the shelf or closer to the ends of the shelf. Our straps sit 200mm in from each end of the wood (see diagram above).
Mark your drill points
To hang this shelf using the leather straps, we are drilling 4 holes in total, 2 on each side. Now that you’ve decided where you want your straps to hang, measure 200mm across + 380mm up from the bottom line of the shelf and make a mark with your pencil. This is your bottom drill point – where the green dot is in the diagram above.
Then from this mark, measure another 25mm up from this point (the green dot) and put another mark. This is your top drill point. Complete this step on the other side.
Cut your shelf to length
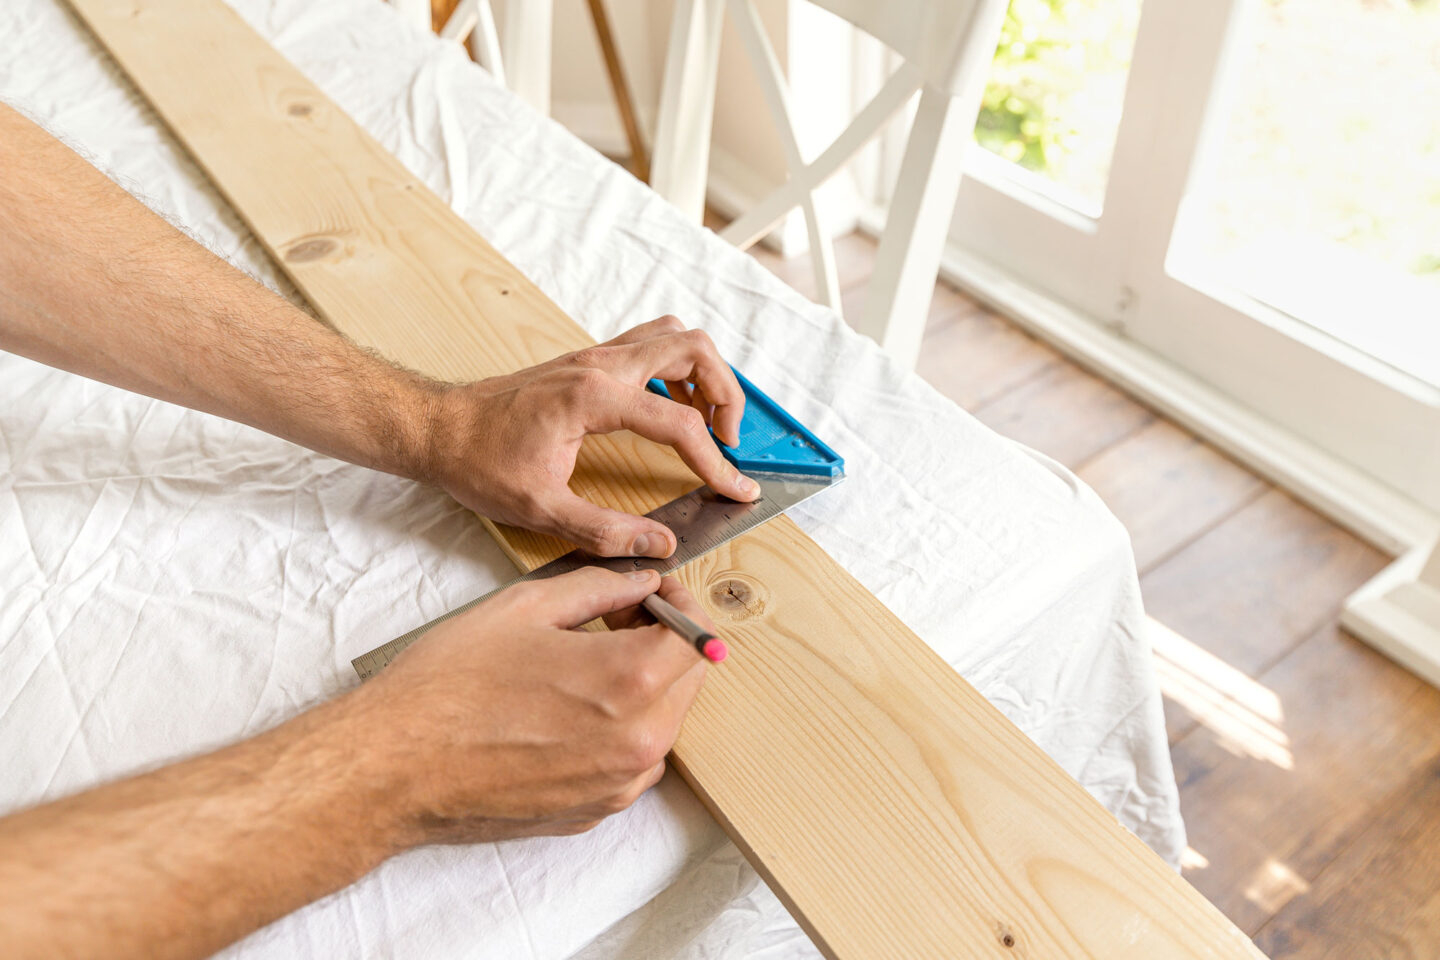
Lastly, measure up the length you want your shelf to be with a tape measure and then mark this distance with a pencil on your Pine wood. Then using a set square on your pencil mark, draw a cutting line across the width of the shelf. We cut our wood down to 1.5m long.
Step 2 — Drill holes in wall
I recommended that you check if there’s likely to be any wiring in the wall you’re drilling into. Generally, you shouldn’t drill above or below any light switches or electrical sockets. You can check for wires using a wire detector.
If the wall is clear, then select a small masonry drill bit (if you’re drilling into a brick wall) and make an initial hole with your drill, making sure to gradually increase the speed of the drill and the pressure you apply. After you’ve made the initial small hole, then select a slightly larger drill bit and using the first hole as a guide, drill through it. Then tap in your raw plugs with your hammer. Complete this for all 4 holes.
Step 3 — Cut your shelf to length
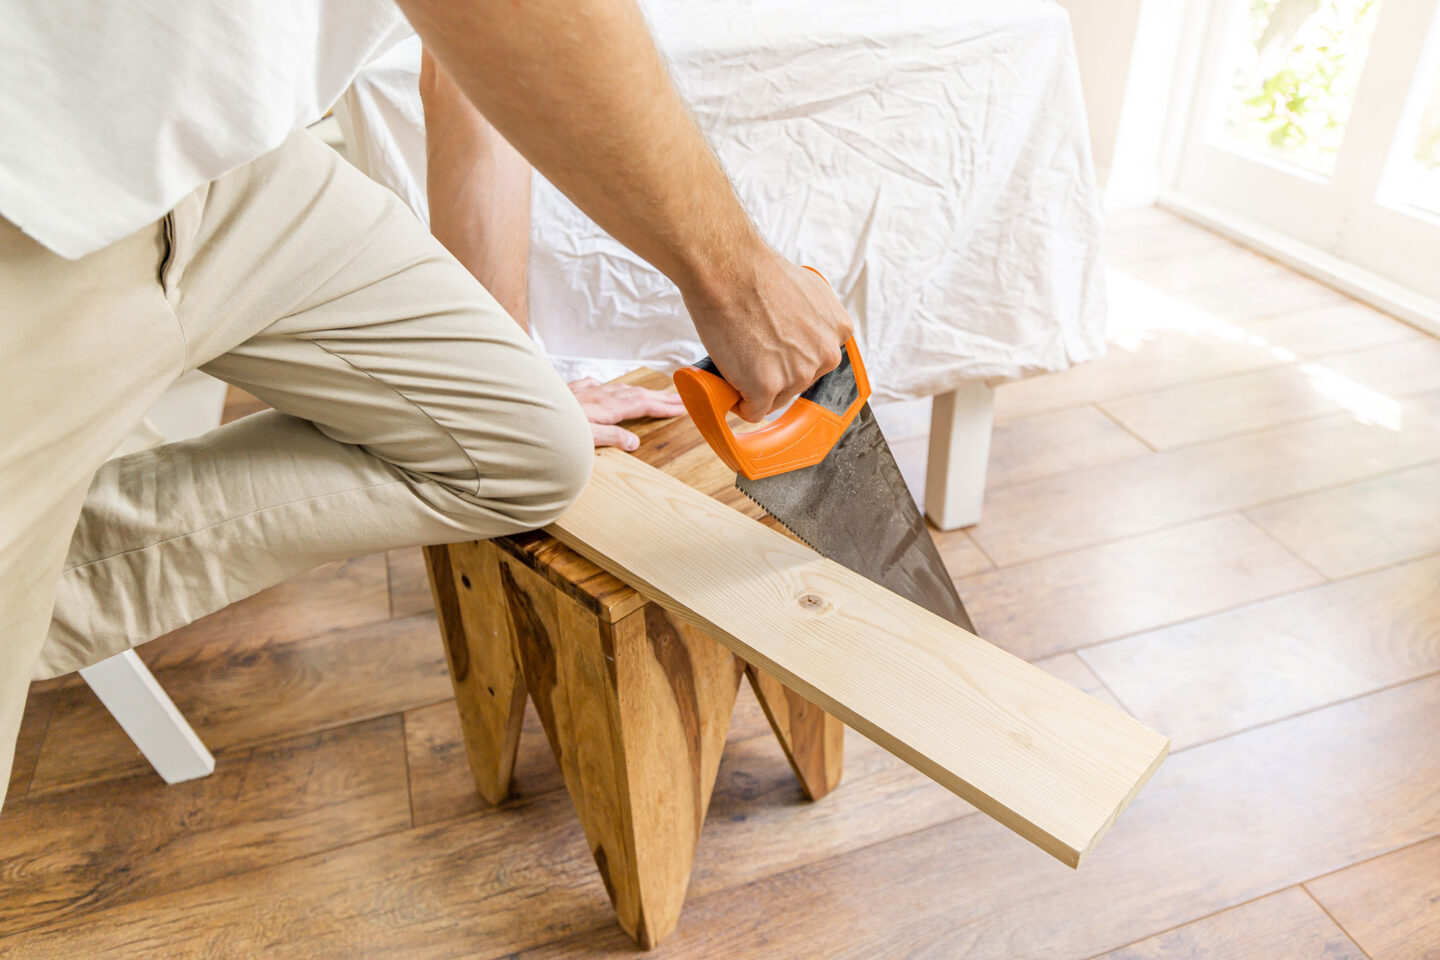
Using a hand saw, cut your wood to your desired length. Place your board on a solid platform and weigh it down whilst cutting. Then sand down the edge of your cut with sandpaper so it’s super smooth.
Step 4 — Cut the leather straps to length
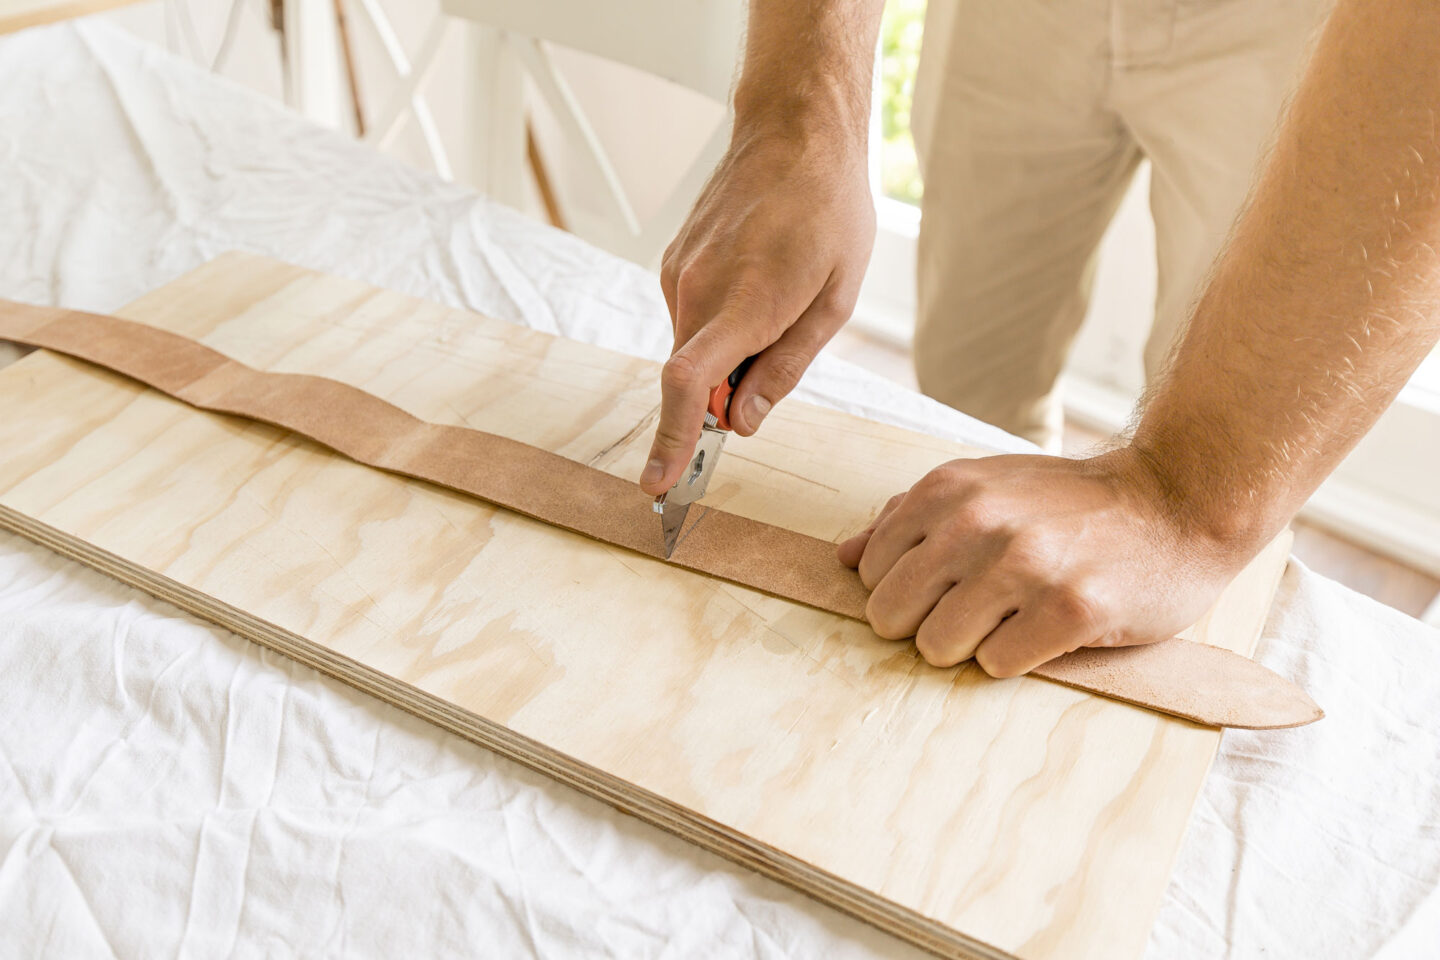
You can make a light pencil line on the rough underneath side of the leather strap and then firmly cut along that line. Use a Stanley Knife and a scrap bit of wood as a base for cutting. We cut our leather straps to 980 mm long.
Step 5 — Drill holes in leather straps
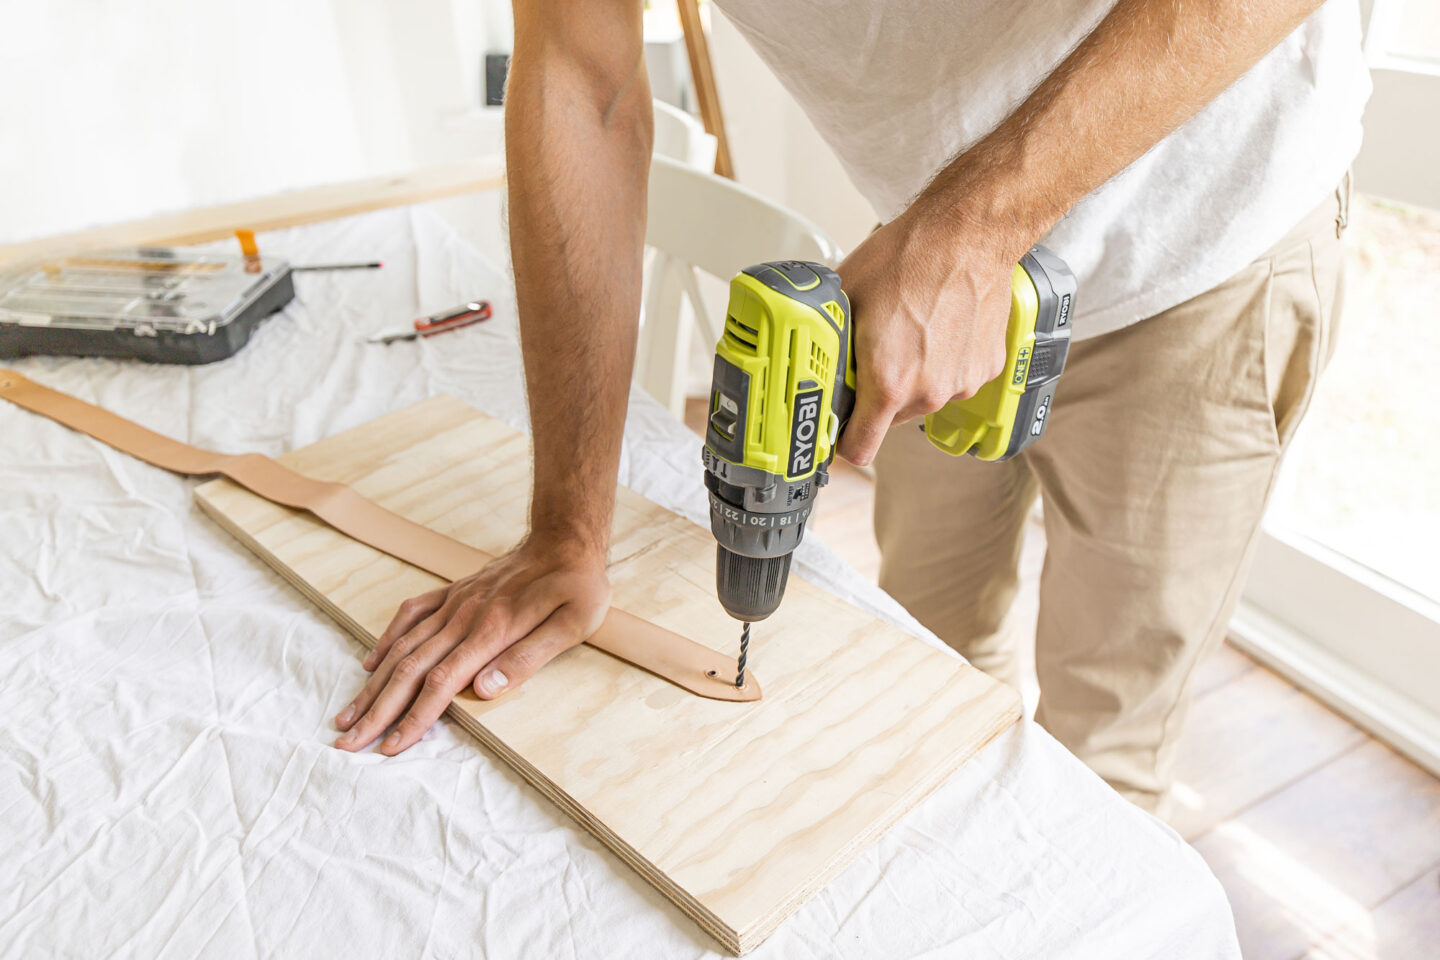
With a pencil, mark two dots at either end of the leather straps 25mm apart from each other. Place the ends of the straps together to check they roughly line up. Then drill a very small hole through each mark using some scrap wood as a base to drill into. Make sure you have the strap securely held down as you complete this.
Step 6 — Secure the straps to the wall
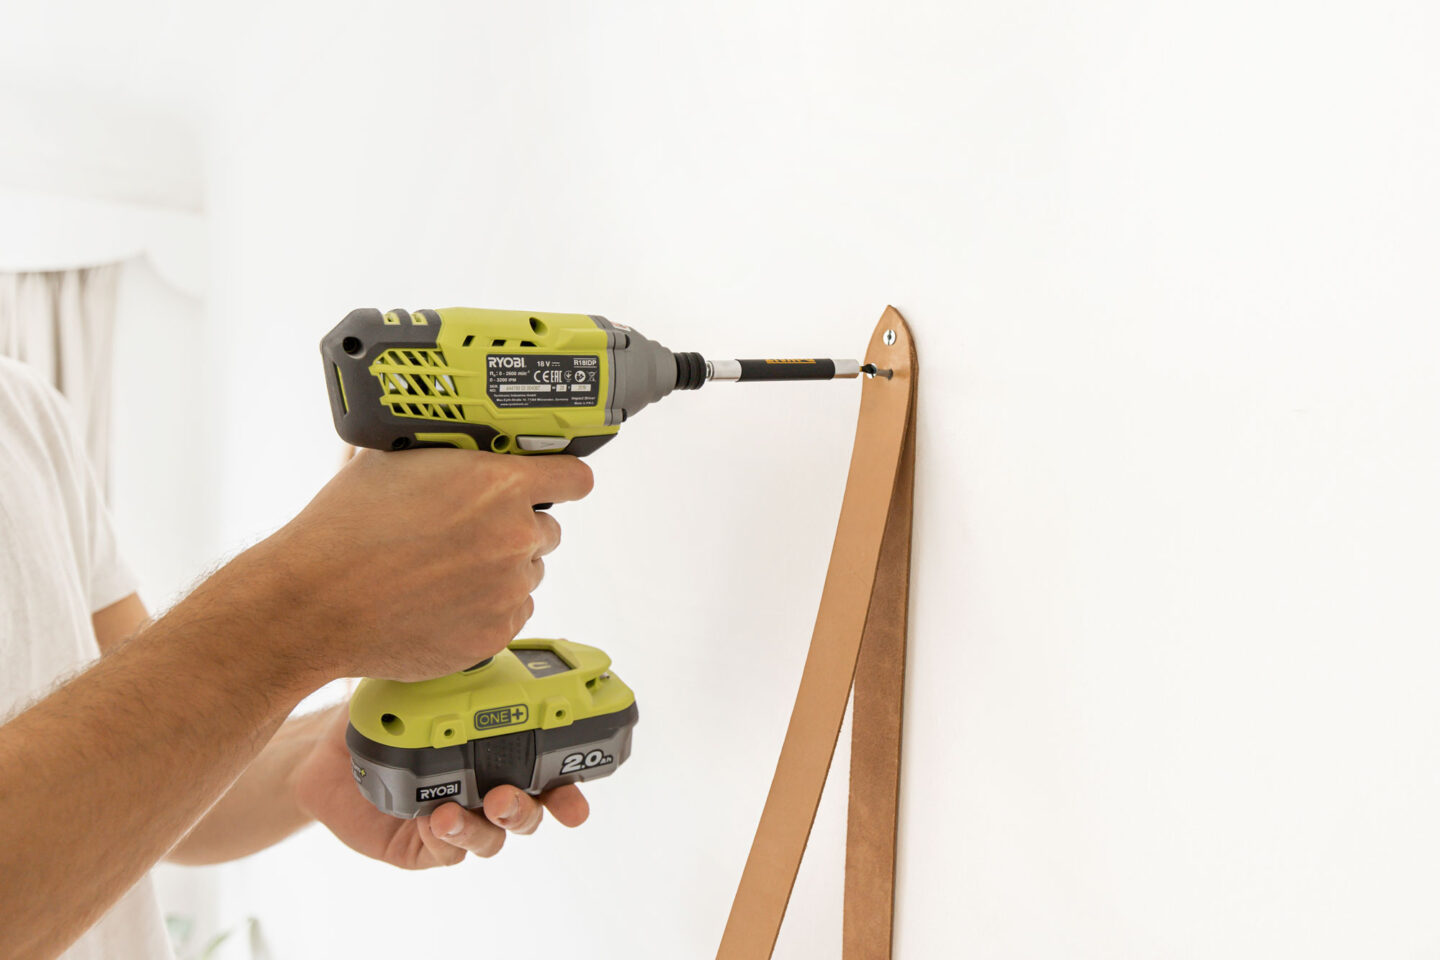
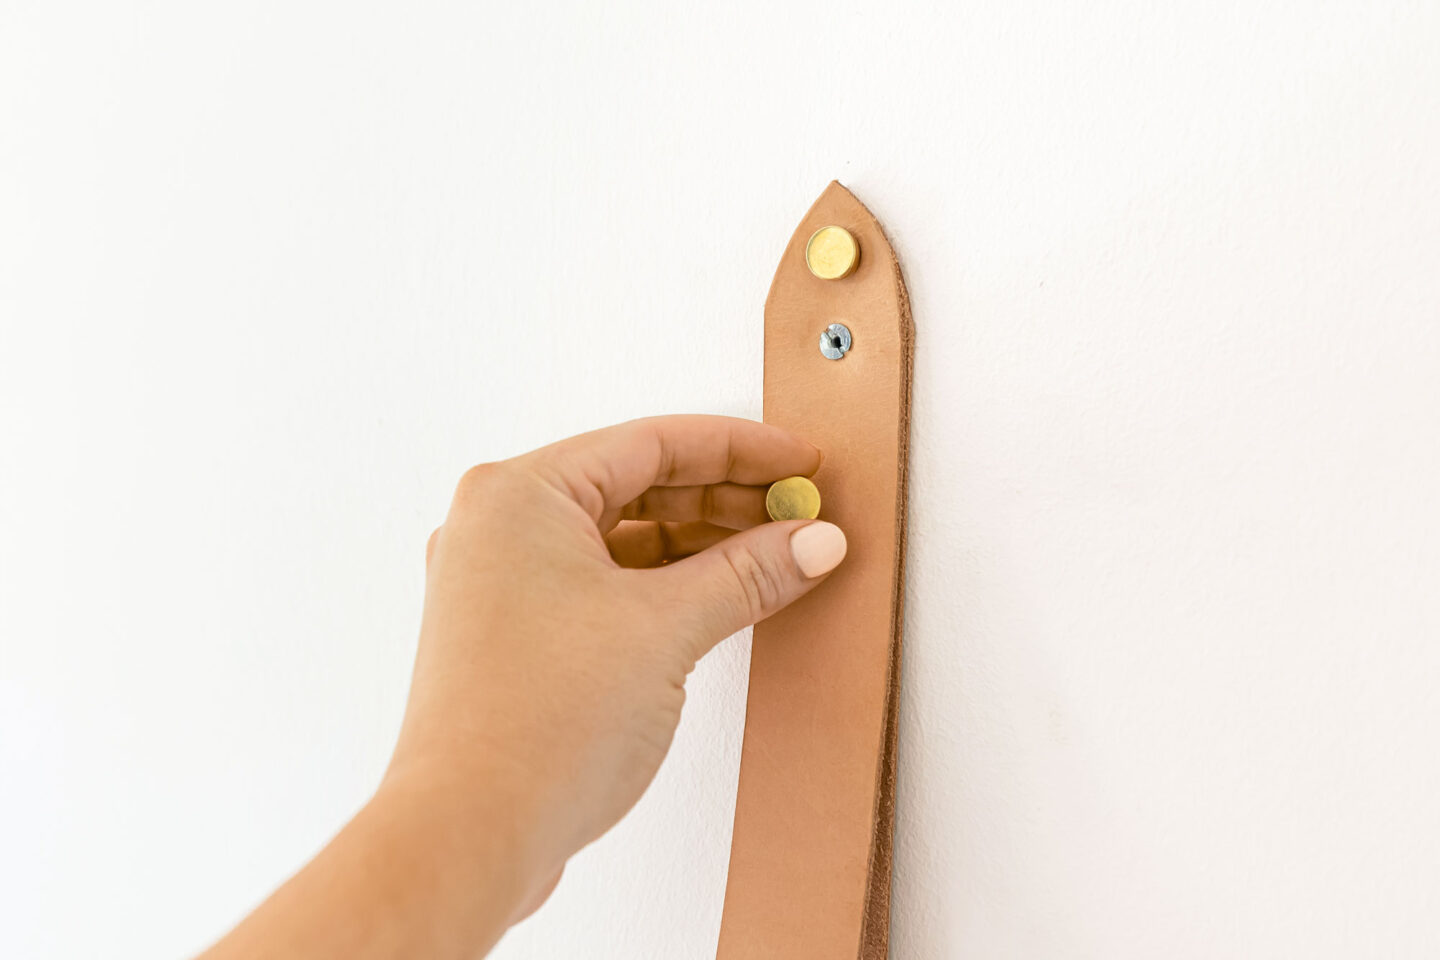
Pull the ends of the straps together again and try to push the two screws through the corresponding holes you’ve just made before attaching to the wall. Then line up the screws with the raw plugs and carefully screw them into the wall. When all your screws are fastly in, pop on the gold caps over your screws – you can easily do this by hand.
Step 7 — Insert your shelf
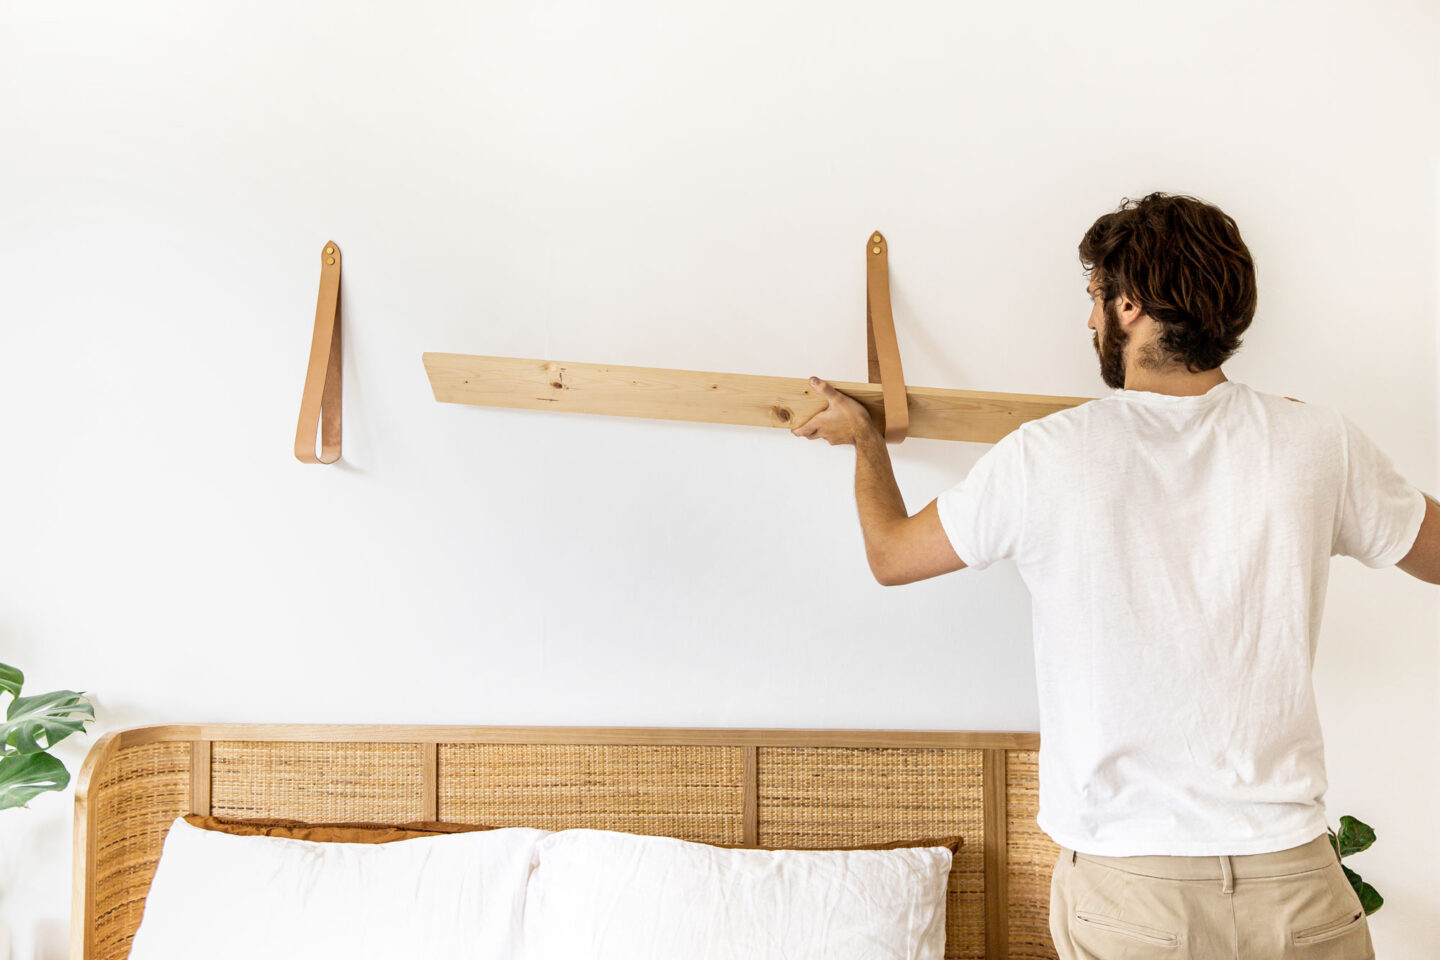
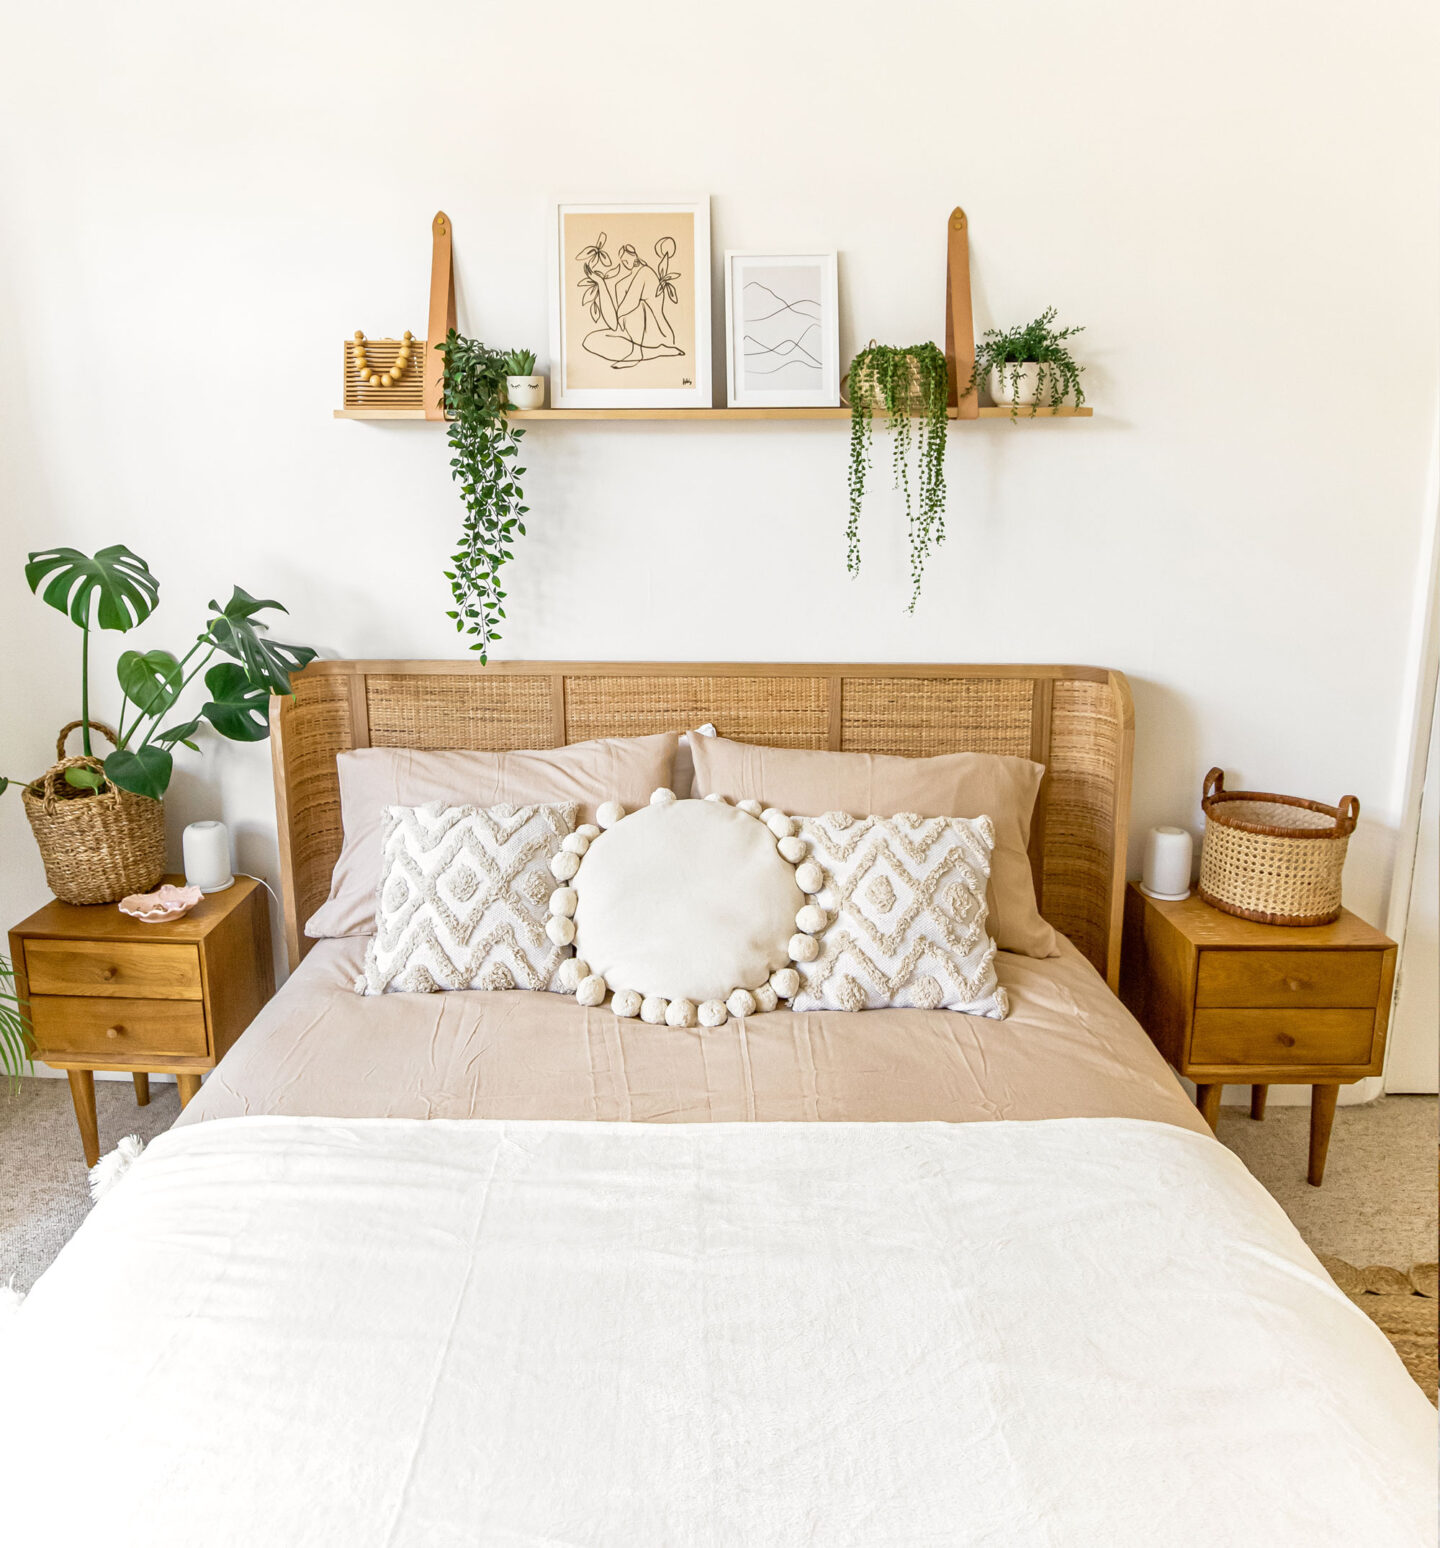
Now carefully slide your wooden shelf through the leather straps and check it’s level using a spirit level. Place items across the shelf to weigh it down and create the final look. Leather straps will be able to hold a decent amount of weight but don’t overload the shelf especially if it’s above a bed like ours. Nearly a year later and the shelf has stayed completely secure, no head injuries here.

Related:
Enjoyed this article? Read more interior style posts here.
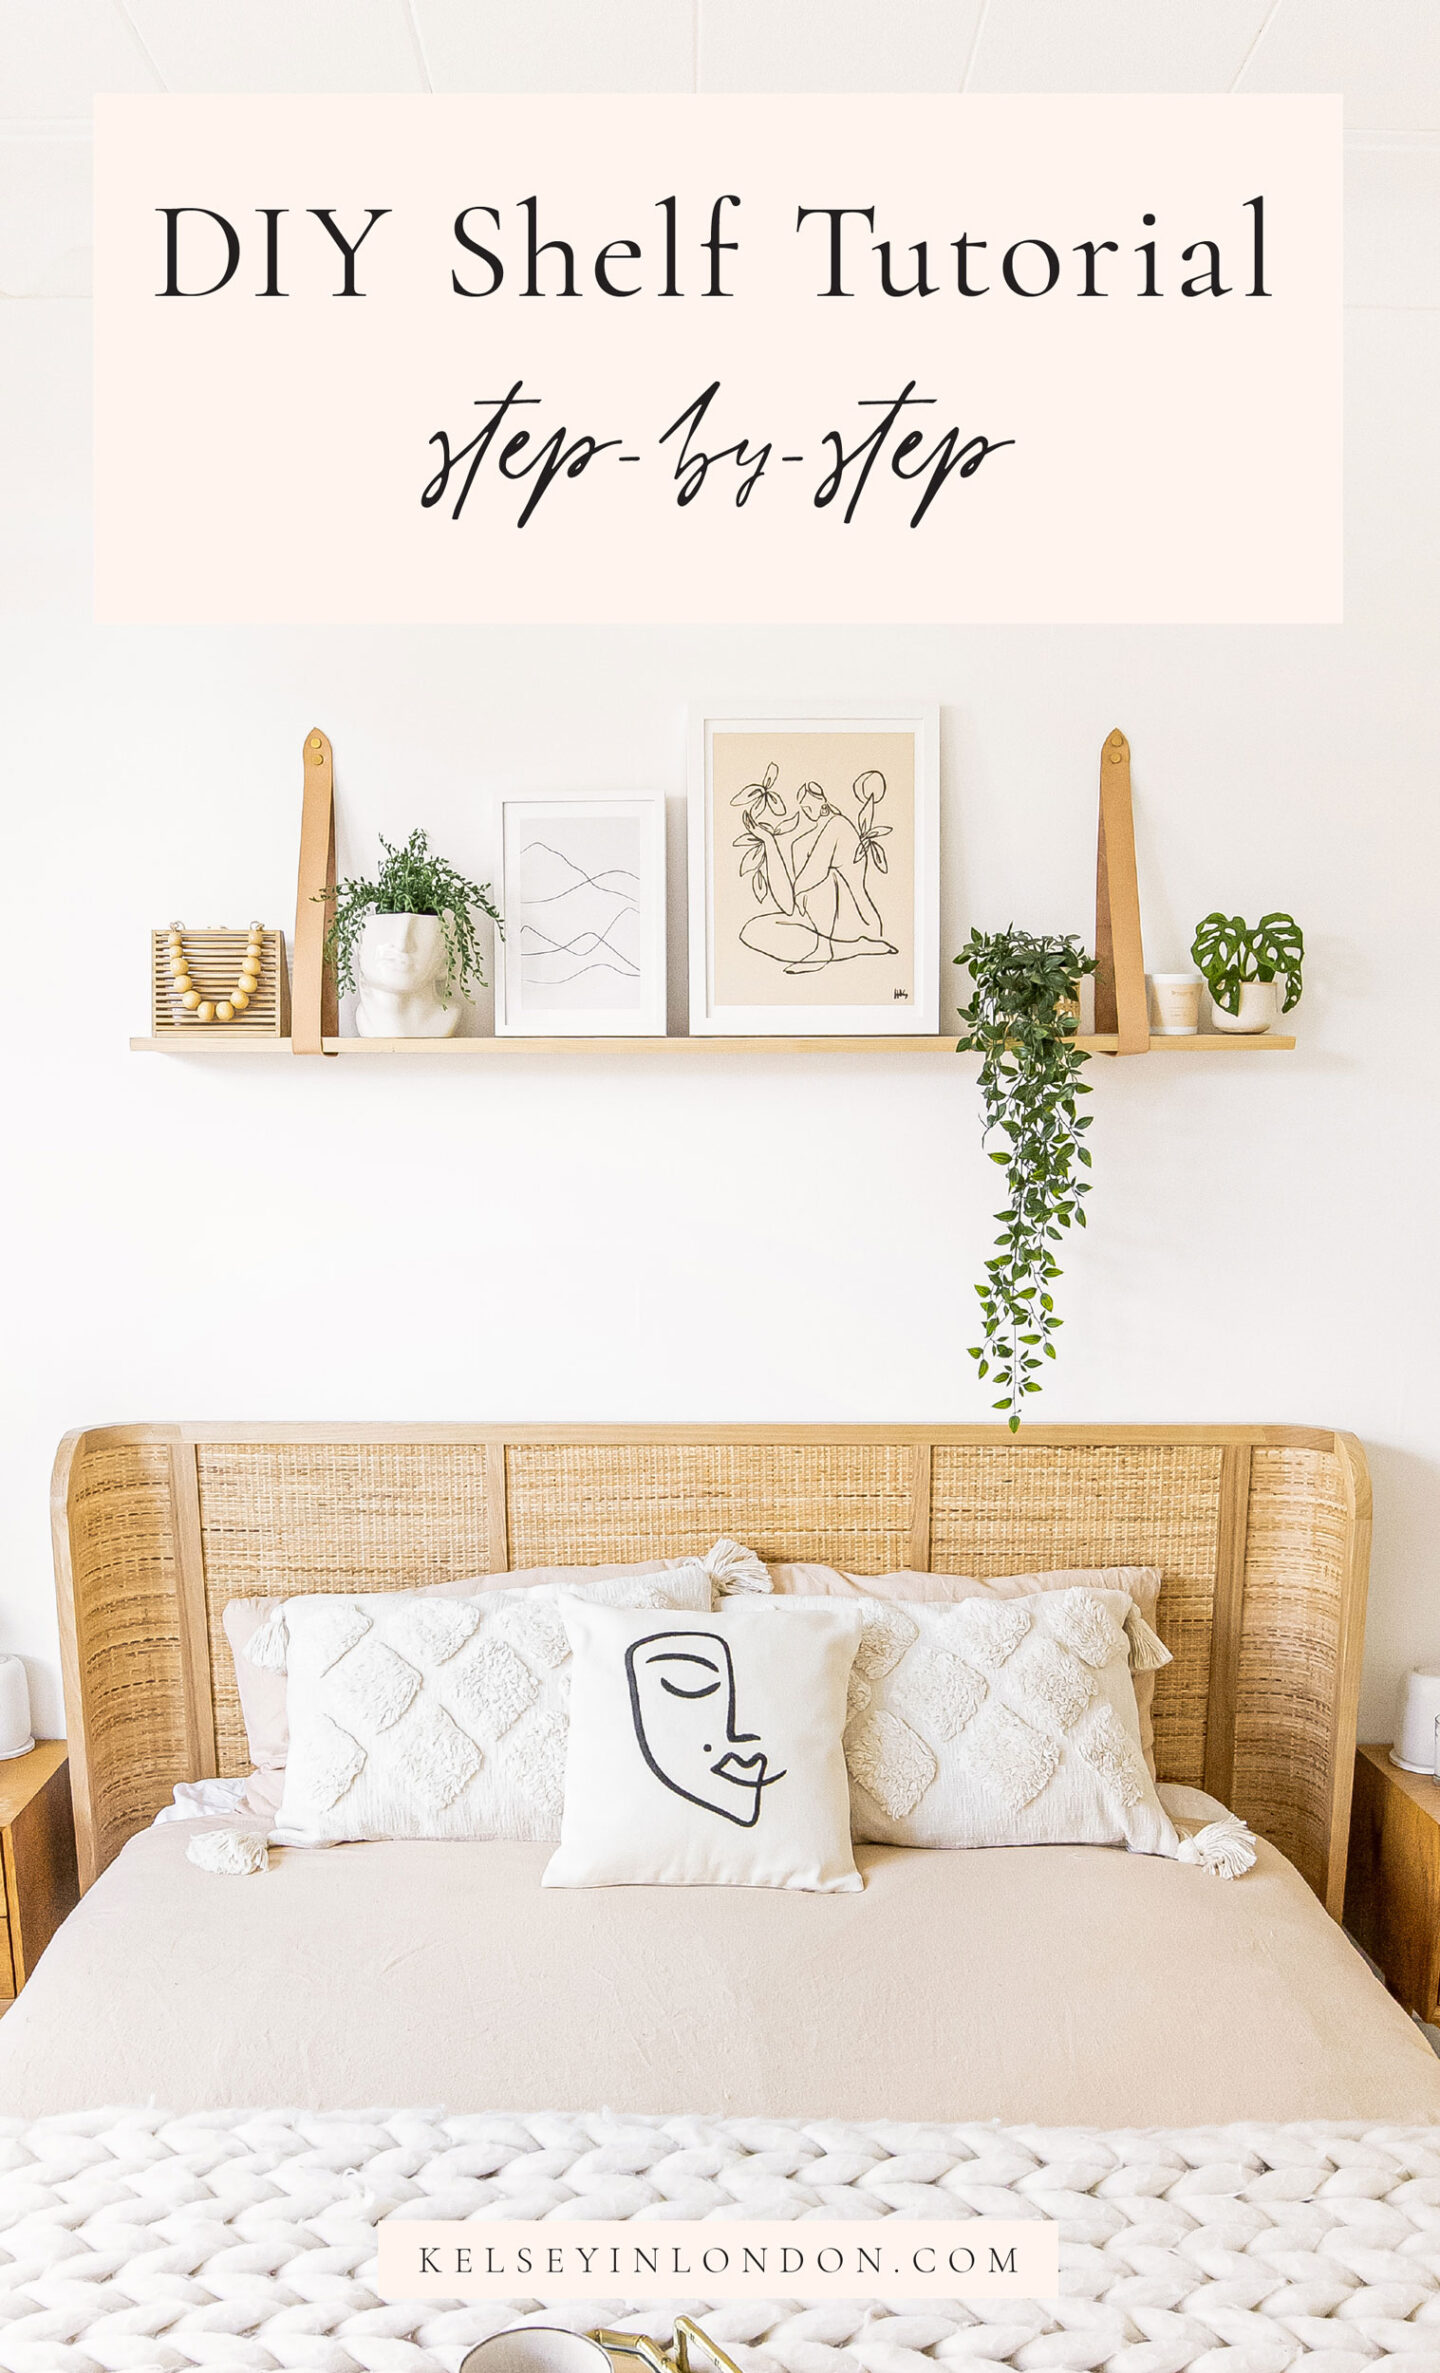
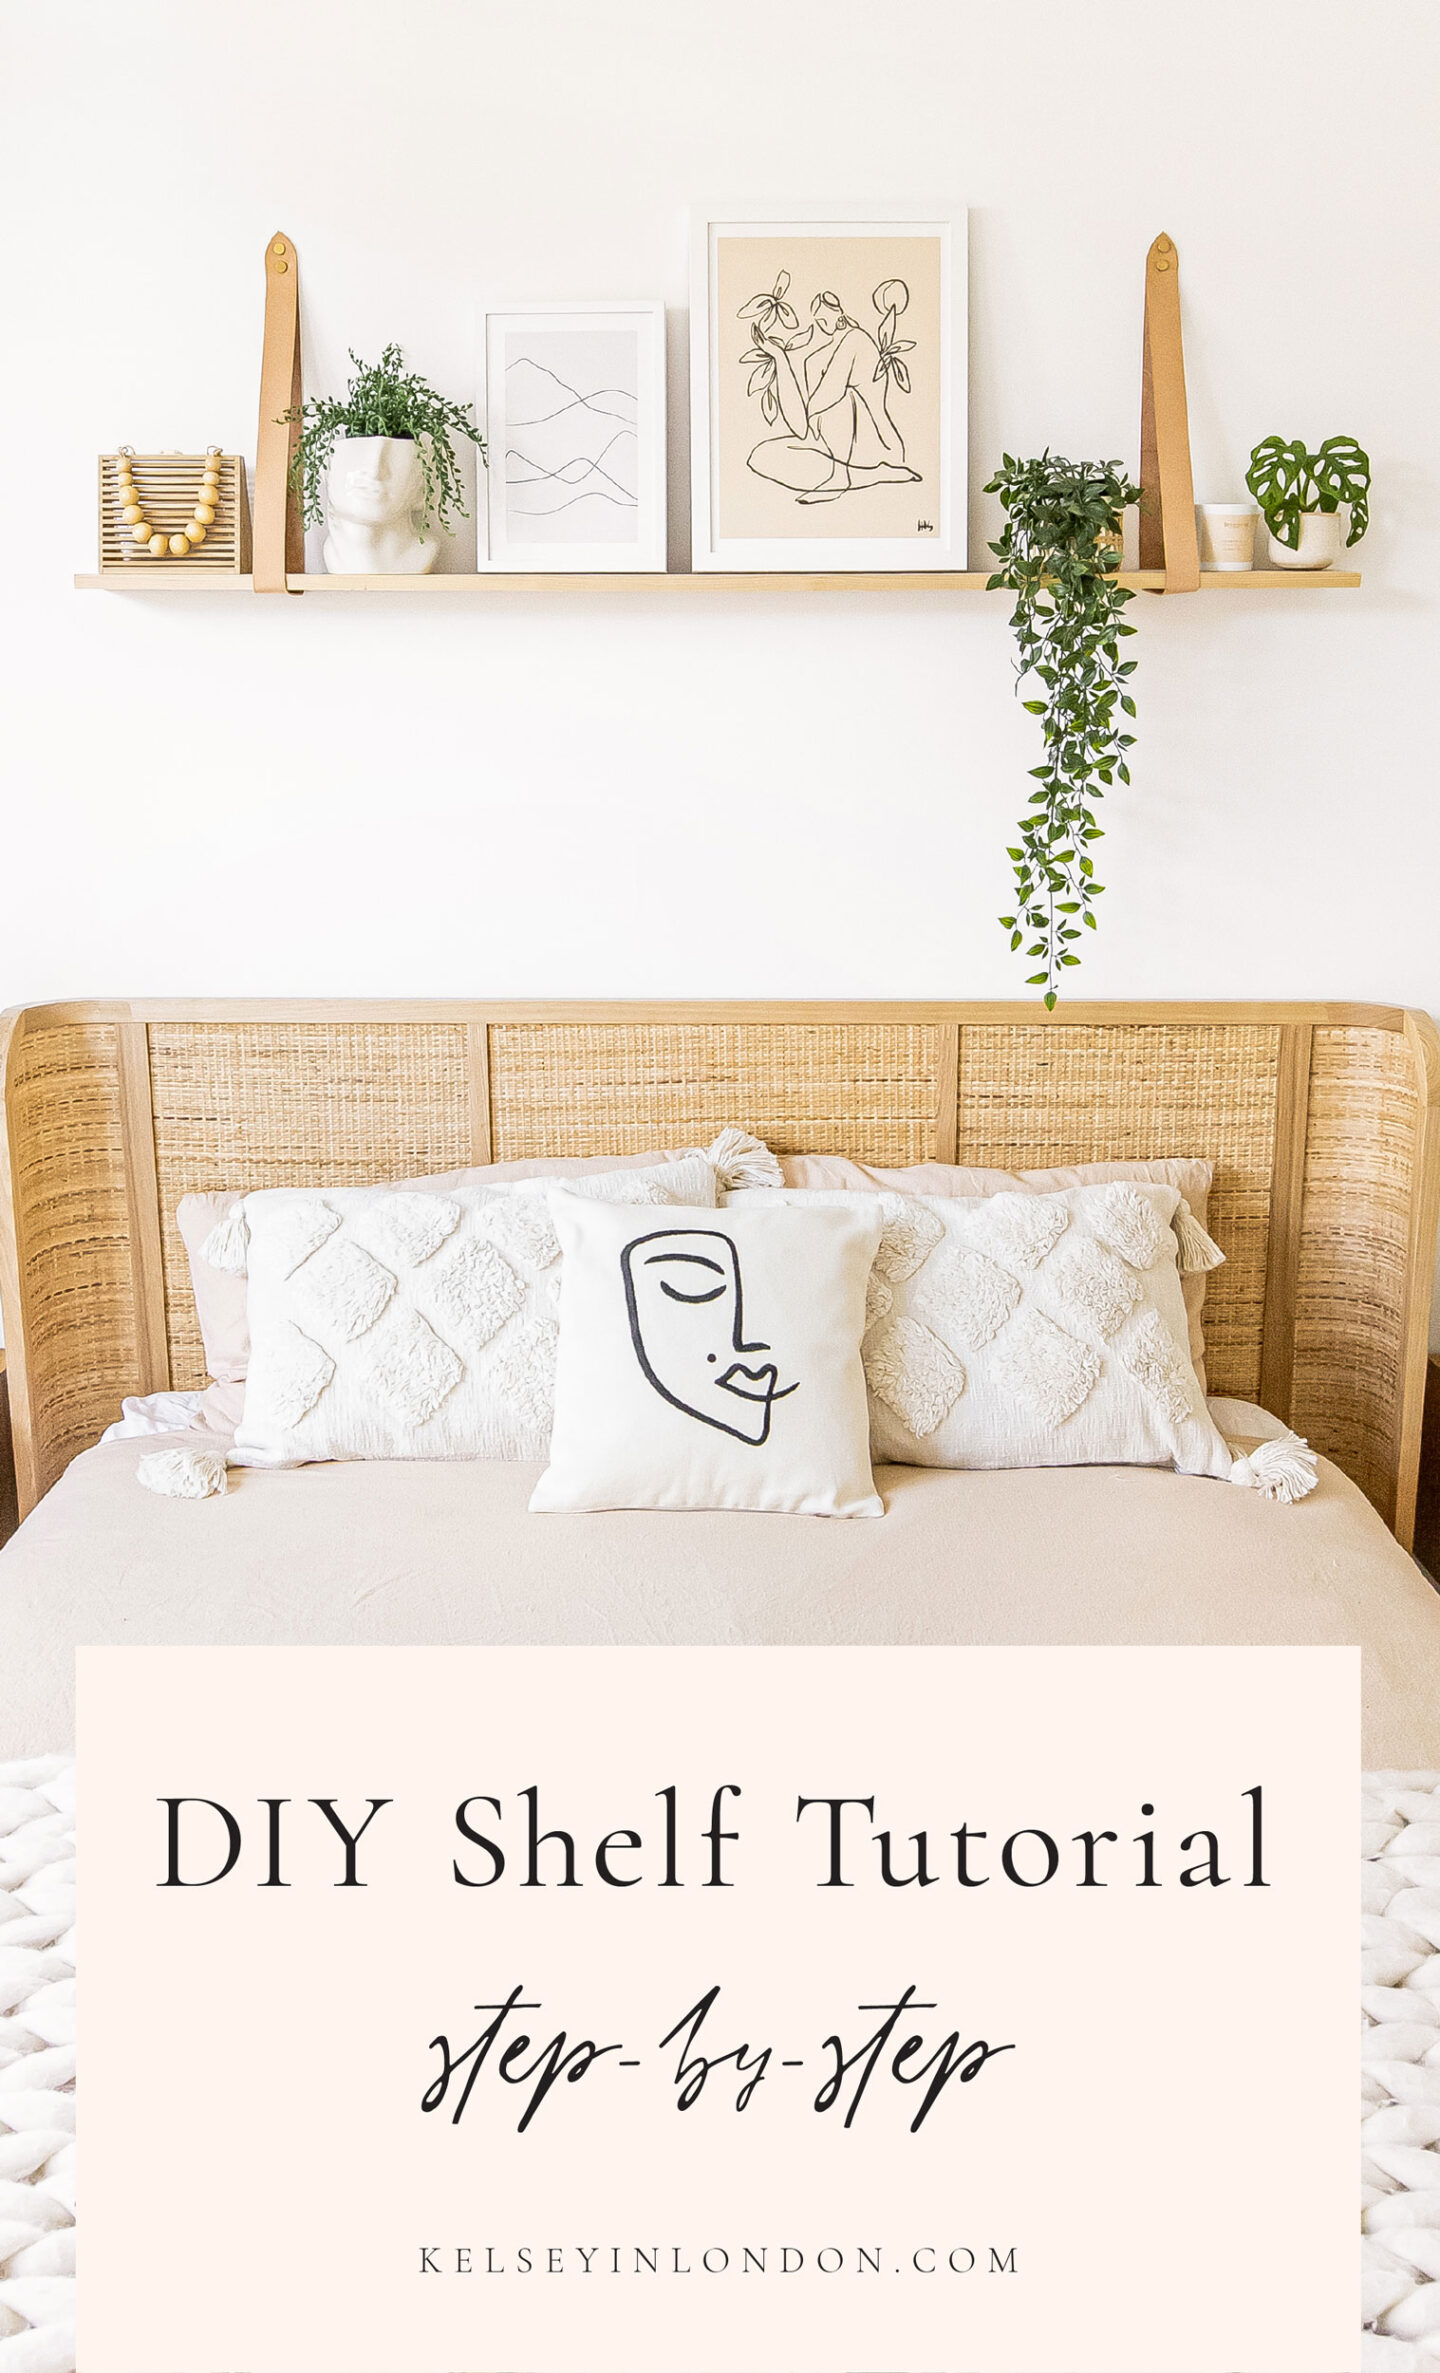
Want to try this DIY Shelf project? Pin it for later below! Follow me on Pinterest.


I love this shelf. And I am even more in love with the headboard. Where is it from, if you don’t mind me asking.