— This article contains some PR experiences, all words and opinions are my own —
Ever since moving into our London rental, I’ve had to make peace with the things I can’t change or fix either due to lack of budget or lack of knowledge. Saving for our first house has made it challenging to decide how much money we want to invest in our current rental to enjoy in the short term and what money we should put aside in our savings that will benefit us in the long term. However, in early 2021, England’s winter lockdown provided the perfect opportunity to get our hands dirty and attempt a DIY kitchen makeover on a budget.
POST NAVIGATION
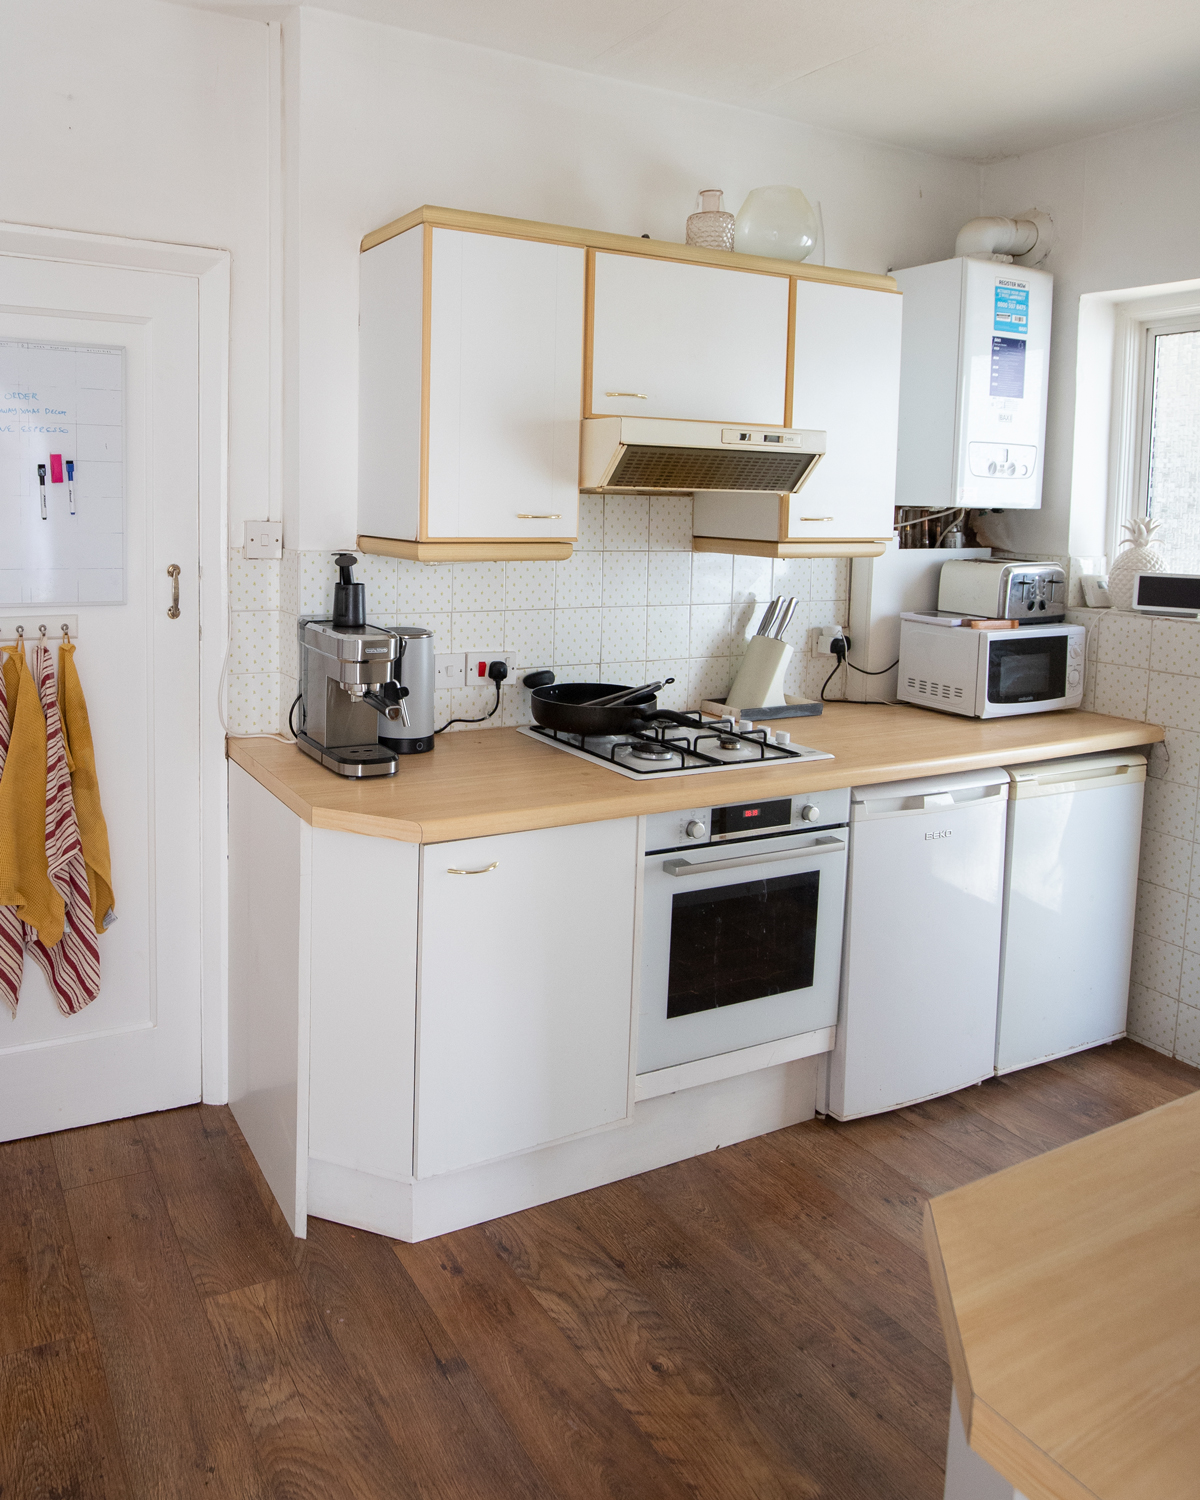
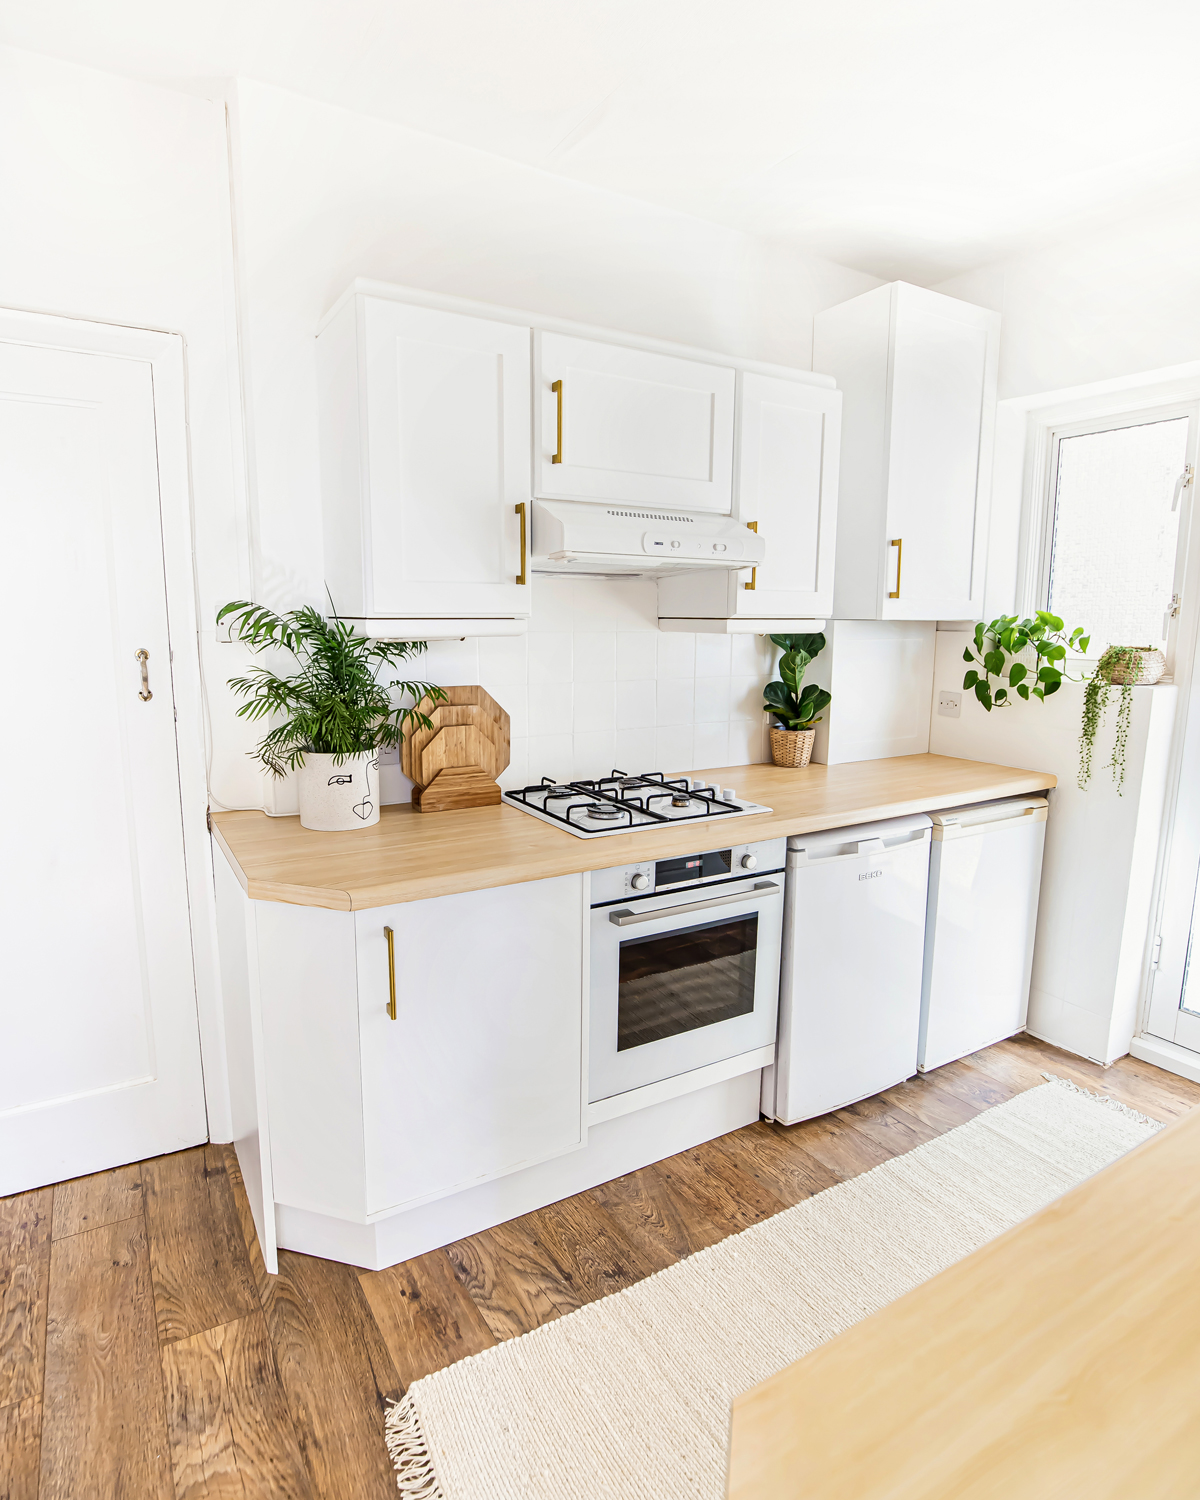
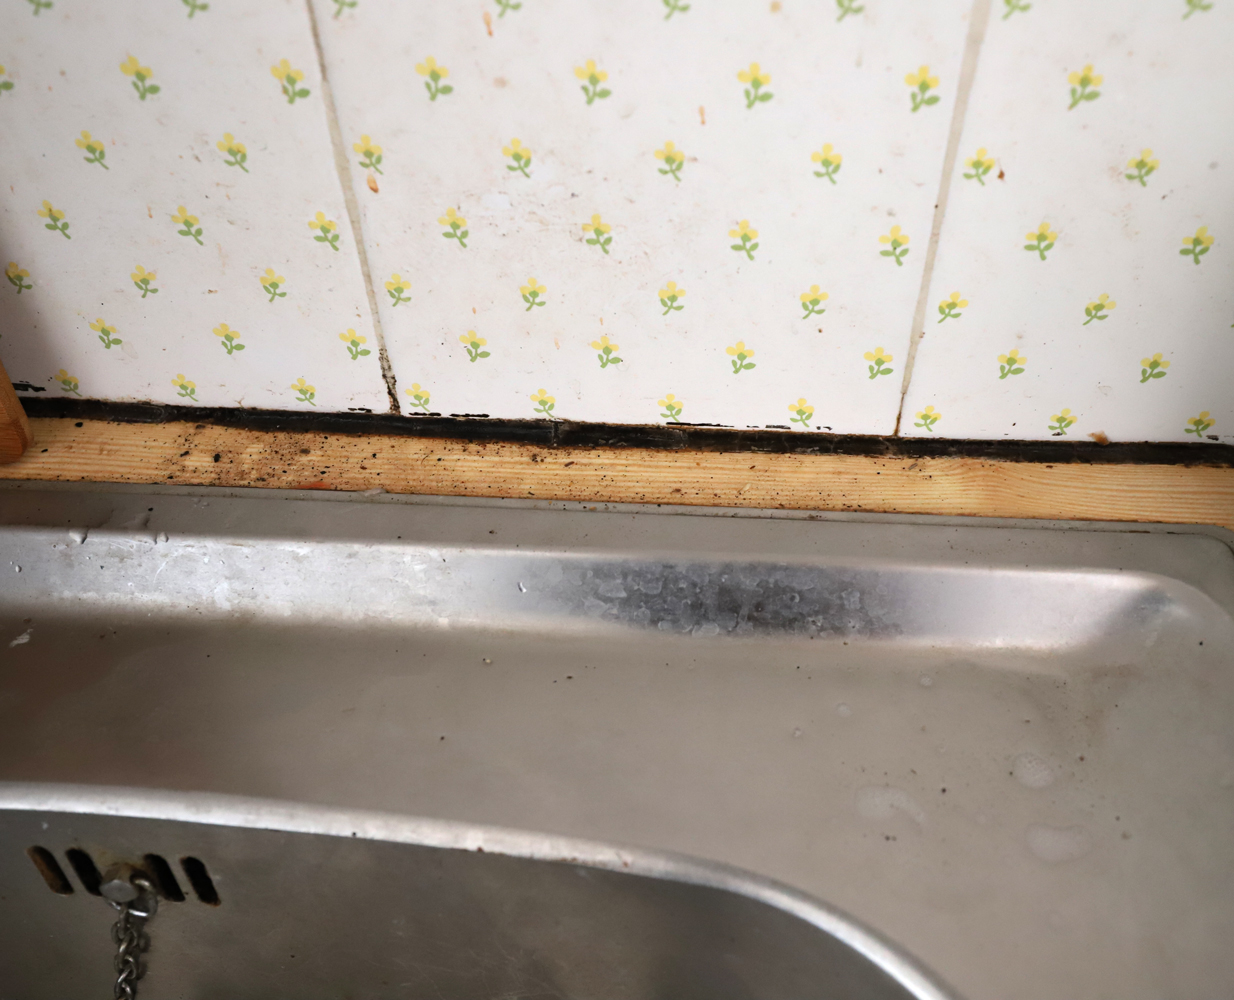
We started small and looked up a tutorial on how to replace the old and mouldy sealant around our tiles — a simple DIY task that sparked our imagination when it came to the rest of our kitchen. We spent a weekend planning and scheming, I consulted my amazing community on Instagram and asked for your advice, I drew up some designs in Adobe Illustrator, (putting my graphic design career to good use) and we hastily made an Excel spreadsheet to work out how much this was realistically going to cost us. As we calculated our final sum and saw the grand total of £300 we agreed to go for it! After all, we had plenty of time on our hands due to the current pandemic situation and were itching for a new project that wasn’t a 1000 piece puzzle.
People often say that it’s a waste of money to do any renovations to a rental, and to those people, I say, bore off! It’s a worthwhile investment to enjoy the home you’re currently living in. Perhaps you’ve bought your first home and you don’t yet have the budget to do a full-blown kitchen renovation, in which case I hope this post inspires you and shows that you can make a kitchen beautiful on a budget!
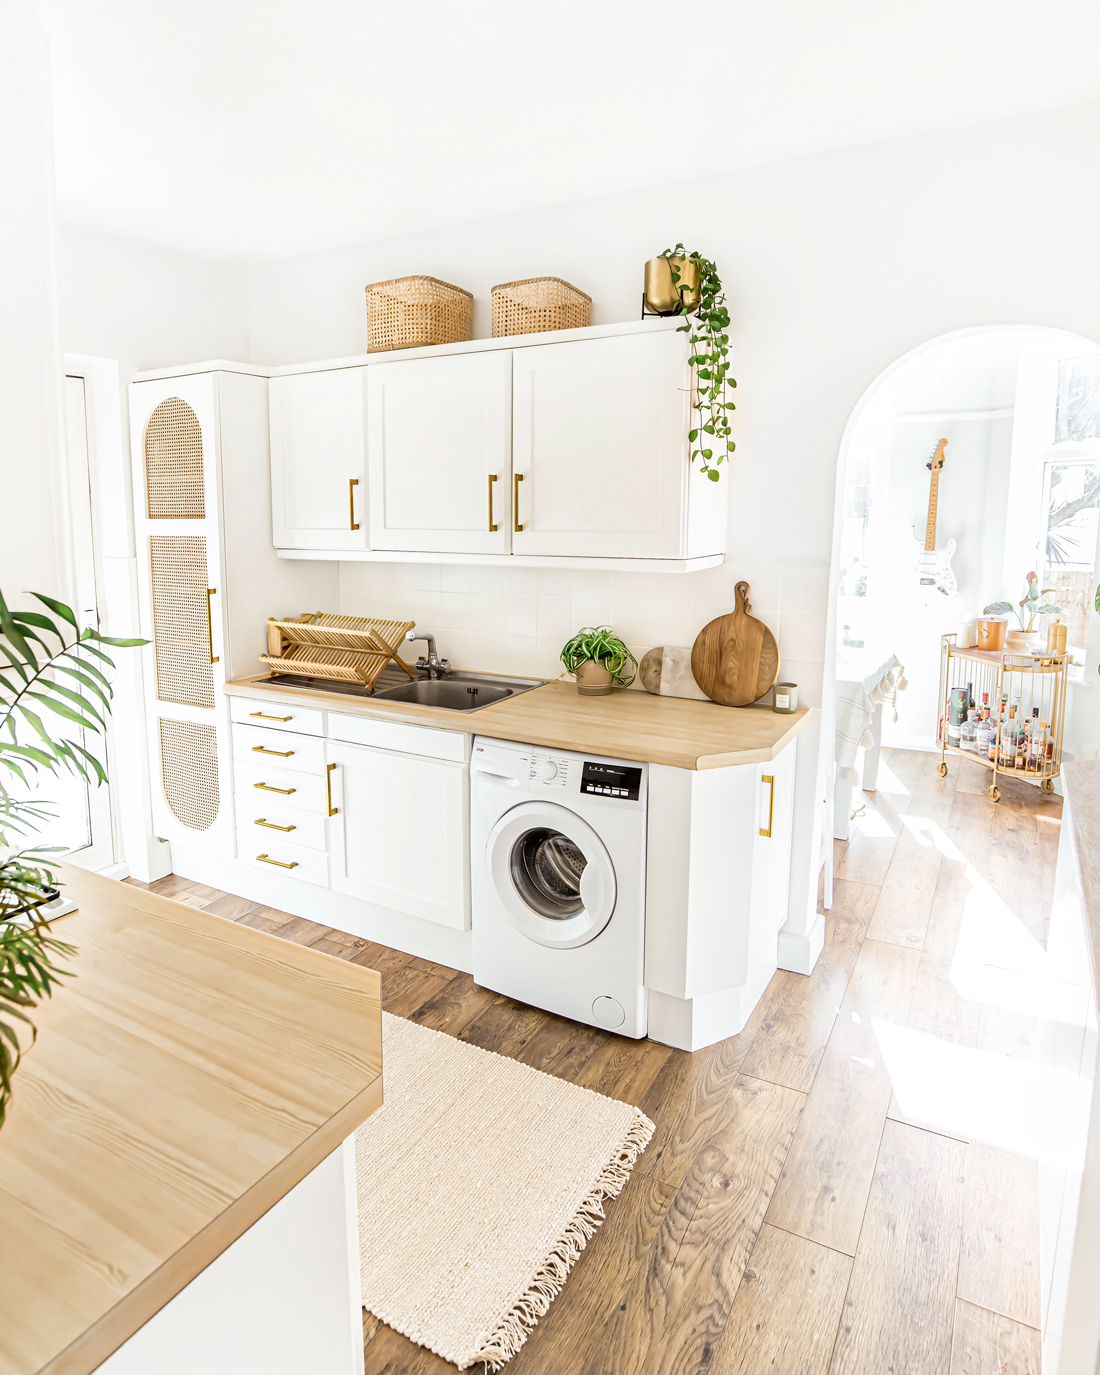
6 months on, and I’m still in love with this DIY kitchen makeover. Even more so knowing WE DID THAT! There are only a few things I’d do differently, and fortunately, you get to learn from our mistakes as you keep reading. In this post, I’ll chat about each step of the process, from getting the green light from our landlords to painting our kitchen tiles and making a custom pantry door.
DIY Kitchen Makeover
Getting Our Landlord's Approval
One of the downsides about renting is that you’re often at complete mercy as to what your landlord will or won’t allow. Fortunately, our landlords are pretty chill, they live overseas and our communication with them is mostly via email. After we costed everything up for this project, the only barrier was getting our landlords permission. So we decided to pitch for it! Can you tell Justin & I are both from marketing backgrounds?
We put together a PowerPoint presentation using the visuals & mock-ups I designed. In our email, we wrote about the changes we wanted to make, how we were going to do it, why it’s important to us, we stated we would cover the costs and do the labour ourselves and explained how it would add value to the property. I had never been so nervous sending that email off and fortunately, a few days later our landlords replied and approved.
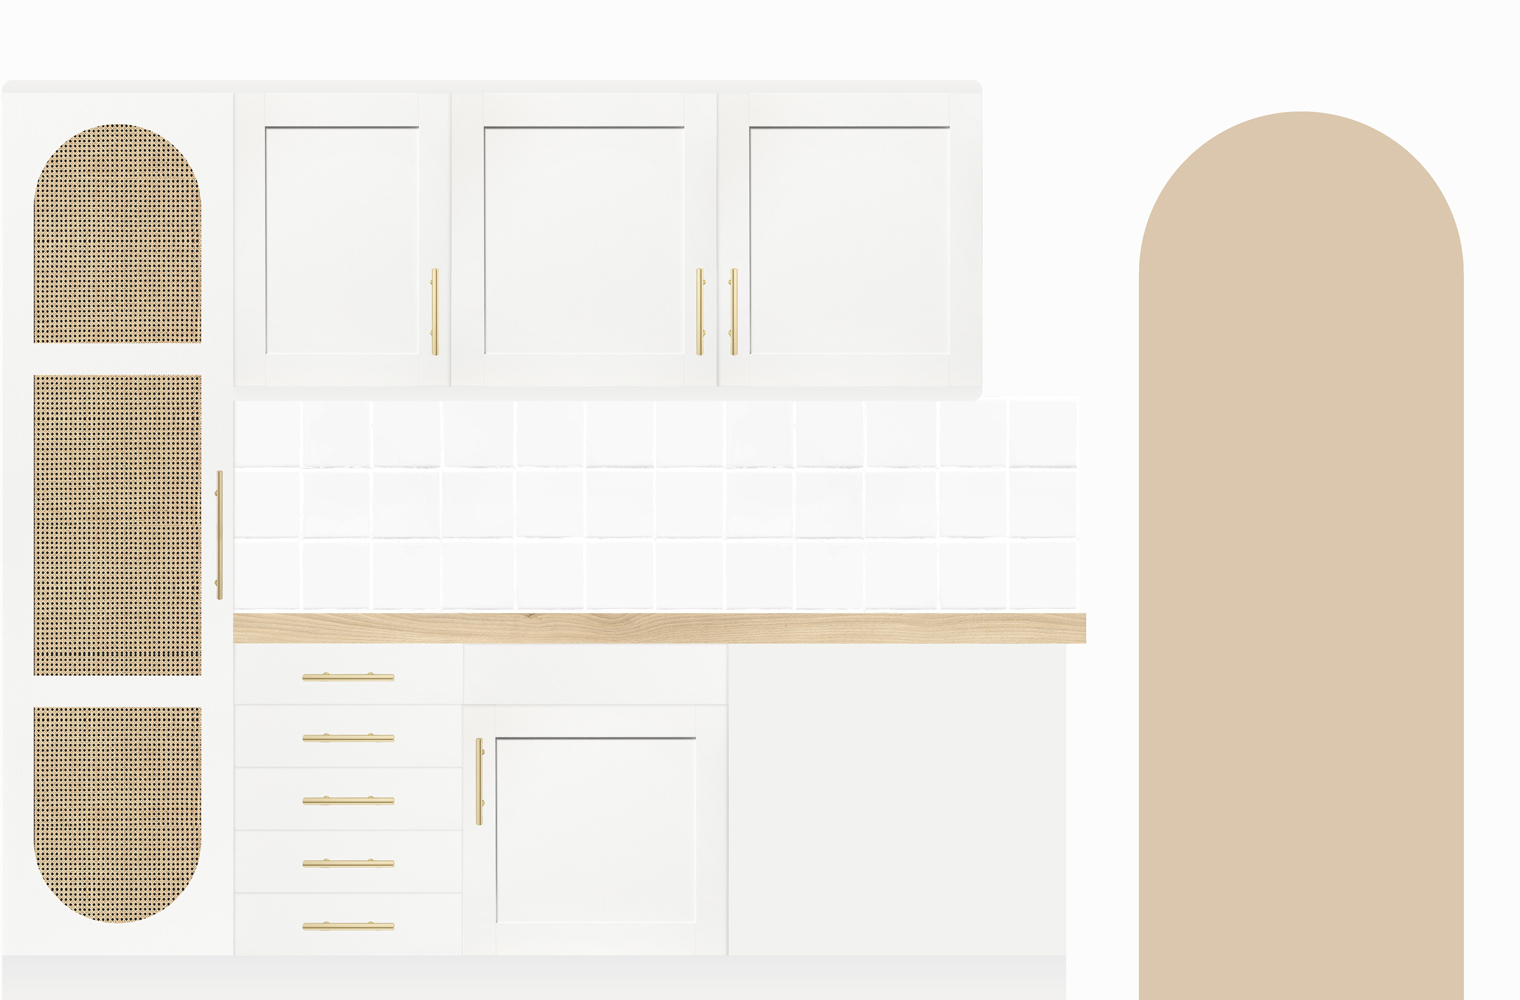
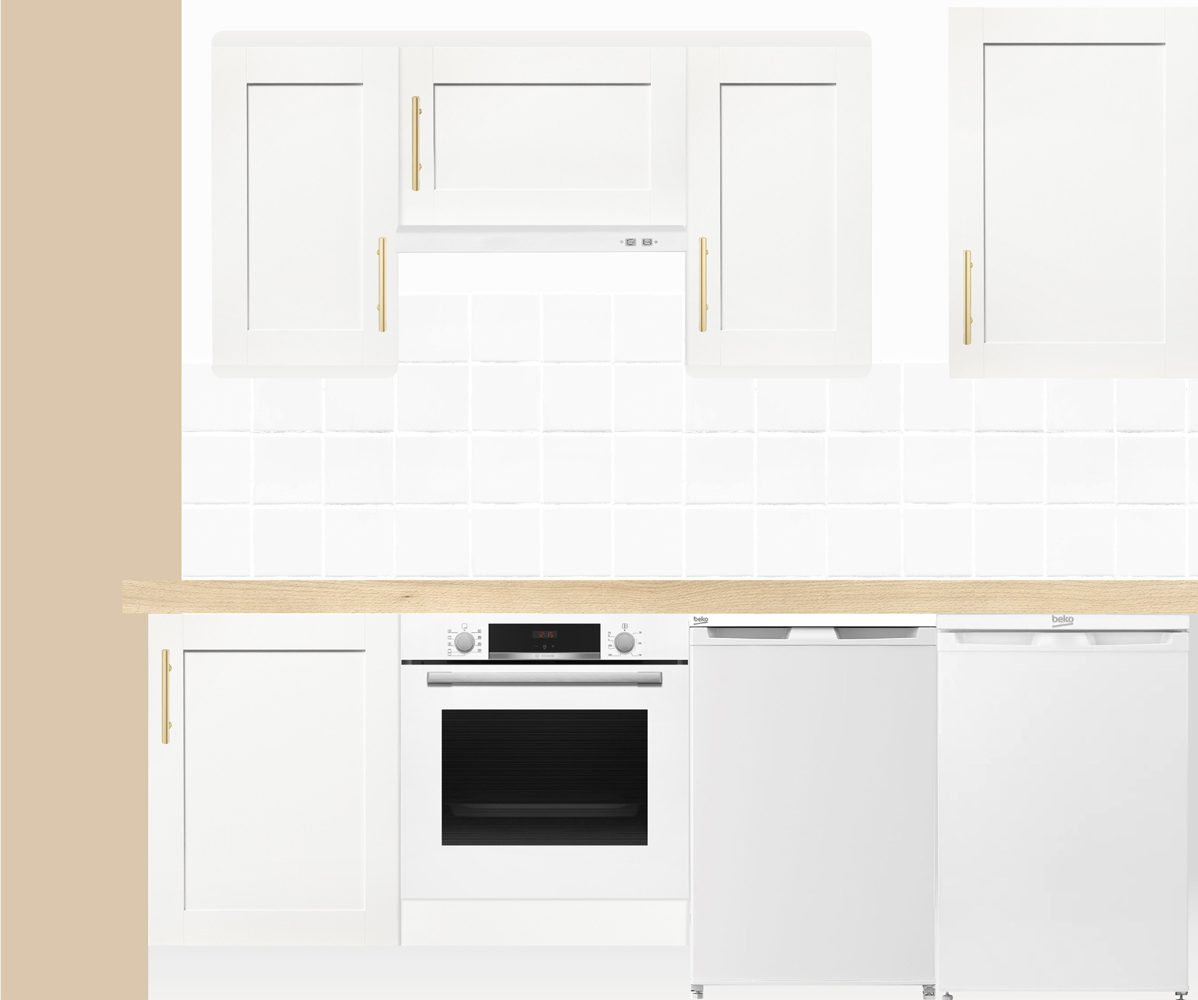
TIP: most landlords will only approve neutral designs so that the property is easier to sell down the line, which is why we proposed white paint. Getting the green light on bolder colours and prints could be challenging.
Now for context, our lease ends in February 2023. And I’ll be honest, if my job wasn’t in photography and interior blogging, would I be as bothered to invest time & money into this project? Probably not! Did we go for it considering we were in lockdown and had nothing better to do? Absolutely! Would we have done it if we knew we were able to rent this place for another 3+ years? 100% YES. Now that the kitchen is done I’ve realised there is an emotional benefit too, we are so much happier cooking and making cocktails in a kitchen we love.
Painting the Kitchen Tiles
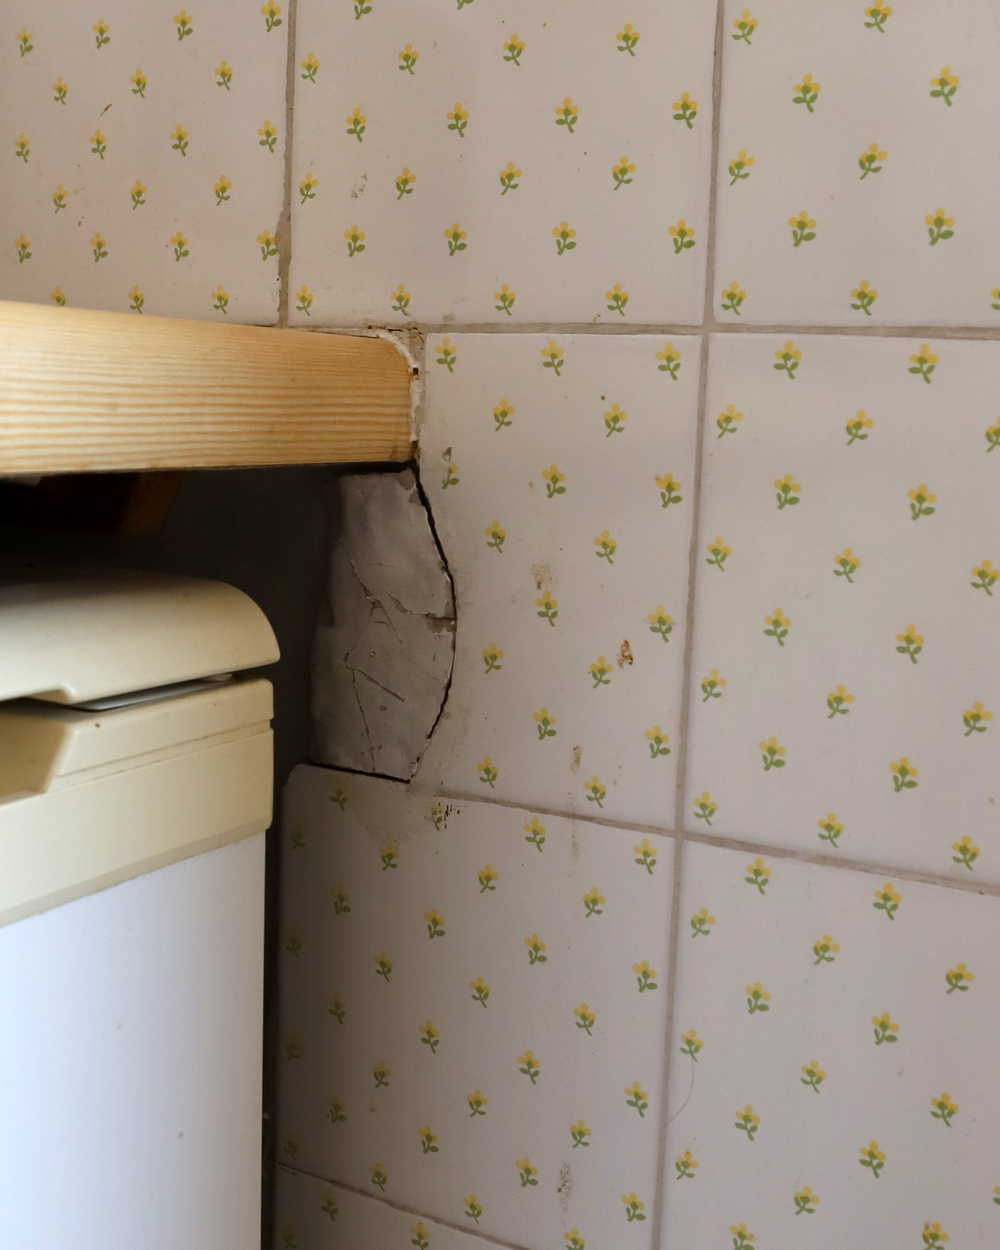
Now don’t get me wrong, the existing vintage Laura Ashley tiles were beautiful, however they were cracked in many places and stained after many decades. I costed up the idea of stick-on subway tiles as I’ve seen lots of DIYers use these and I think they are a fab rental friendly solution. However given the sheer amount of tile area we’d have to cover, that was going to cost well over £300.
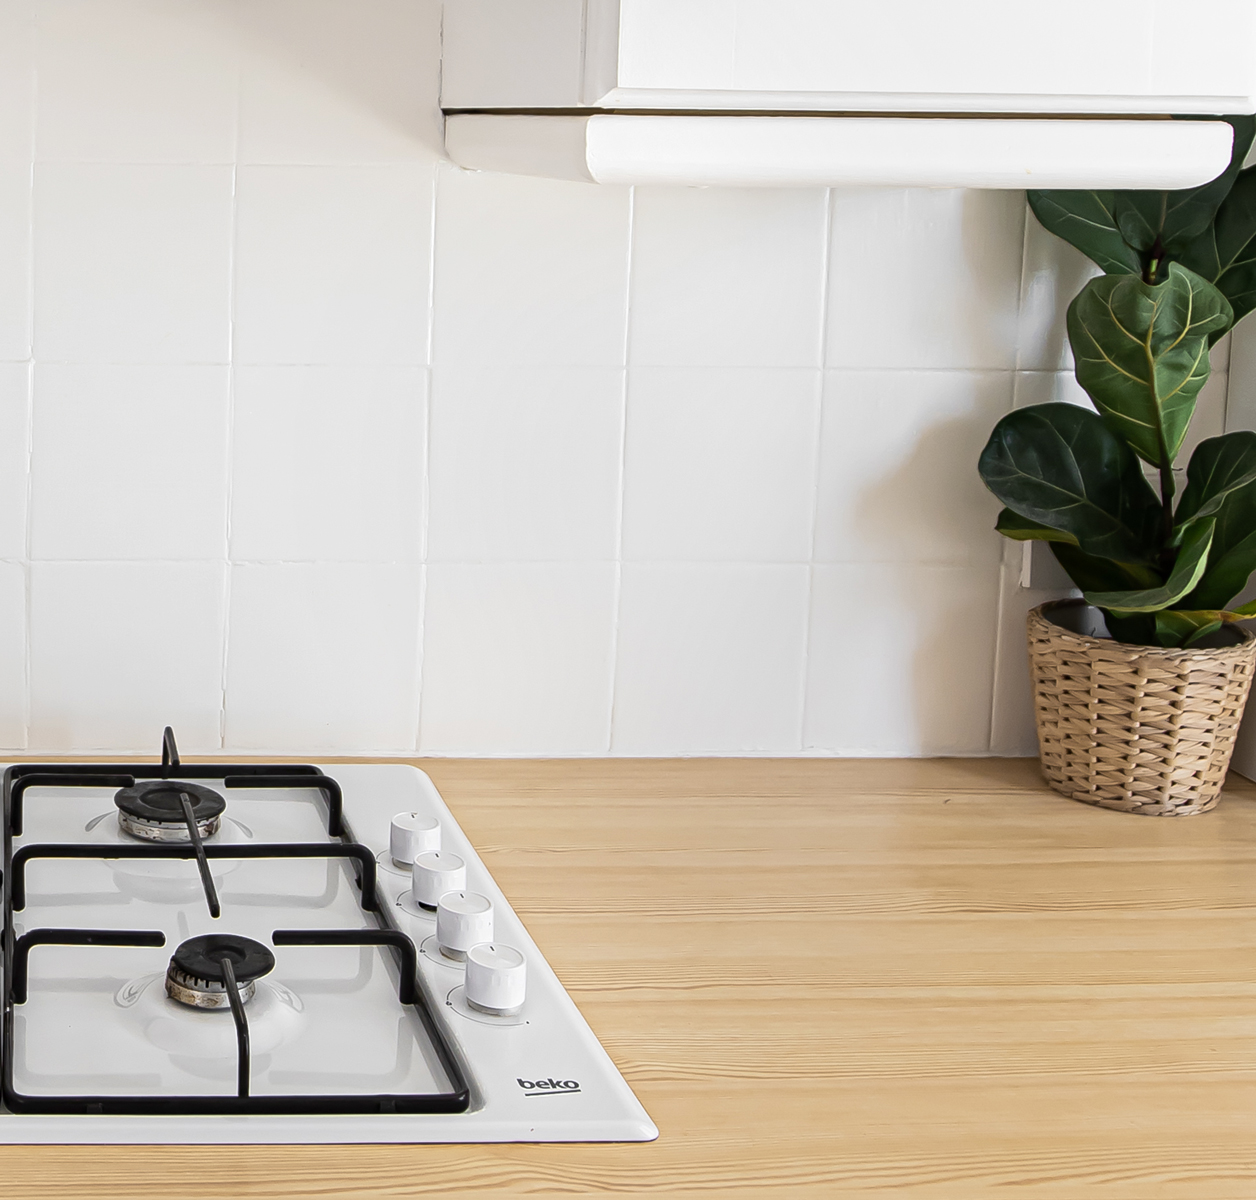
What about simply retiling? Well again, given the space, this would have cost well over £600 and something neither we, nor our landlords were willing to cover. So I researched tile paint and at £15 a tin it was a no-brainer and the best budget-friendly option I could find. We used Ronseal One Coat Tile Paint Satin White, however don’t believe what it says on the tin:
- It is never just “one coat”. We ended up doing four coats in total, which is what reviews said.
- Don’t use a paintbrush as per the instructions. That was the biggest mistake I made.
Using a paintbrush won’t give you a smooth finish, I only realised this after the first coat was on. The next three coats I did with a paint roller and was luckily able to buff out the first coat. Learn from my mistake and use a paint roller from the get-go. That being said, I’m still impressed by this tile paint, it’s held up brilliantly! It’s easy to clean (simply wipe with a damp cloth) and 6 months on no paint has chipped. Remember to use painters tape around your tiles and lightly sand (240grit sandpaper) between each layer of paint to remove any fibres/hairs that may have stuck to the paint while each coat was drying.
If you want to see a step-by-step video of the tile painting process, watch my Instagram Story highlight HERE.
Kitchen Cabinet Makeover
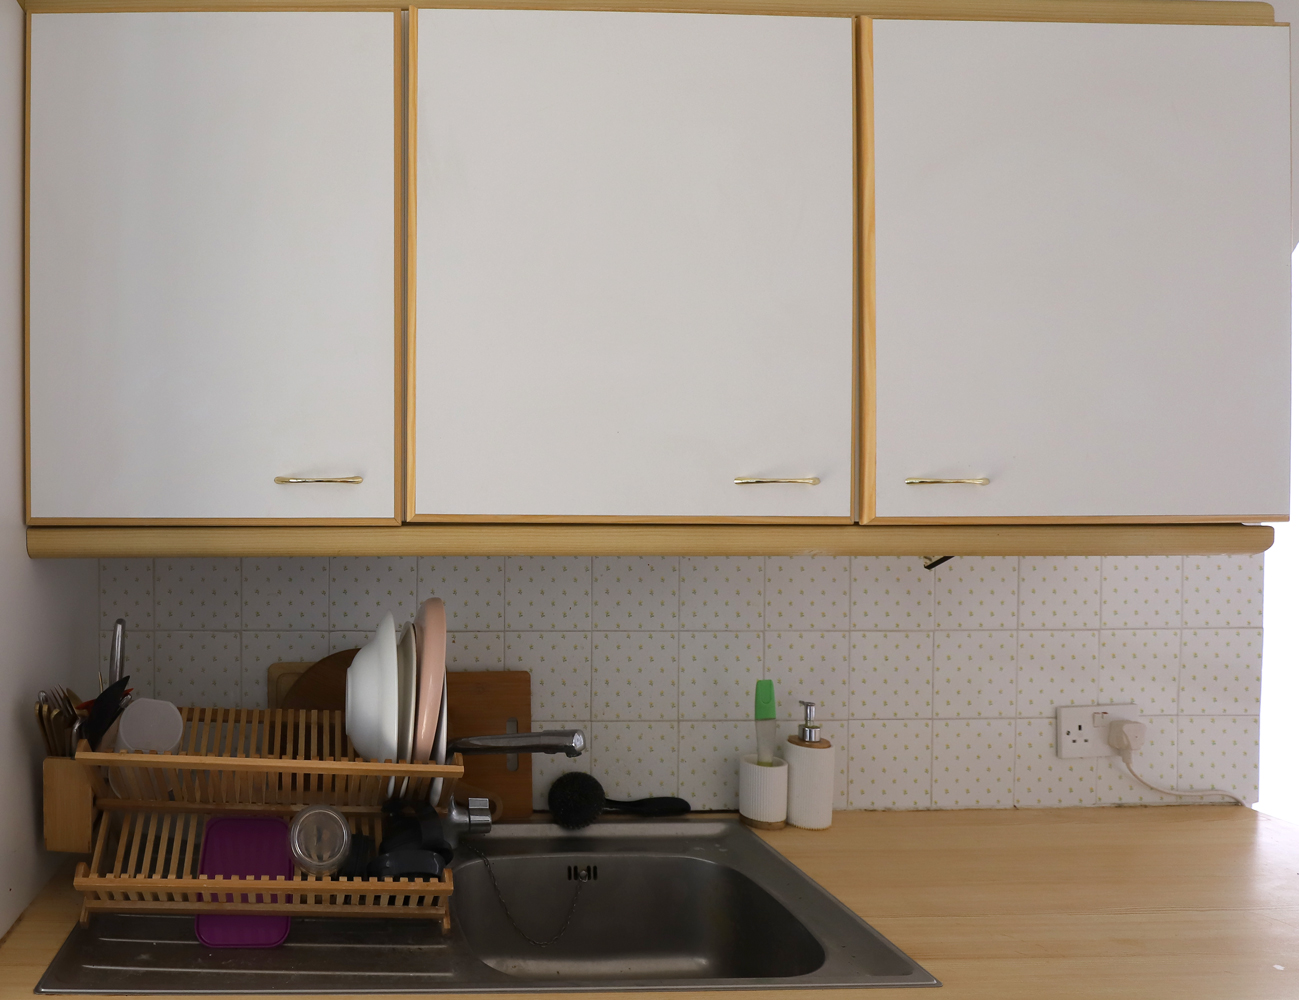
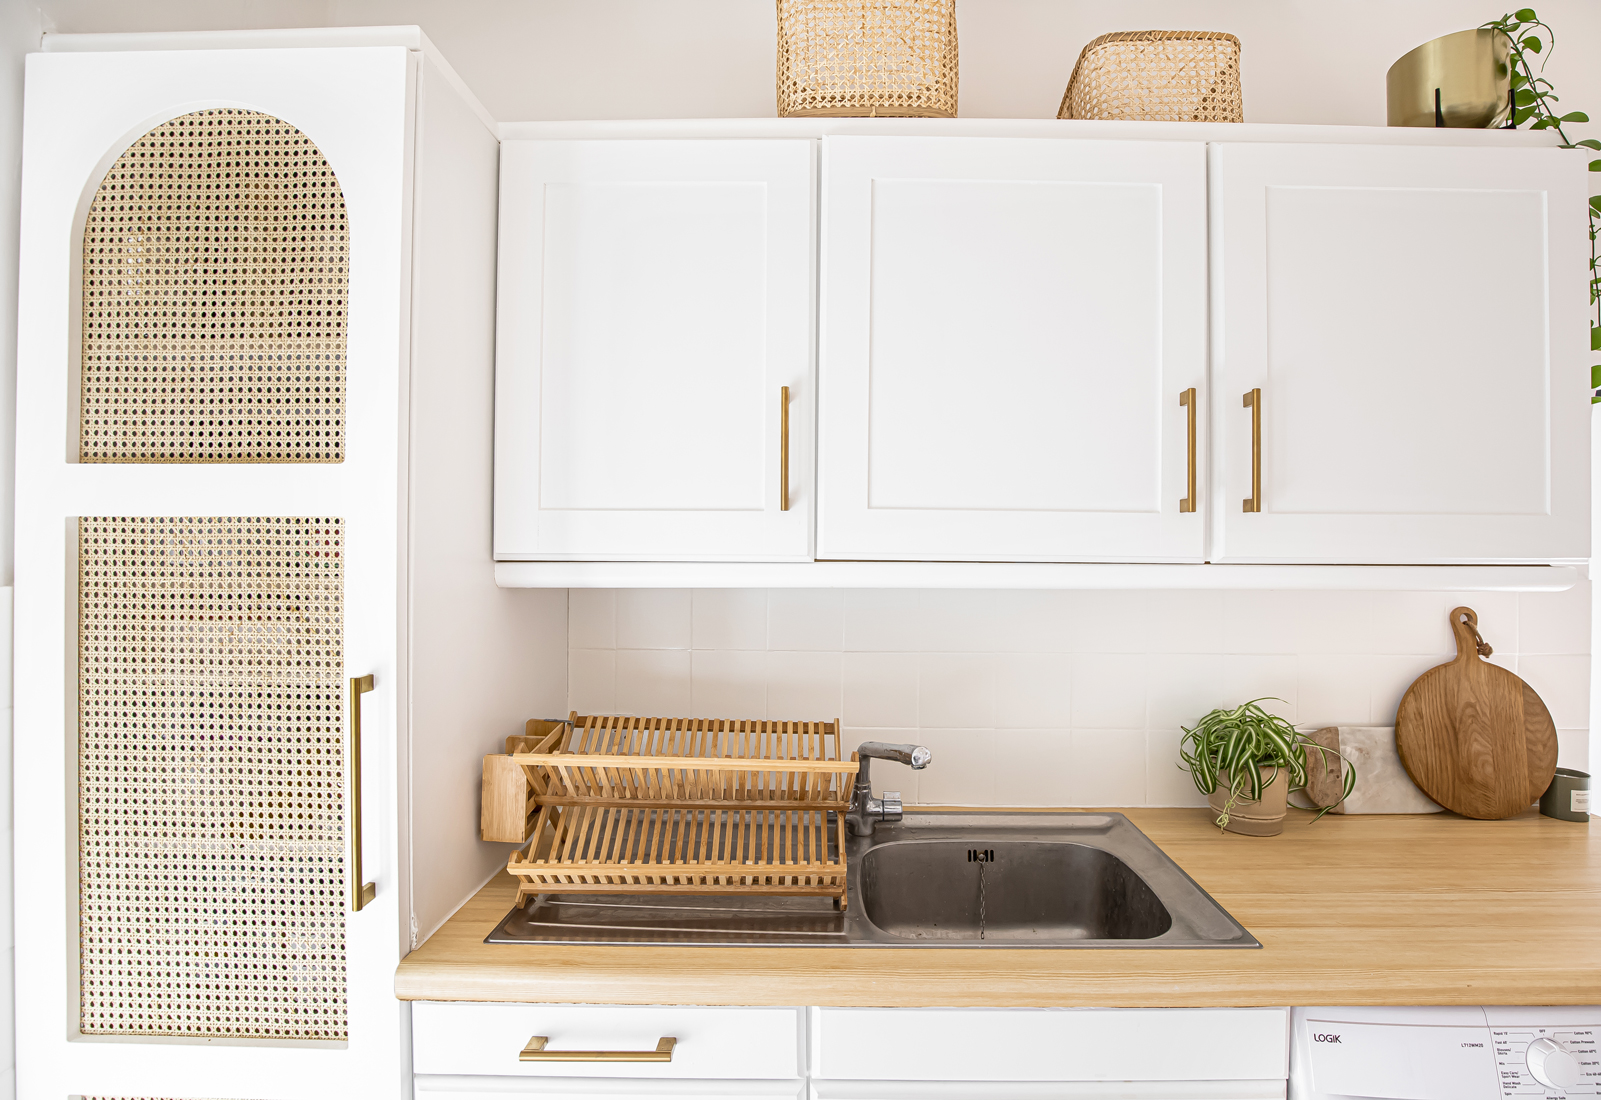
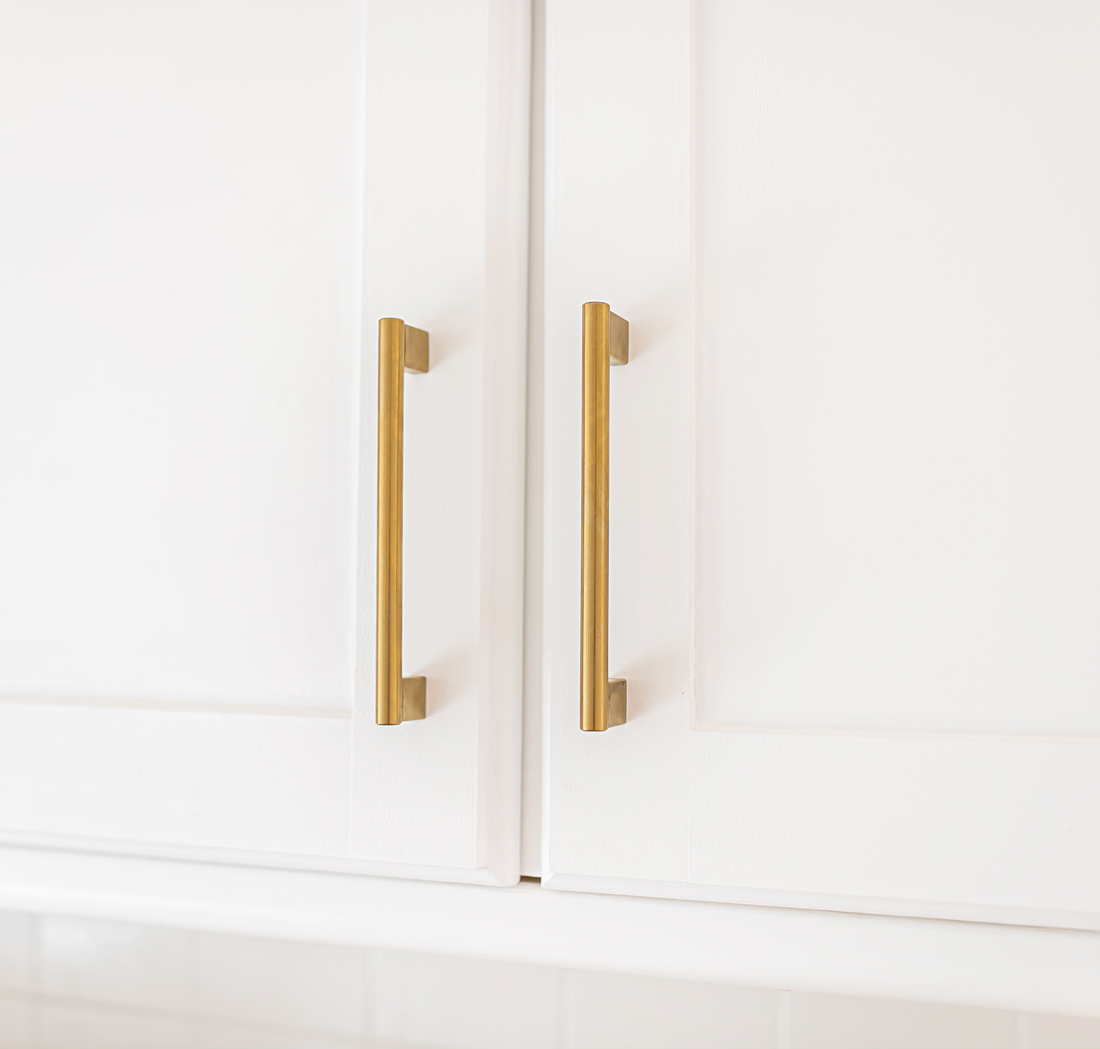
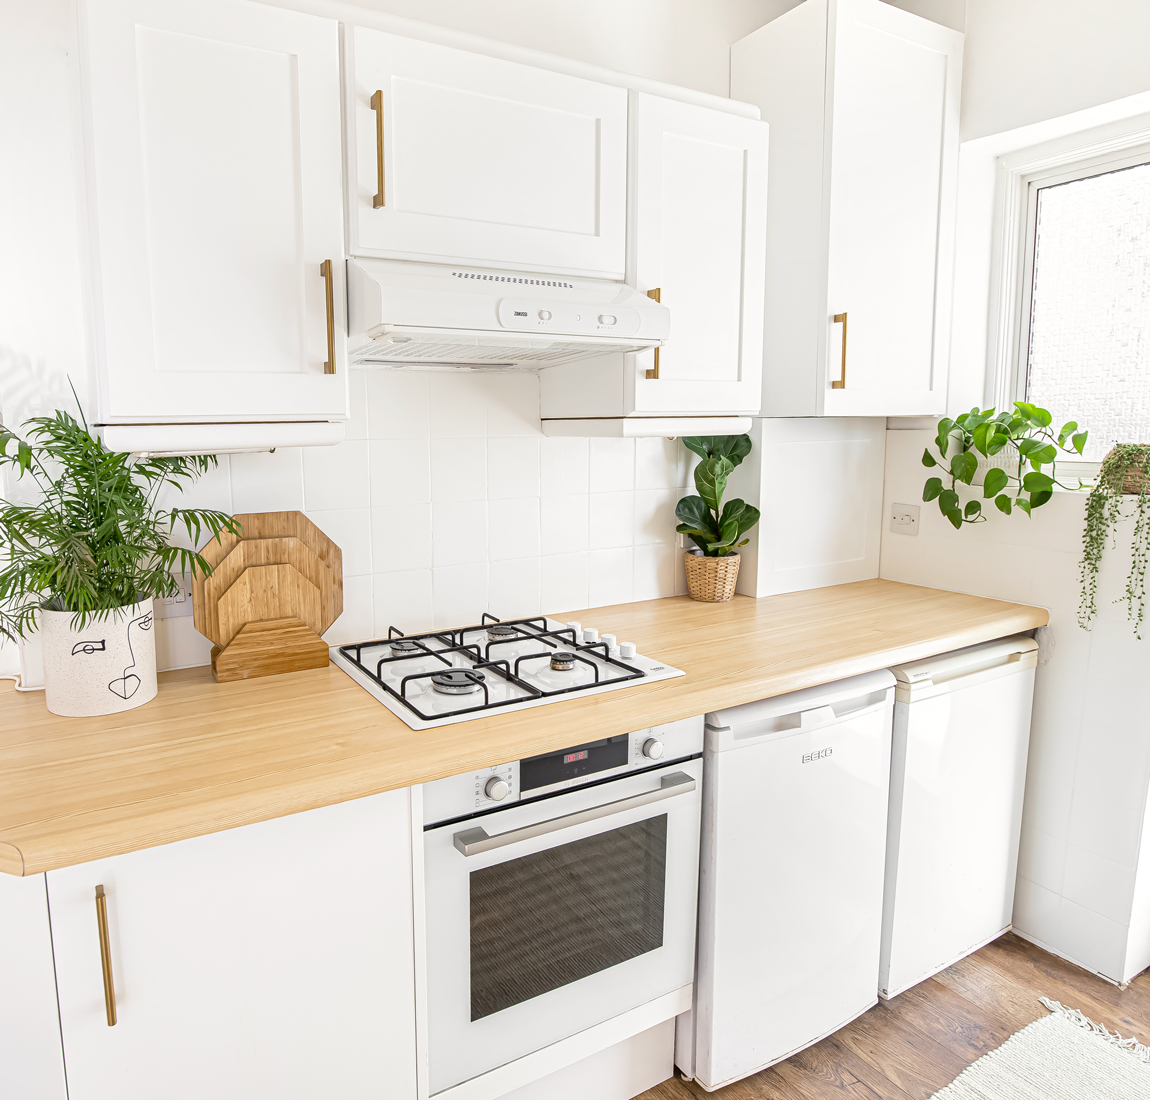
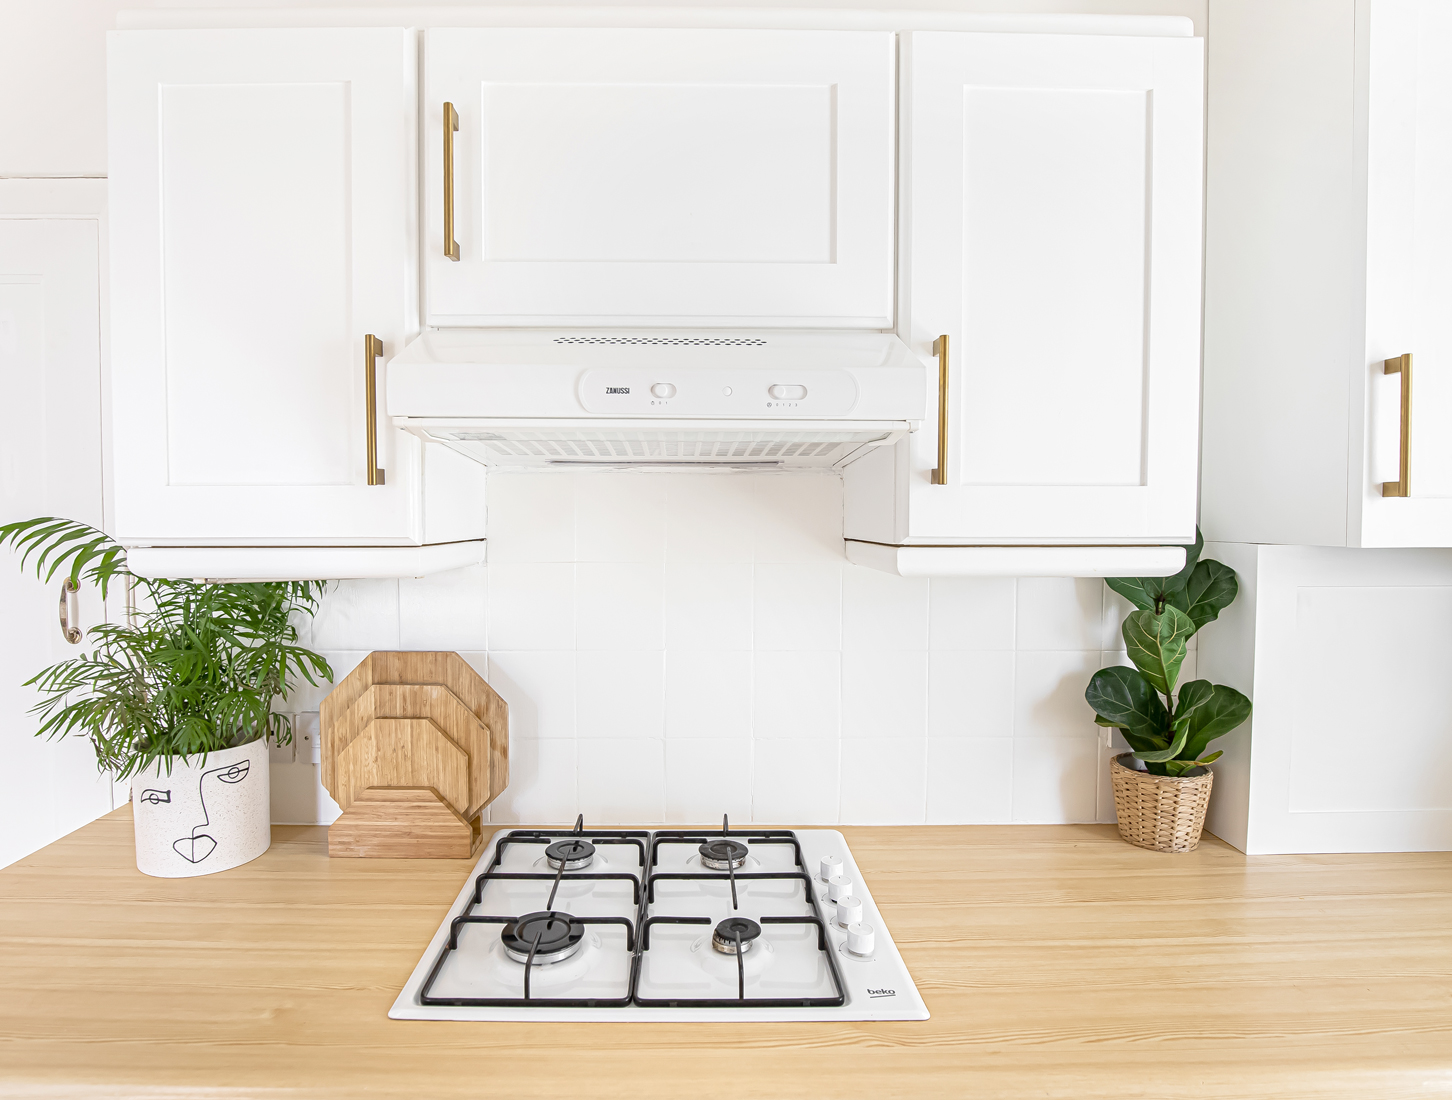
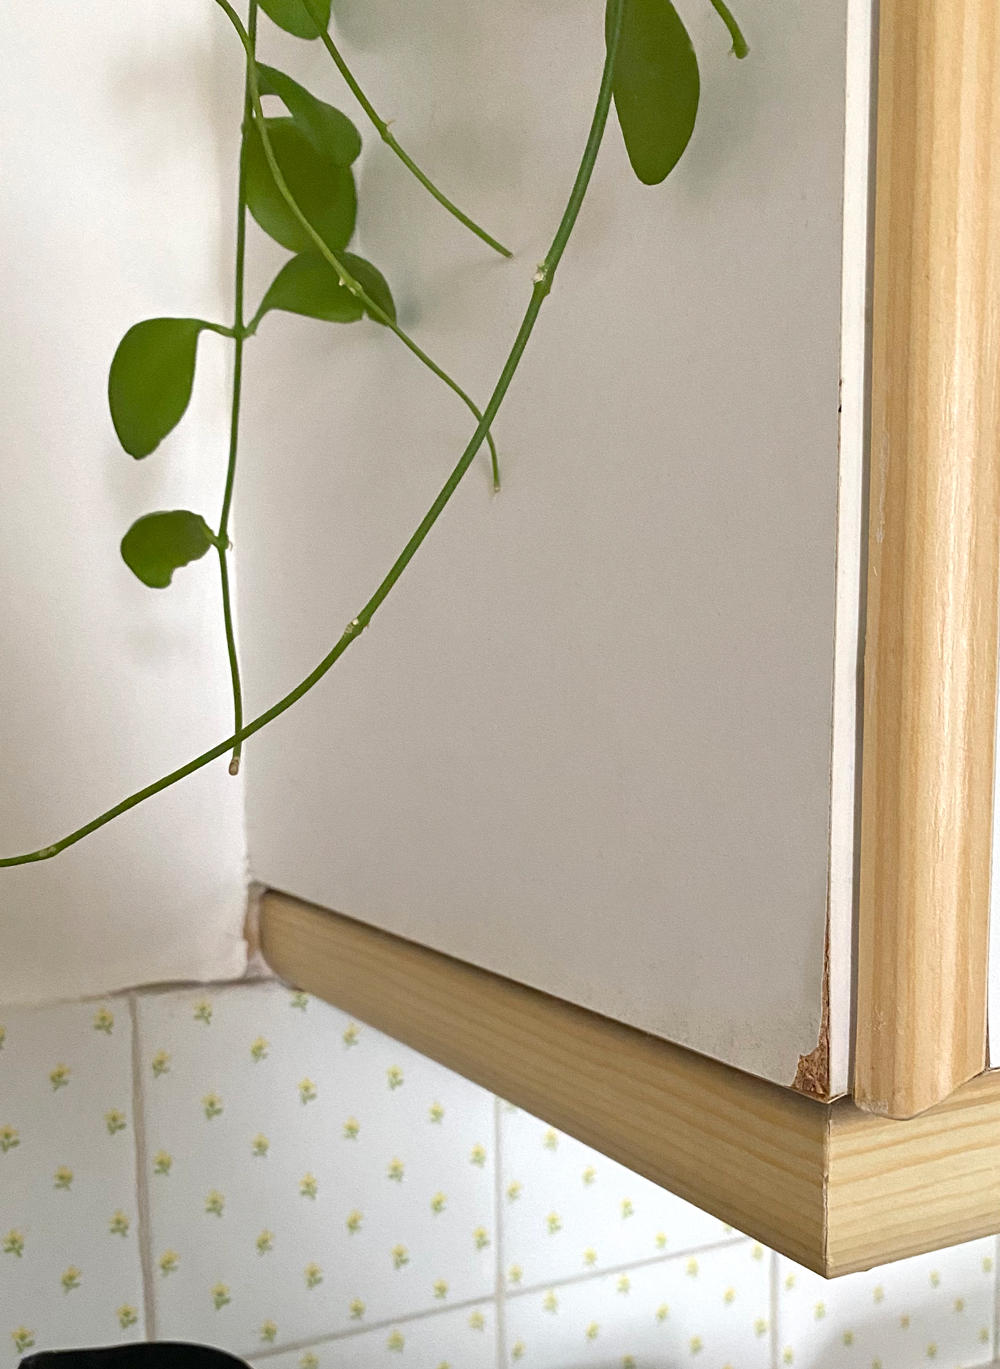
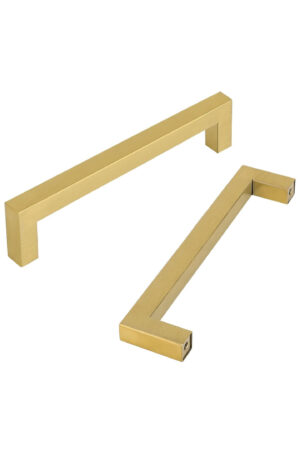
I adore shaker style kitchen cabinets, they give me that Cotswolds cottage aesthetic that is often hard to come by when renting in London of course. However, the cost of getting new custom cabinet doors made would have cost hundreds, maybe even thousands. So what did we do? We went on YouTube and found a DIY tutorial, thank the heavens! This meant we were able to simply give a refresh to our current kitchen cabinet doors and drawer fronts, saving lots of money in the process. Adding new gold handles was a simple and affordable way of giving our cabinets a modern and sleek look.
Here’s a simplified tutorial:
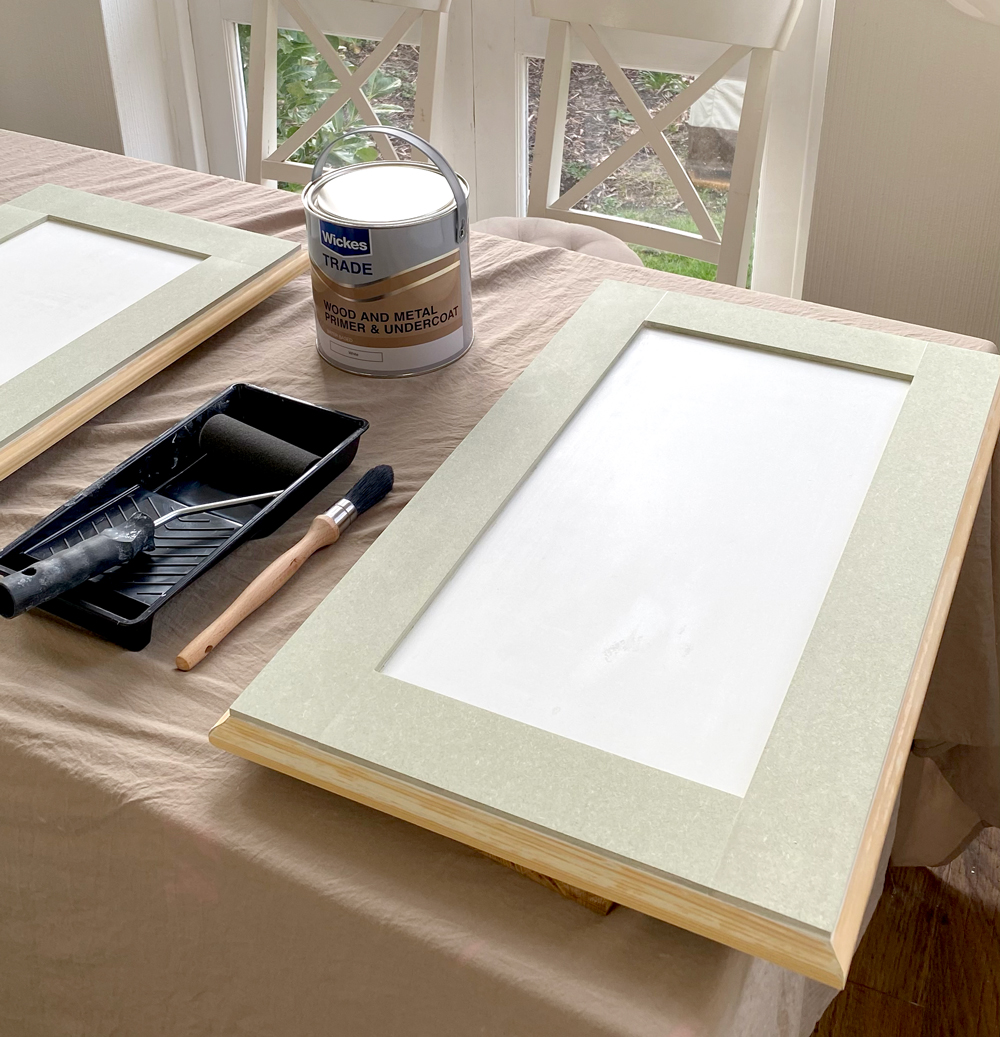
– Remove cabinet doors & drawer fronts and take off old handles
– Clean doors with Sugar Soap (Wilko) to remove dirt and grease
– Cut MDF strip wood to size (we used 6mm Medite Moisture Resistant MDF with a width of 65mm)
Note: Moisture Resistant MDF is perfect for kitchen and bathrooms
– Glue MDF to cabinet doors using Wickes Instant Grab Adhesive Glue
– Once the glue has dried, lightly sand down the edges of the MDF & cabinets with 240 grit sandpaper
– Apply Primer (we used Wickes Trade Universal Primer White 2.5L)
*make sure to use a water-based primer otherwise oil-based ones will ruin your paintbrushes/rollers!
– Once Primer has dried, lightly sand surface with 240 grit sandpaper
– Apply paint with a paint roller for a smooth finish (we used Ronseal One Coat Cupboard Paint – White Satin)
– Drill holes and attach new cabinet handles (Gold Cabinet Handles – 180cm in length)
Watch my story highlight on Instagram HERE to see step-by-step videos of this whole process.
Covering the Boiler
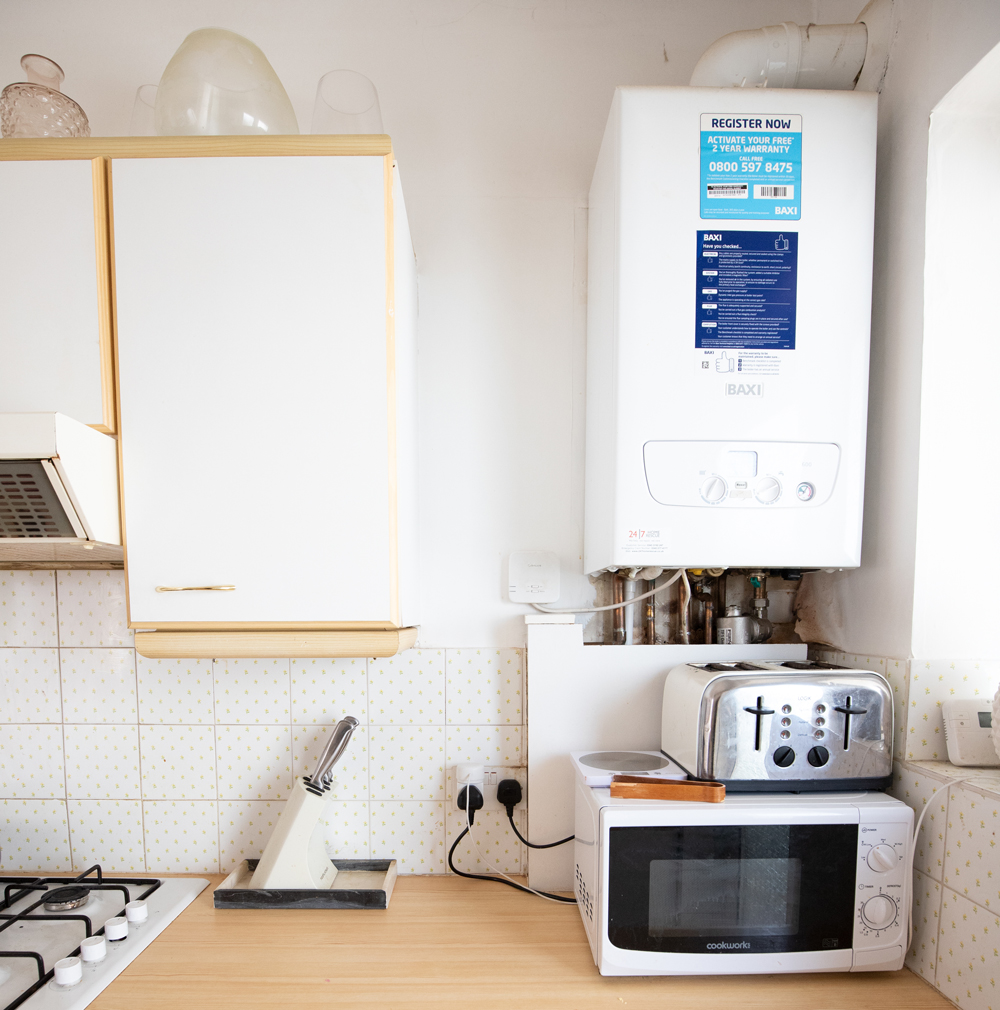
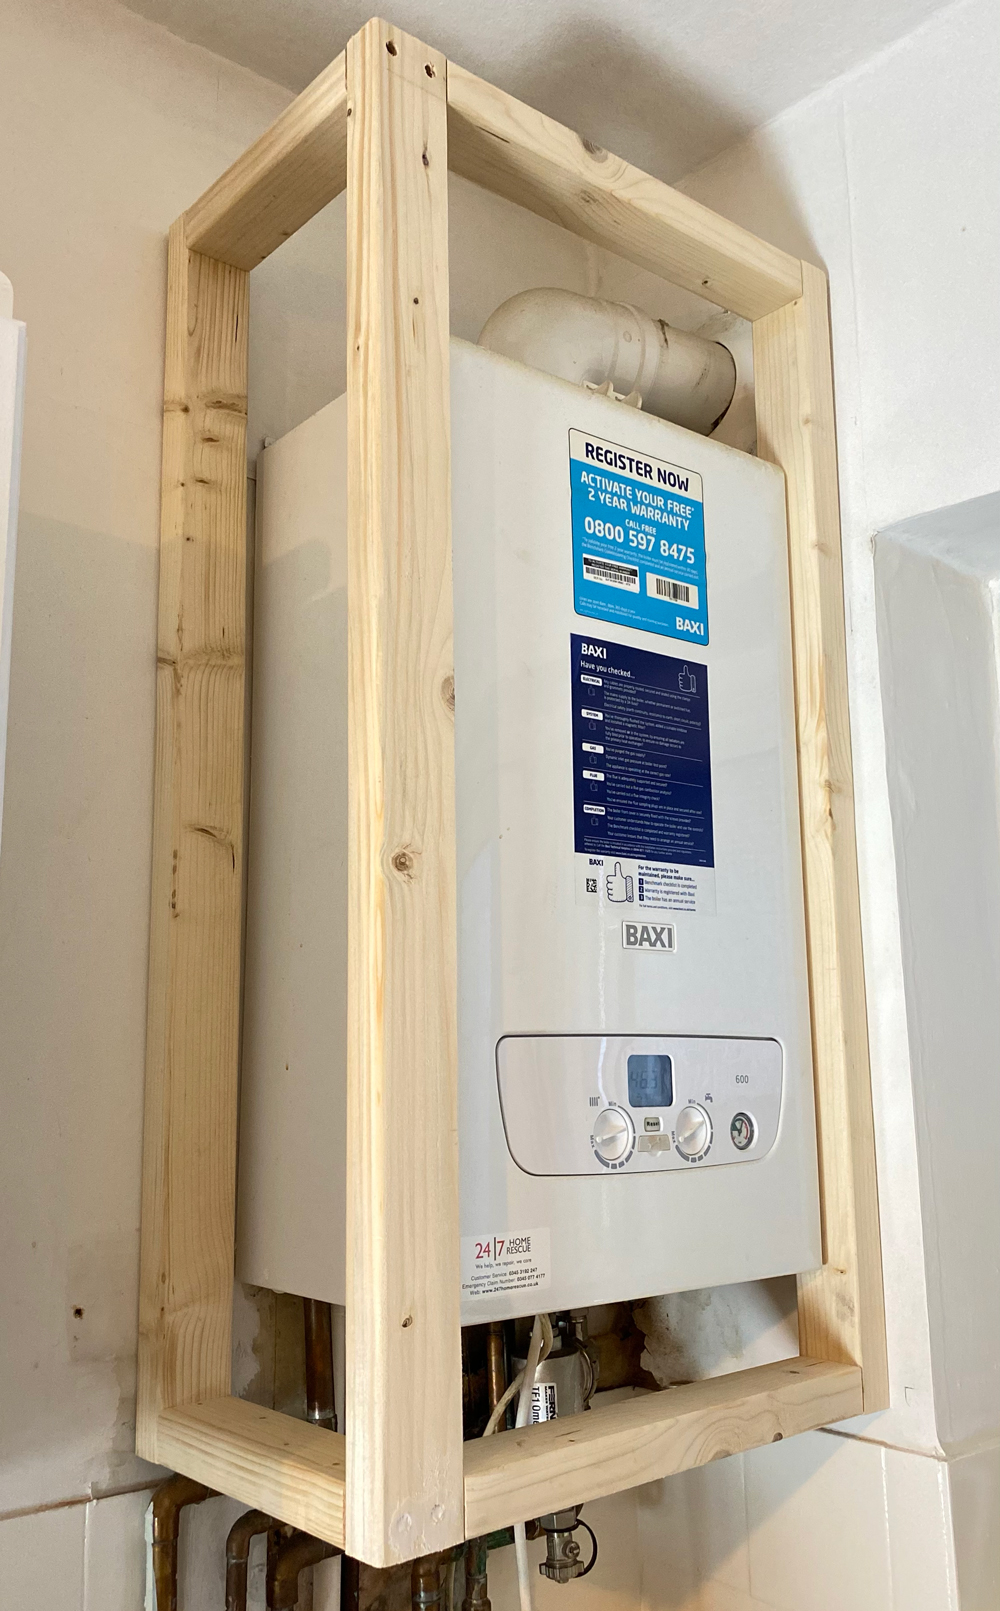
Now for my non-European readers, you might be confused as to what this ugly thing was in our kitchen. Well you see, in our small flat there isn’t a hallway cupboard let alone a basement, attic or loft, the only room that had space for the boiler to live in was the kitchen. However, for some reason, it was never covered up and it was the bane of my existence as it was such an eyesore. I didn’t even know where to start with this one!
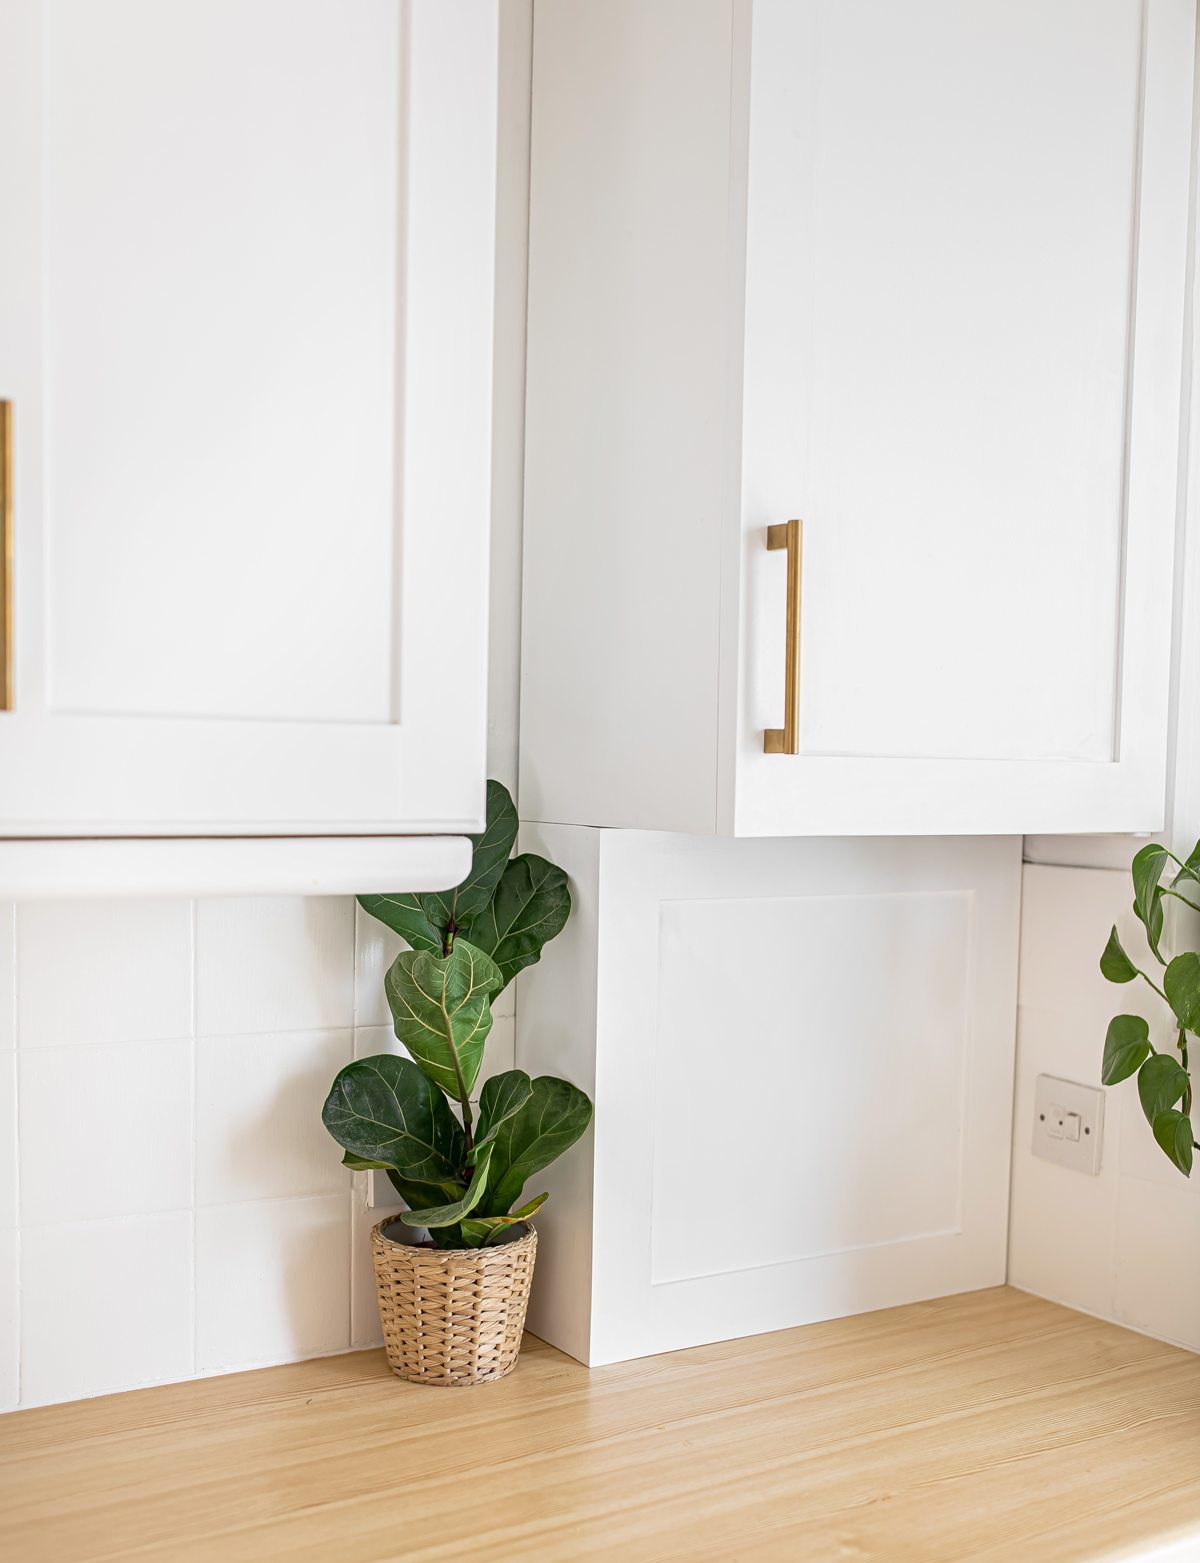
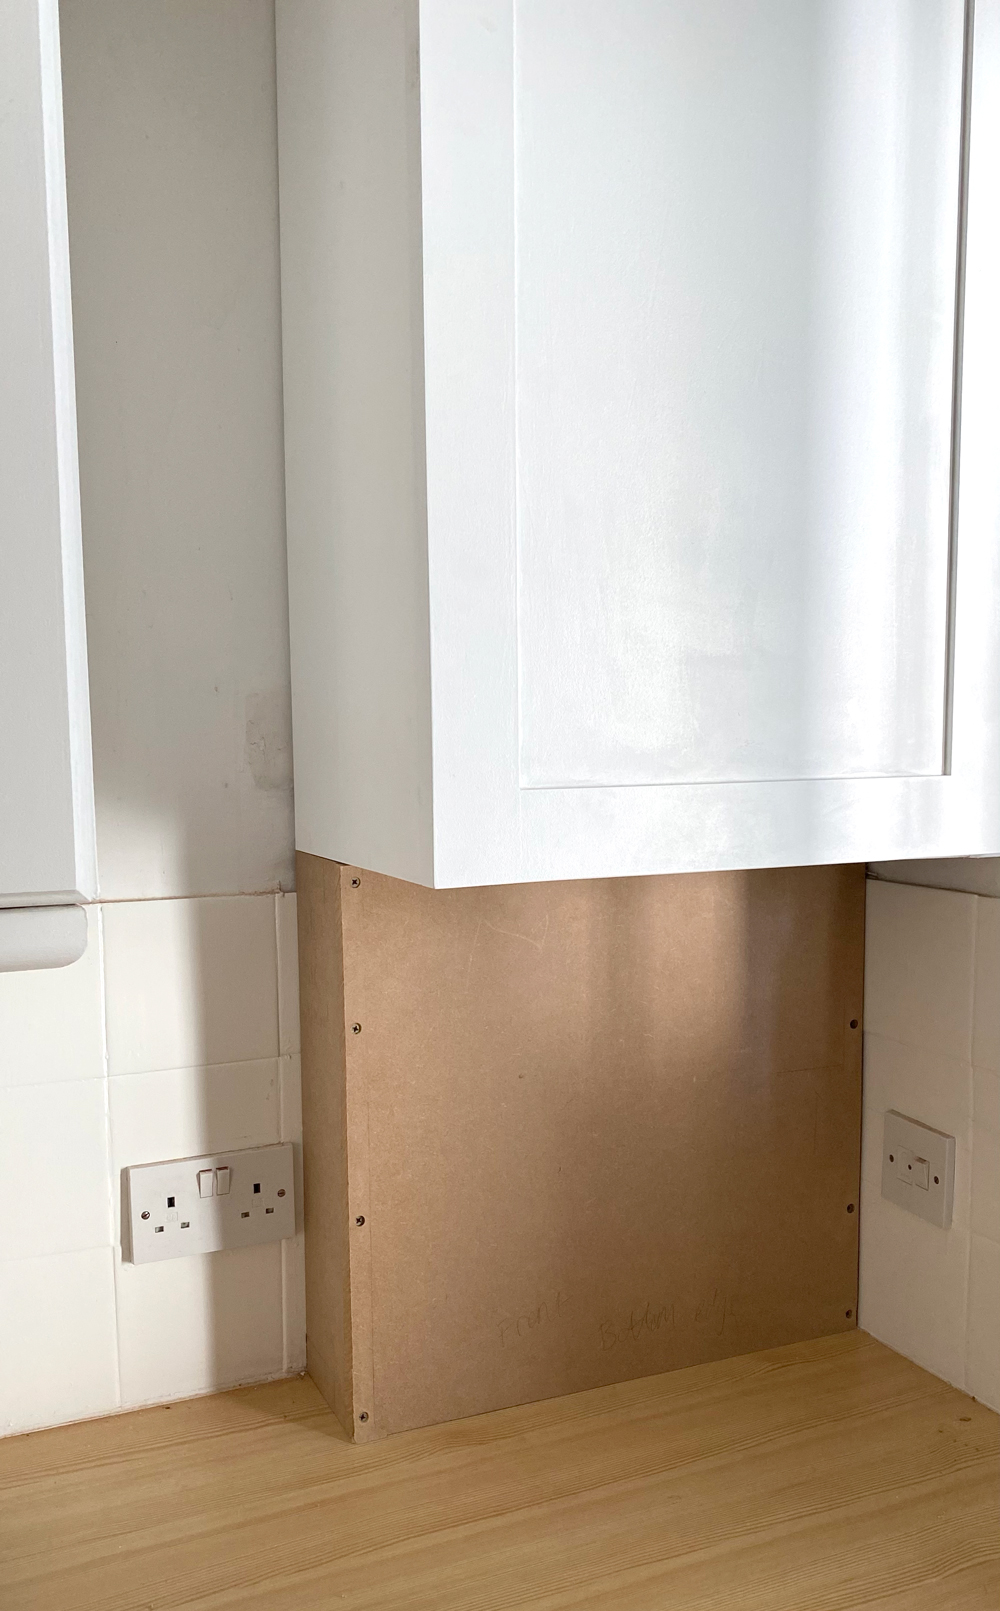
I had some great suggestions from people recommending buying an IKEA cabinet to install over it, however that was out of our budget. Fortunately, Justin had the clever idea and realised we only needed two panels to hide the boiler, think of a cabinet like a cube with 6 sides, we didn’t really need a top or bottom either. He started by building a frame around the boiler using timber and screwed these into the wall. Then he cut two pieces of MDF, one for the side and one piece for the door of this DIY makeshift cabinet. Again, we glued MDF strip wood to the door to make this shaker style so it matched the other kitchen cabinets.
And to hide the pipes underneath the boiler? Justin made a 3-sided box that simply slides underneath the cabinet. This means everything is easily accessible should a plumber need to fix anything with the boiler.
Watch my story highlight on Instagram HERE to see step-by-step videos of this whole process.
Creating a custom Pantry Door
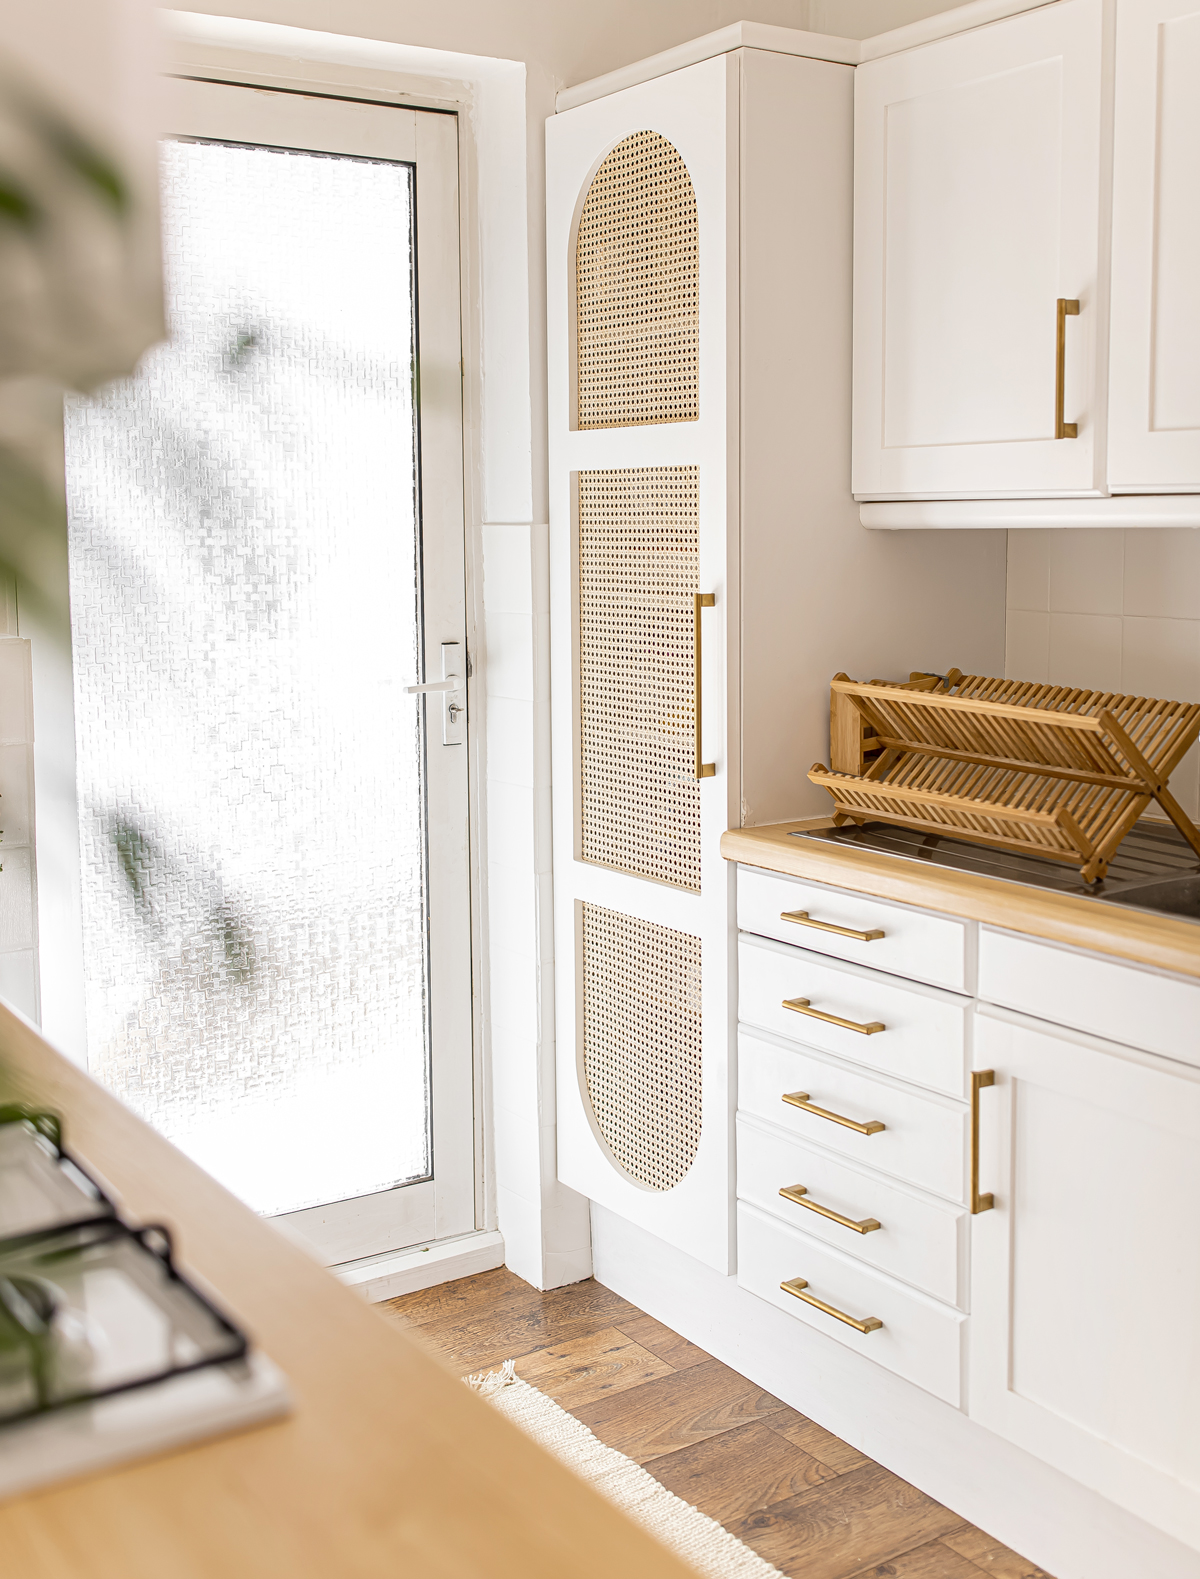
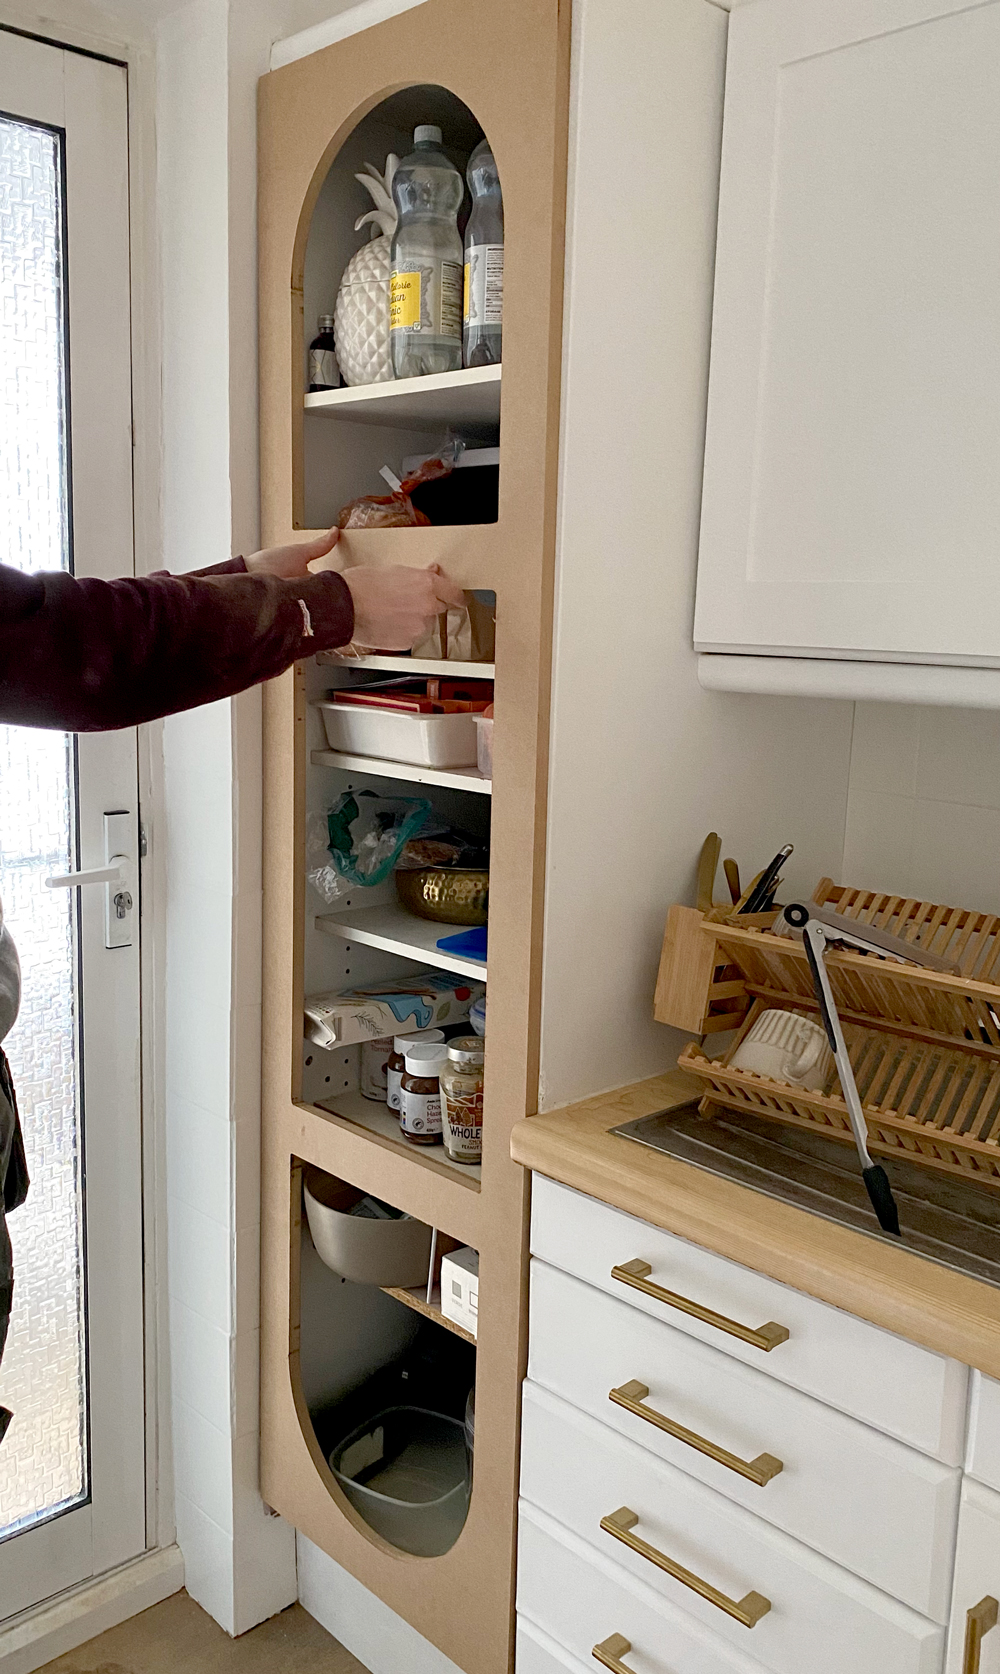
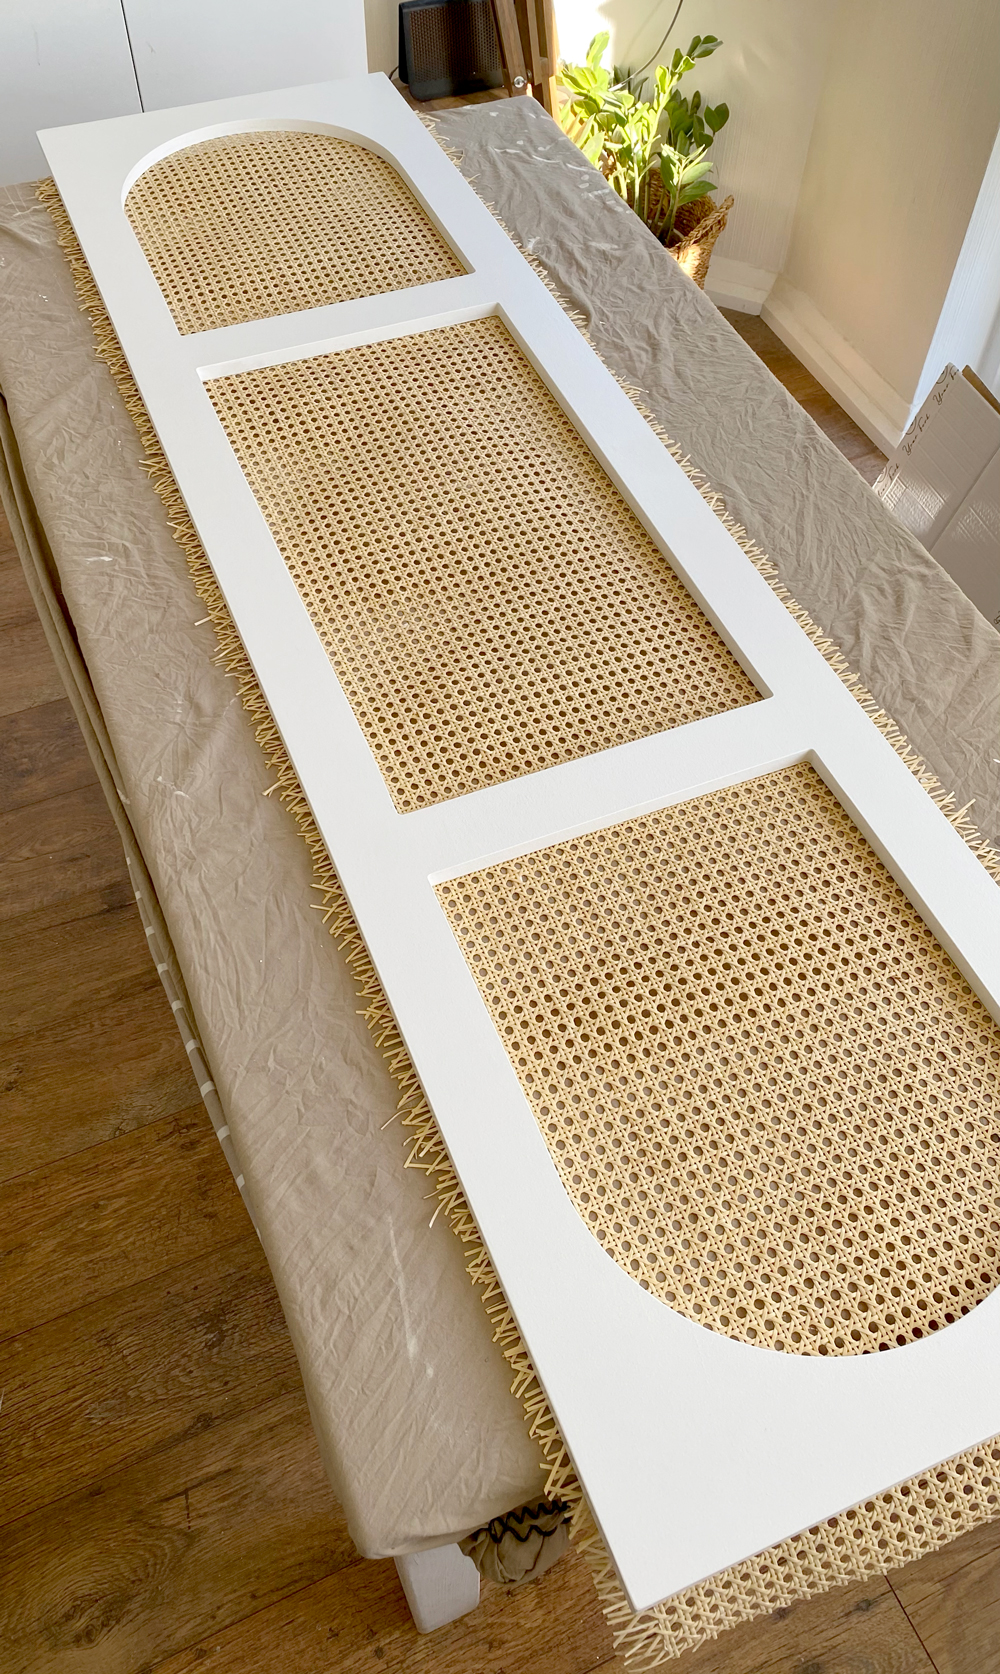
Originally we were planning to do our pantry door shaker style to match the cabinets, however as our kitchen was already white and neutral, I wanted a design feature that would add a subtle statement. I’m clearly obsessed with rattan and my rule is: if a material is found in antique furniture and is still in style today, then it’s timeless and will transcend trends. Having spotted some stunning rattan wardrobe doors in the home of Kate Spiers, I knew the arched shapes would match our arched doorway (leading to our dining room) perfectly. I drew up a design in Adobe Illustrator and asked Justin if he thought it was possible and he said let’s have a crack at it! Although Justin isn’t a carpenter, his woodworking skills are self-taught and I absolutely admire his talent for getting shit done.
Justin used a Bosch Plunge Router to cut out the arched windows using a circle cutting guide, alternatively, you could also do this with a jigsaw tool. I ordered some rattan and once the door frame was cut, primed and painted, we were ready to attach the cane webbing. With rattan you have to soak it in warm water for at least 30 minutes so that it’s malleable, the best way to do this is to chuck it in the bathtub or a sink. We attached the rattan to the back of the door frame using a staple gun, cut off the excess and left it to dry overnight, in the morning it was completely taught. For the pantry door handle, we used this gold handle to match the cabinets and drawers.
Watch my story highlight on Instagram HERE to see step-by-step videos of this whole process.
Replacing Appliances
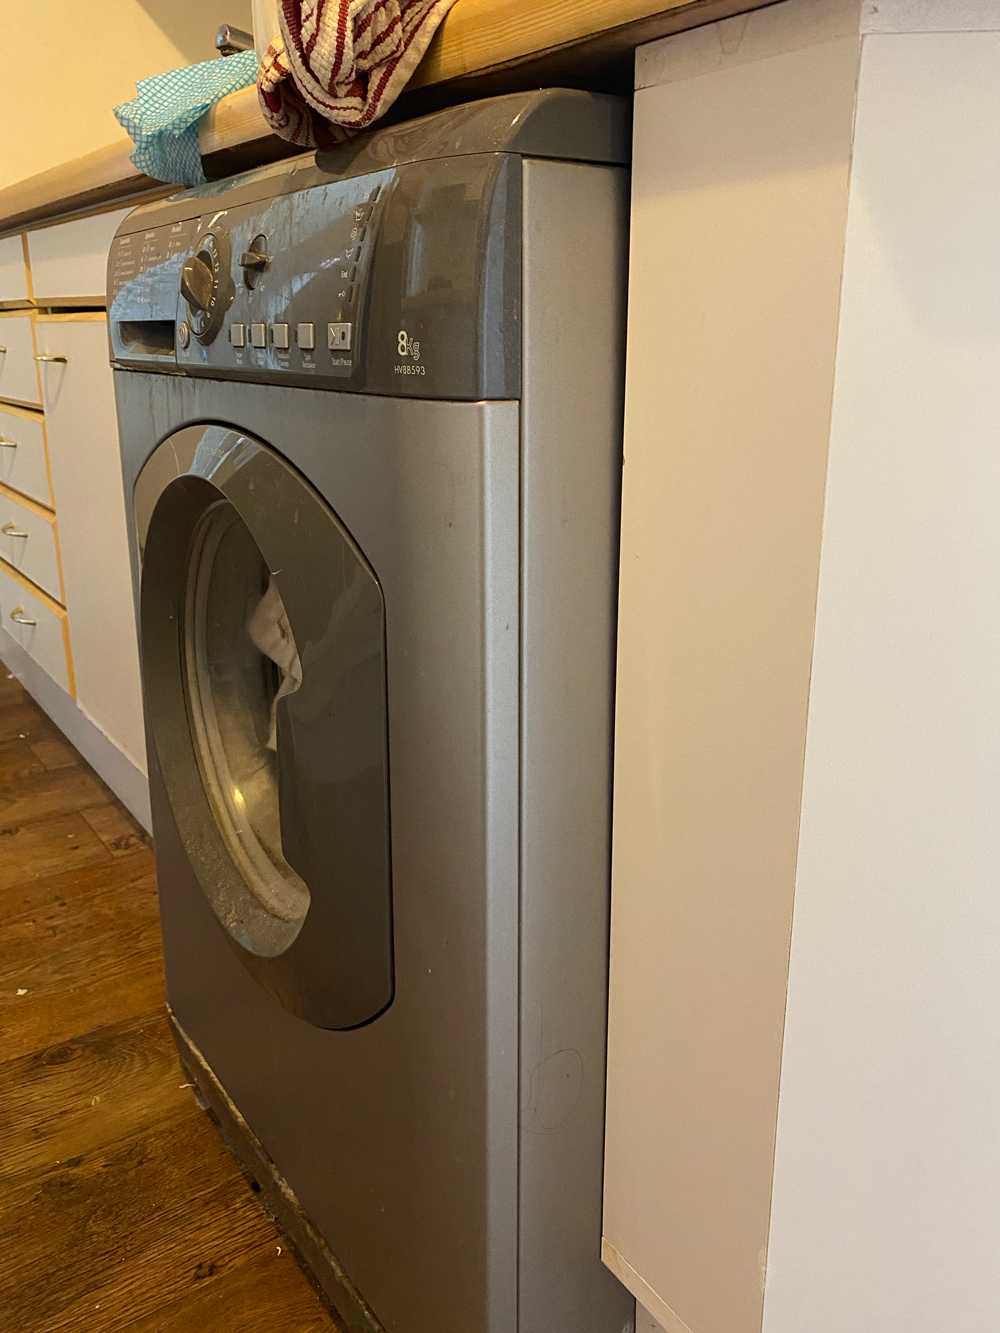
In our agreement with our landlords, we offered to cover the costs of updating the kitchen and they were happy to cover the costs of replacing the extractor fan, washing machine and installing a new kitchen light. The old washing machine was not only leaking but also stuck out past the lower cabinets. The new one sits flushed, however, we couldn’t find one that was small enough so that we could attach a door to hide it. While I’ve considered making a curtain to cover it, honestly I’m happy with how it looks due to the fact the washing machine blends seamlessly with the cabinets.
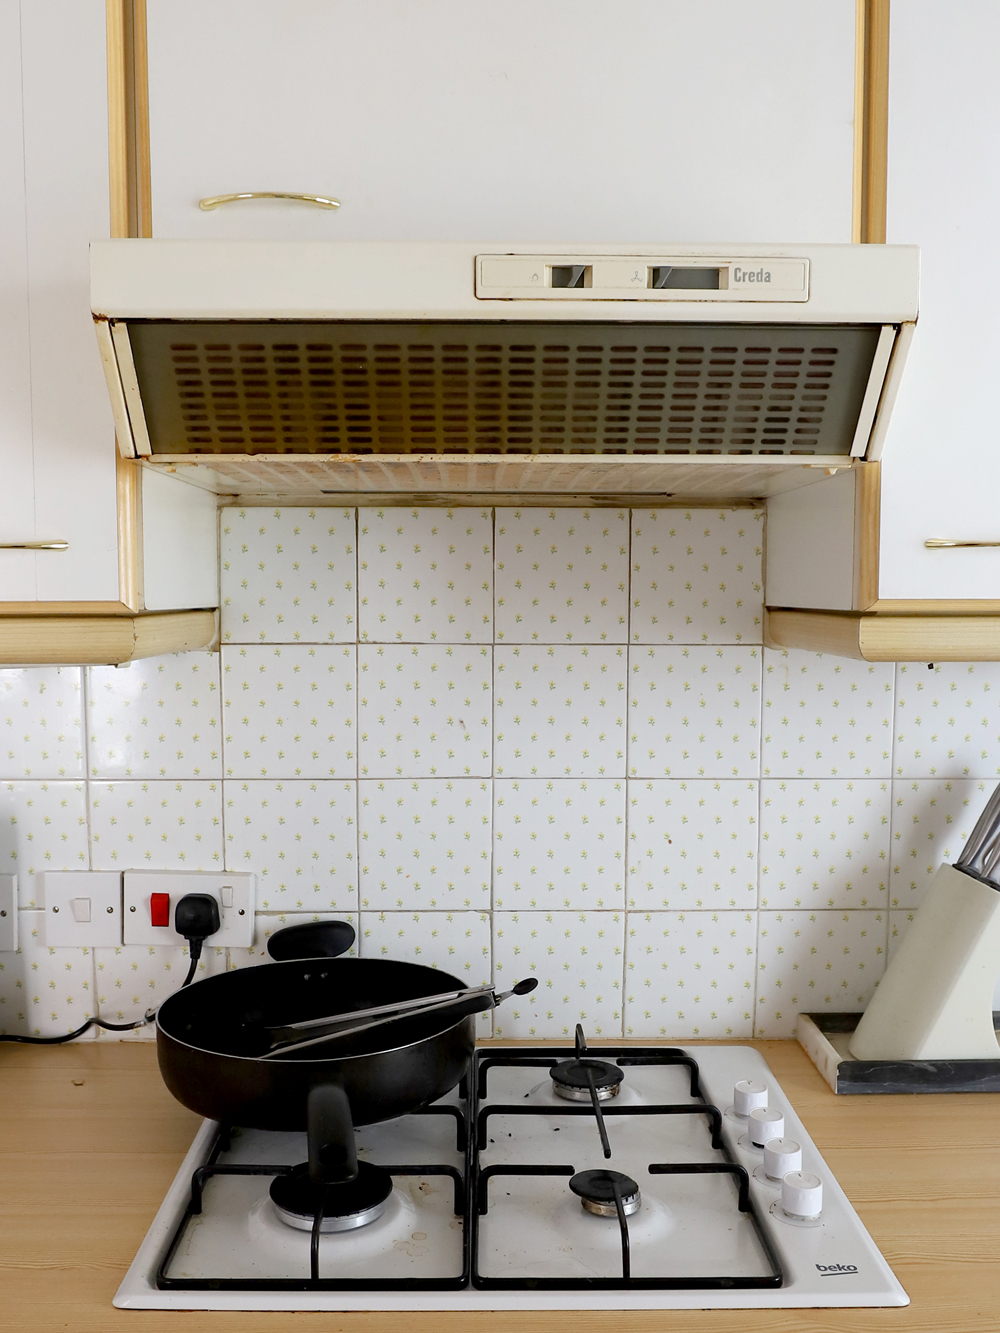
To be honest, if we had given the extractor fan a good clean it wouldn’t have looked so bad though it was seriously outdated and aged our kitchen terribly. We found modern extractor fans ranging from £40-£80.
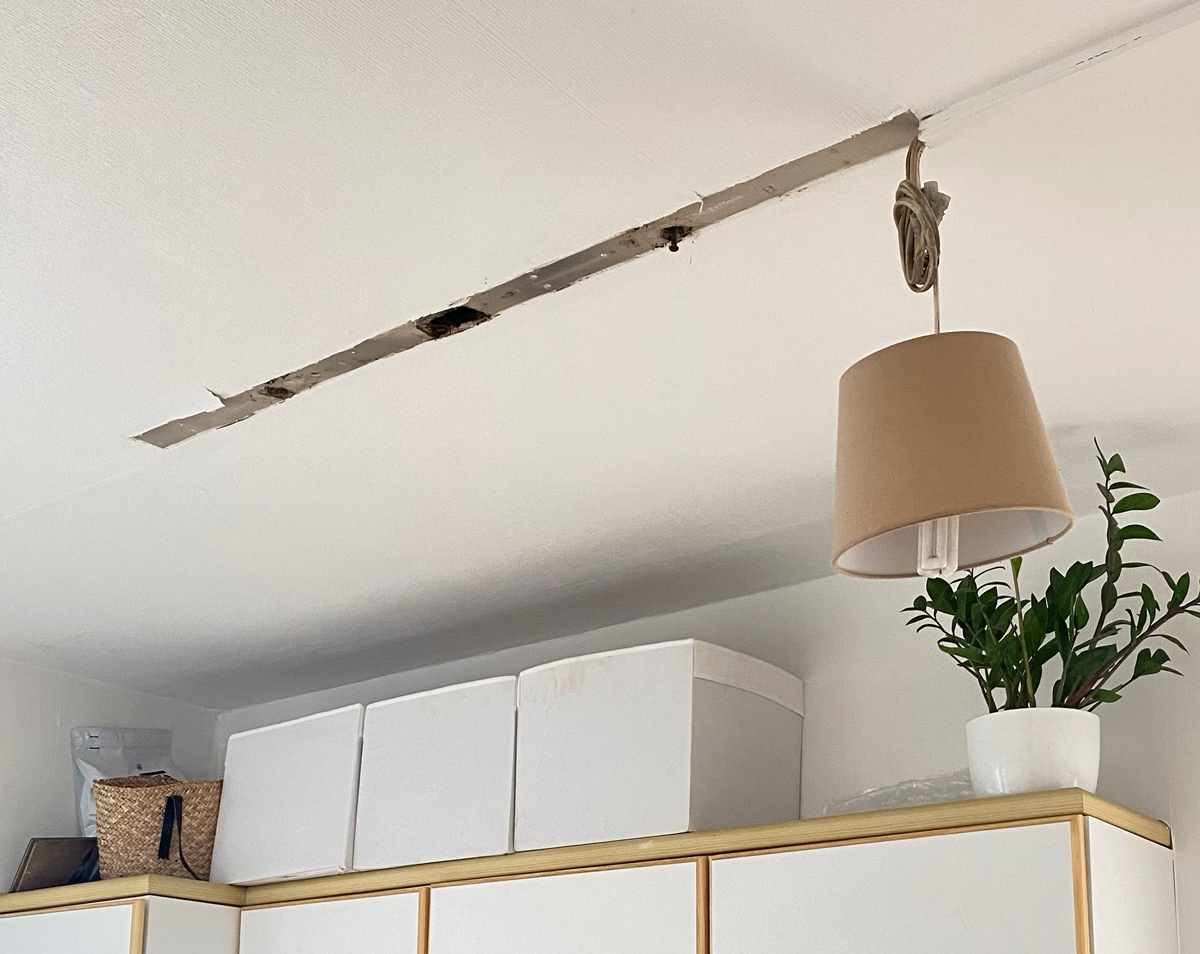
As you can see we also desperately needed our kitchen ceiling light replaced… it’s actually laughable the state it was left in by a previous electrician who literally left halfway through a job. Our landlords paid for this and covered the cost of hiring an electrician to install the new extractor fan and ceiling light as some things are best left to the professionals.
Cost Breakdown
MDF + pine wood = £81.99
2 x tins of tile paint = £30
1 x 2.5L tin of primer = £25
3 x tins of cupboard paint = £45
Rattan = £52.25
Gold Handles = £35.04
Door Hinges = £20
Nails & misc = £10
Total = £300
Tools & Materials Links
xx Kelsey
Related:
Want more DIY tutorials? Click here.
Enjoyed this post? Pin it for later below! Follow me on Pinterest.


Love the kitchen