— This article contains affiliate links —
The reeded glass trend has taken the interior world by storm after a resurgence from when it first emerged in the 1930s. It’s giving me mid-century retro dinner party vibes and I’m here for it — I’m just not here for the price tag. So it’s no surprise I was absolutely BUZZING to have stumbled across Glass Films who sell removable glass film that magically transforms any plain glass into a stunning design feature for a fraction of the cost. I didn’t even know that this type of product existed, think of it like contact paper for glass! In the same way you covered your school notebooks in different designs, there is a world of possibilities when it comes to glass film options that can significantly update an interior theme, diffuse light in your home or add privacy.
POST NAVIGATION
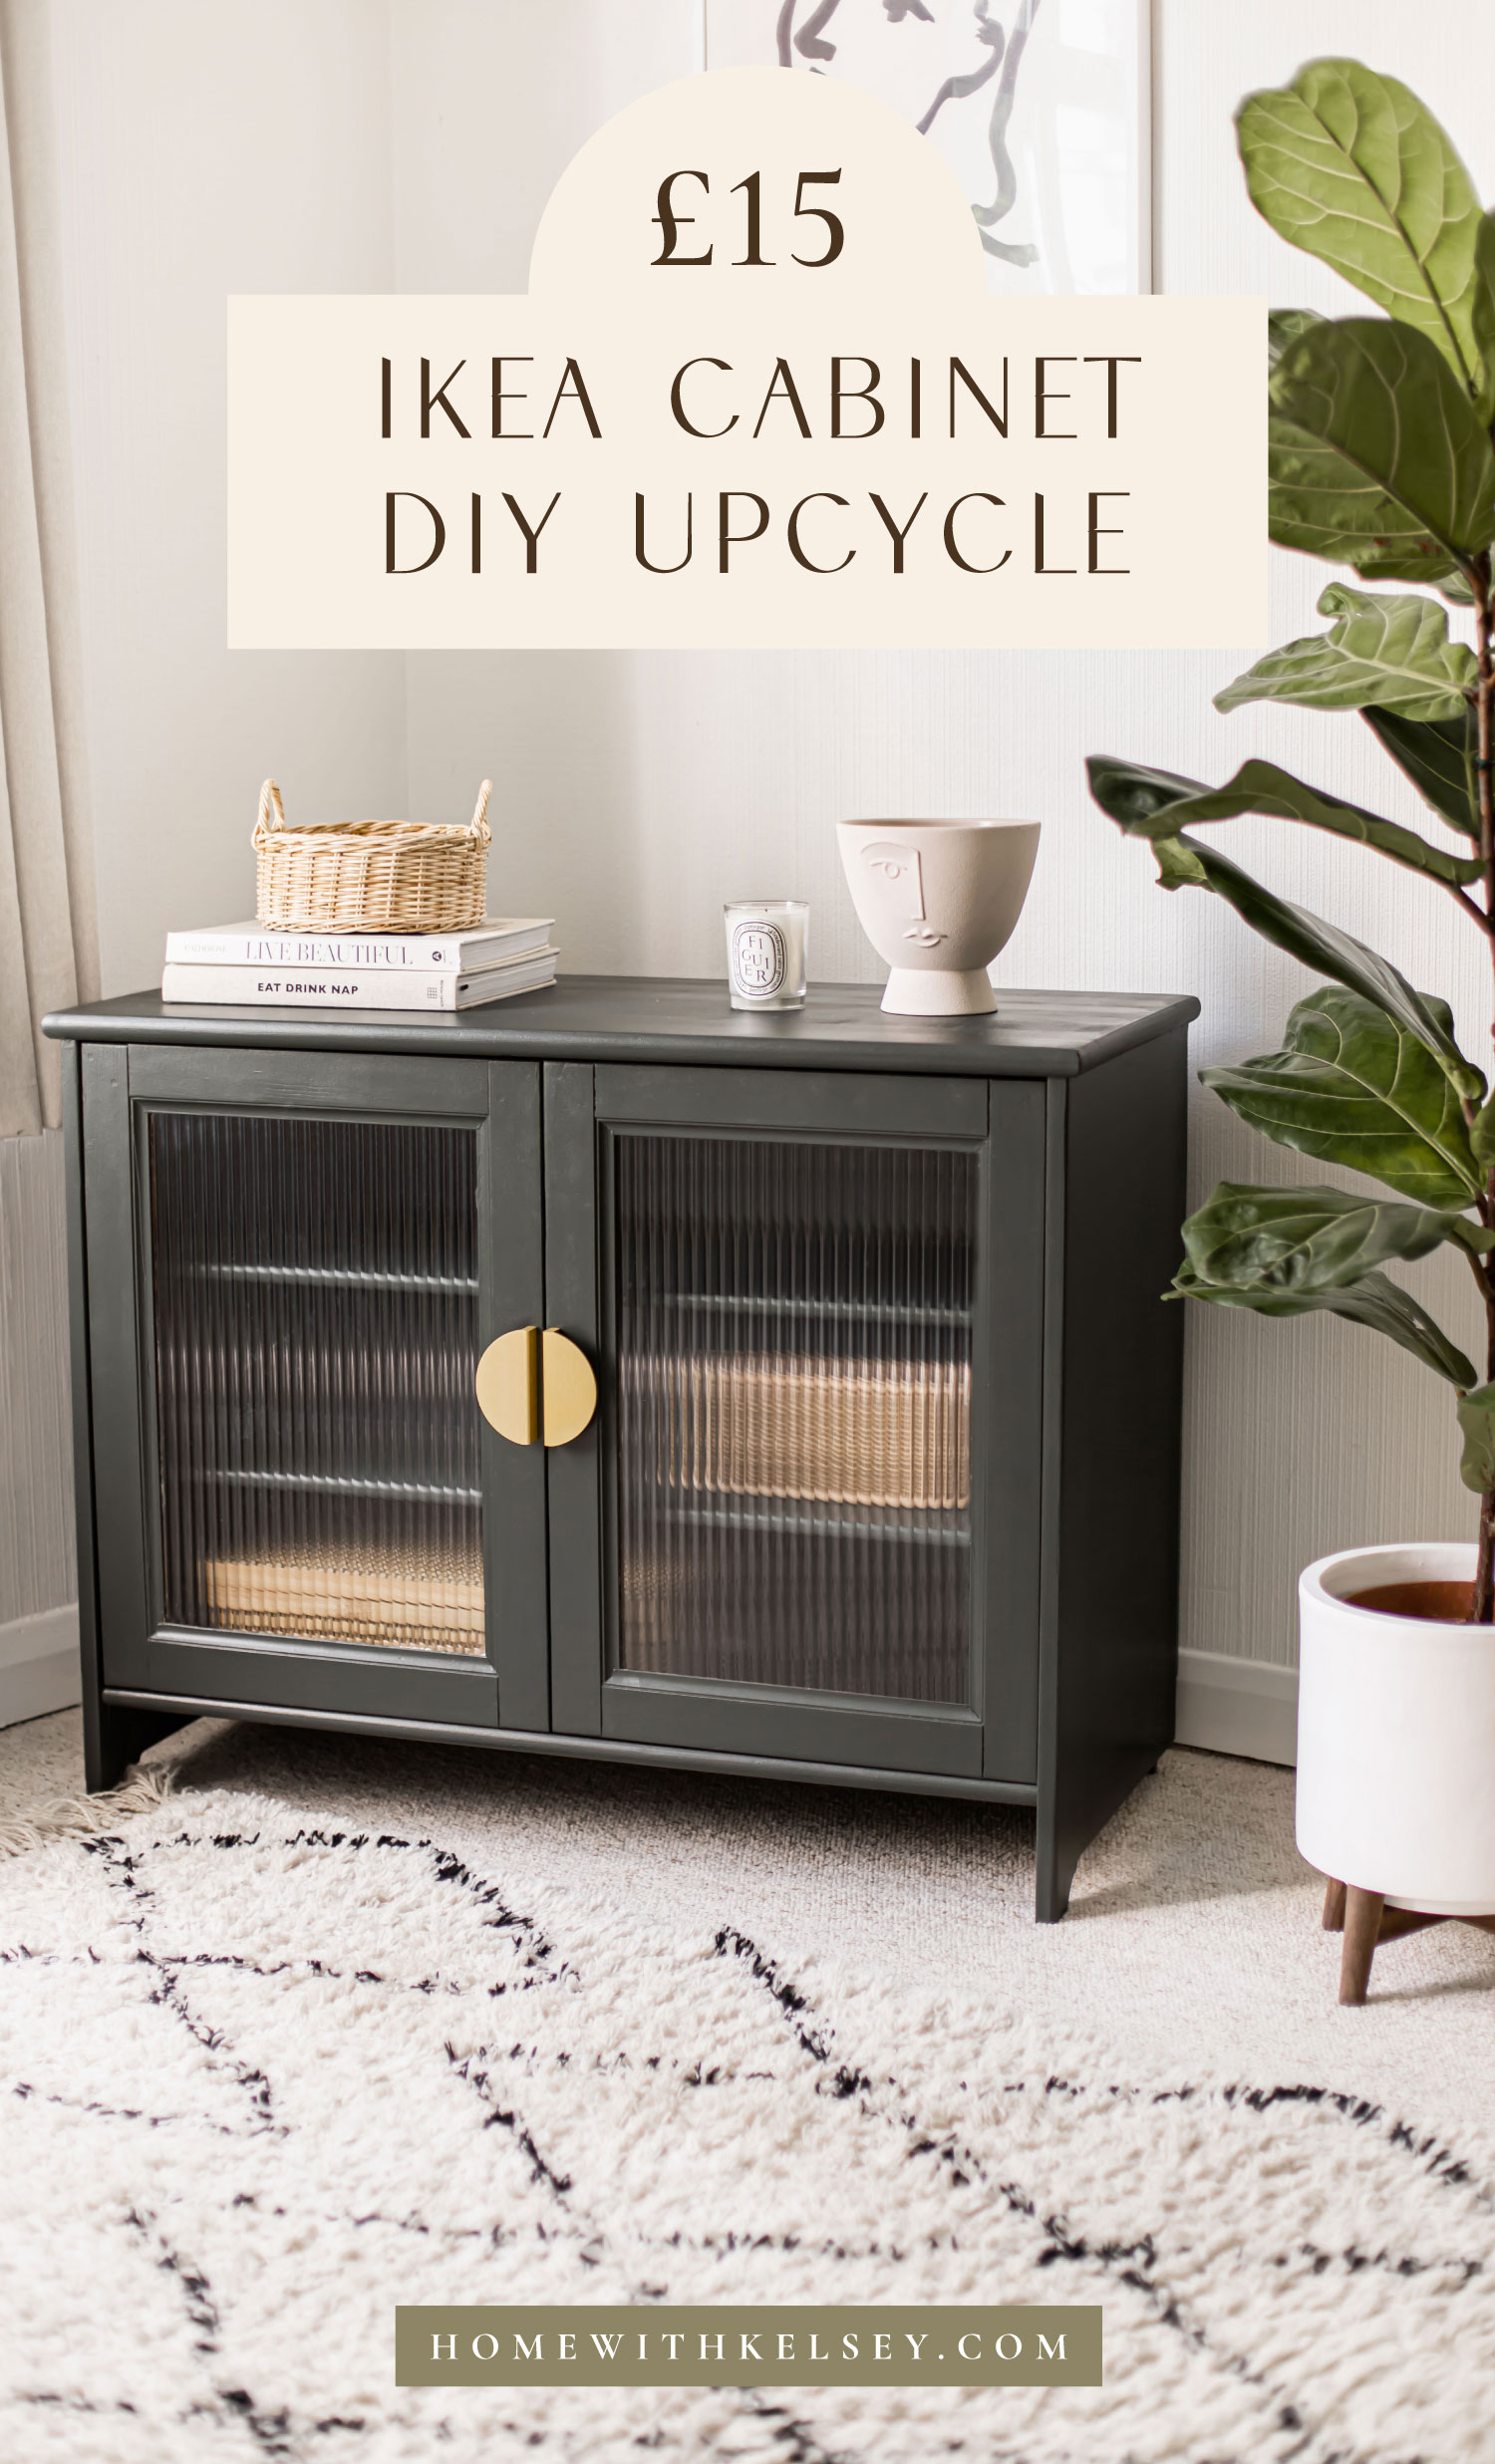
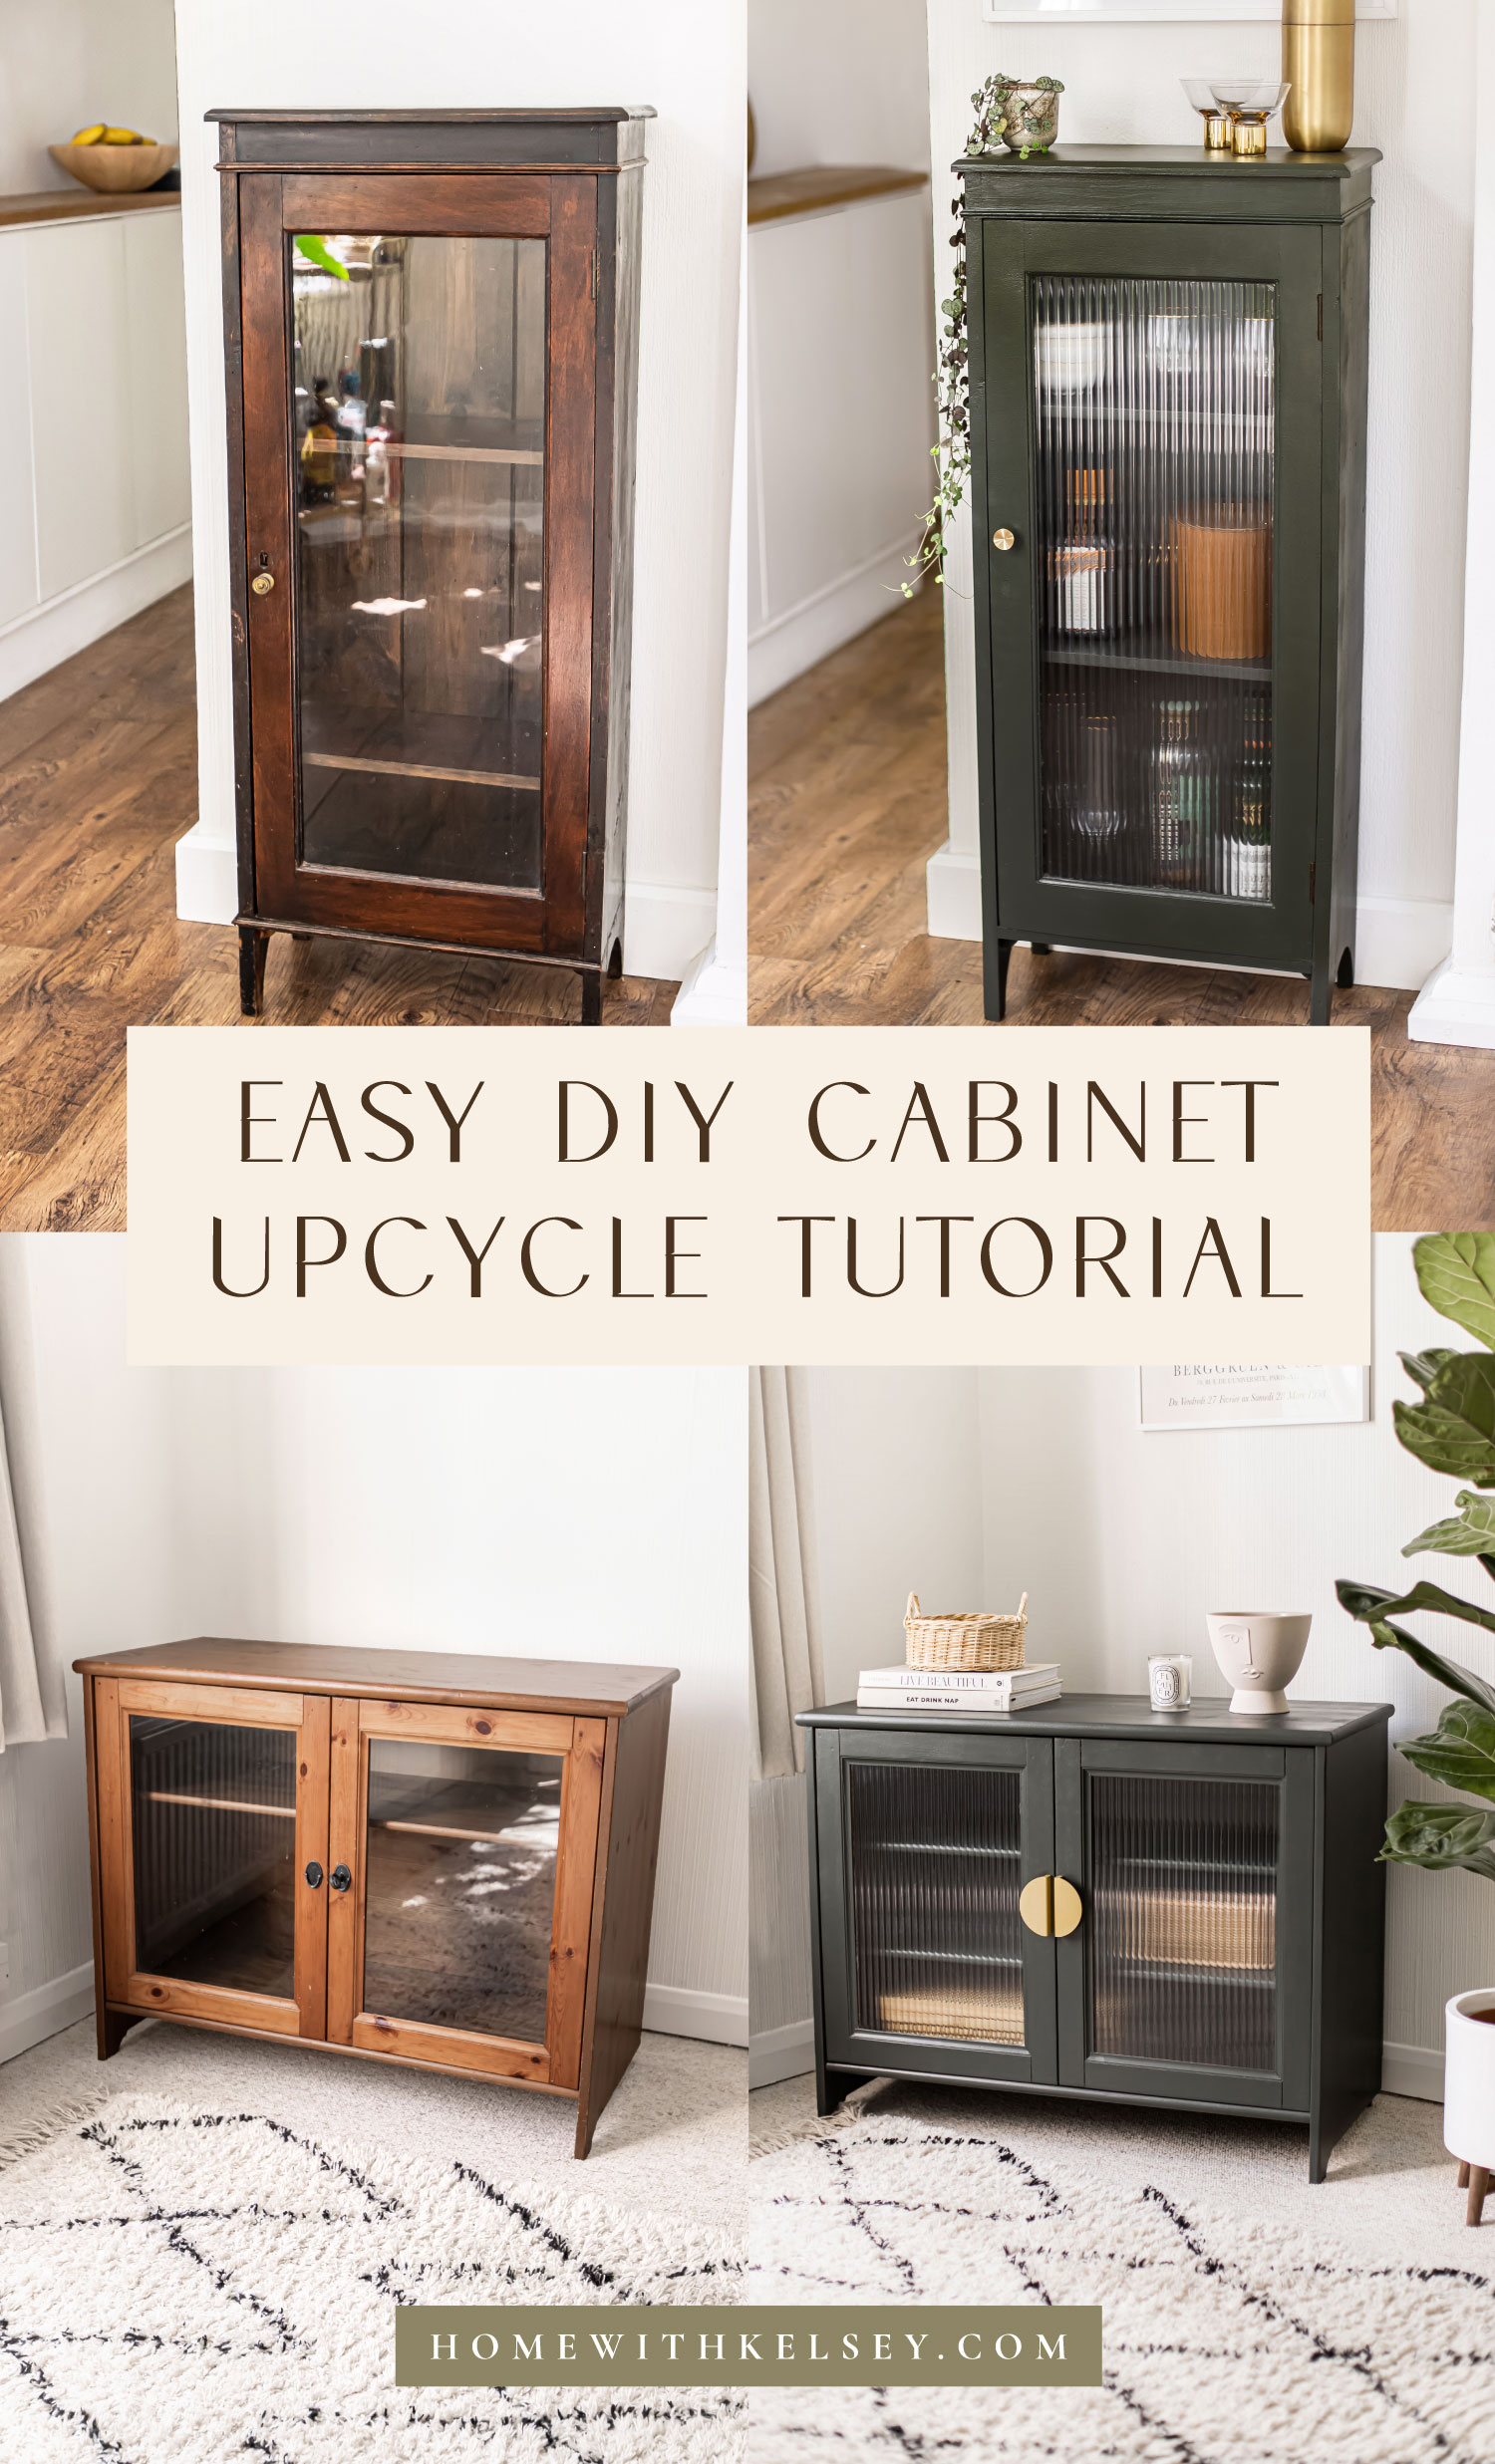
This reeded glass film would look spectacular when added to a shower screen or dividing glass wall however in our rental we had limited options on where we could utilise this product. So we decided to source some second-hand glass cabinets that we could give a new lease on life. We spent an afternoon on Facebook Marketplace with the filter set to “under £20” and within a few hours we had already picked up two cabinets for £15 each.
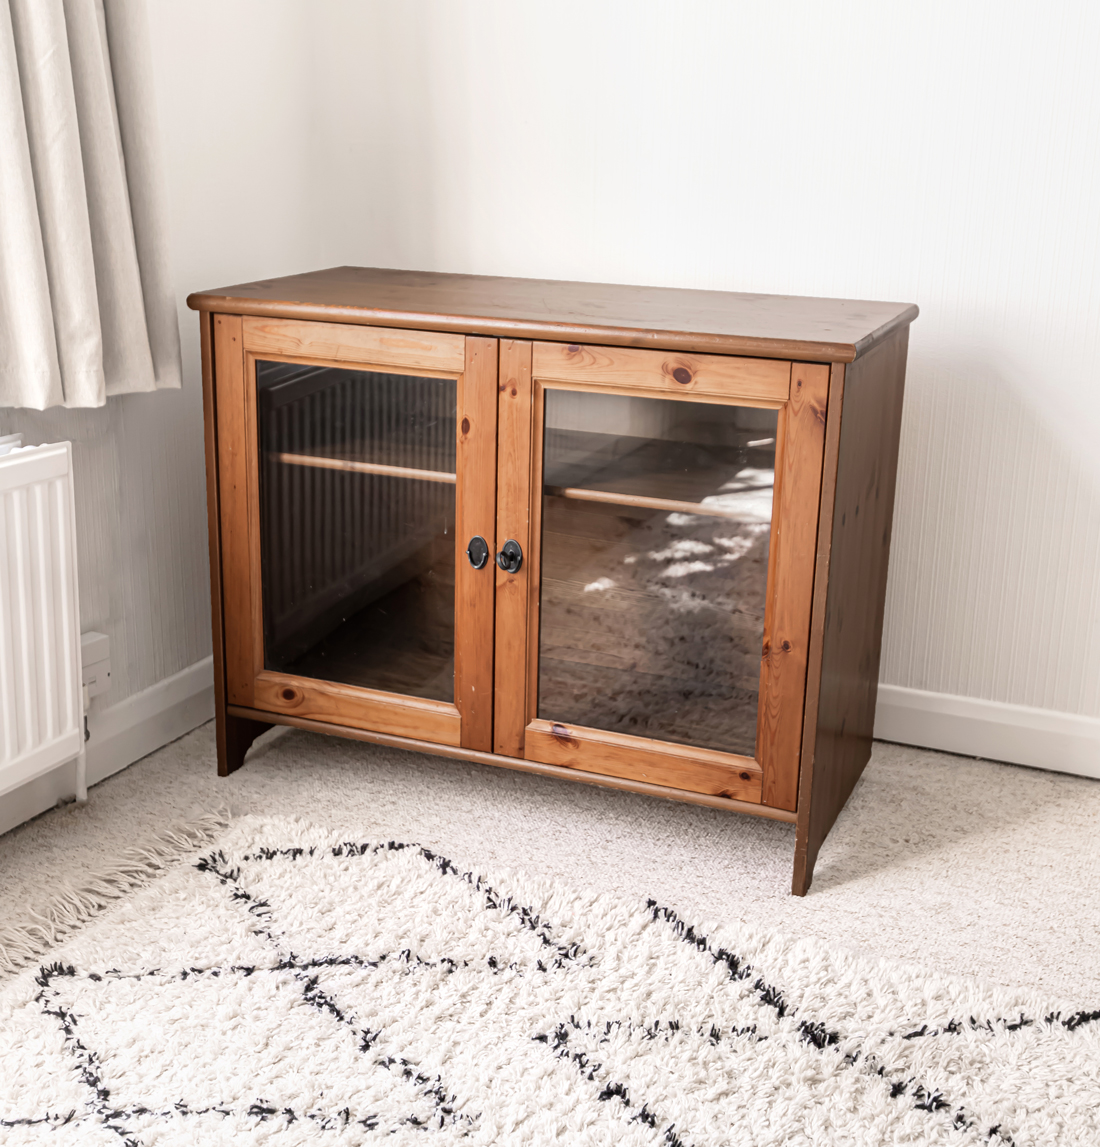
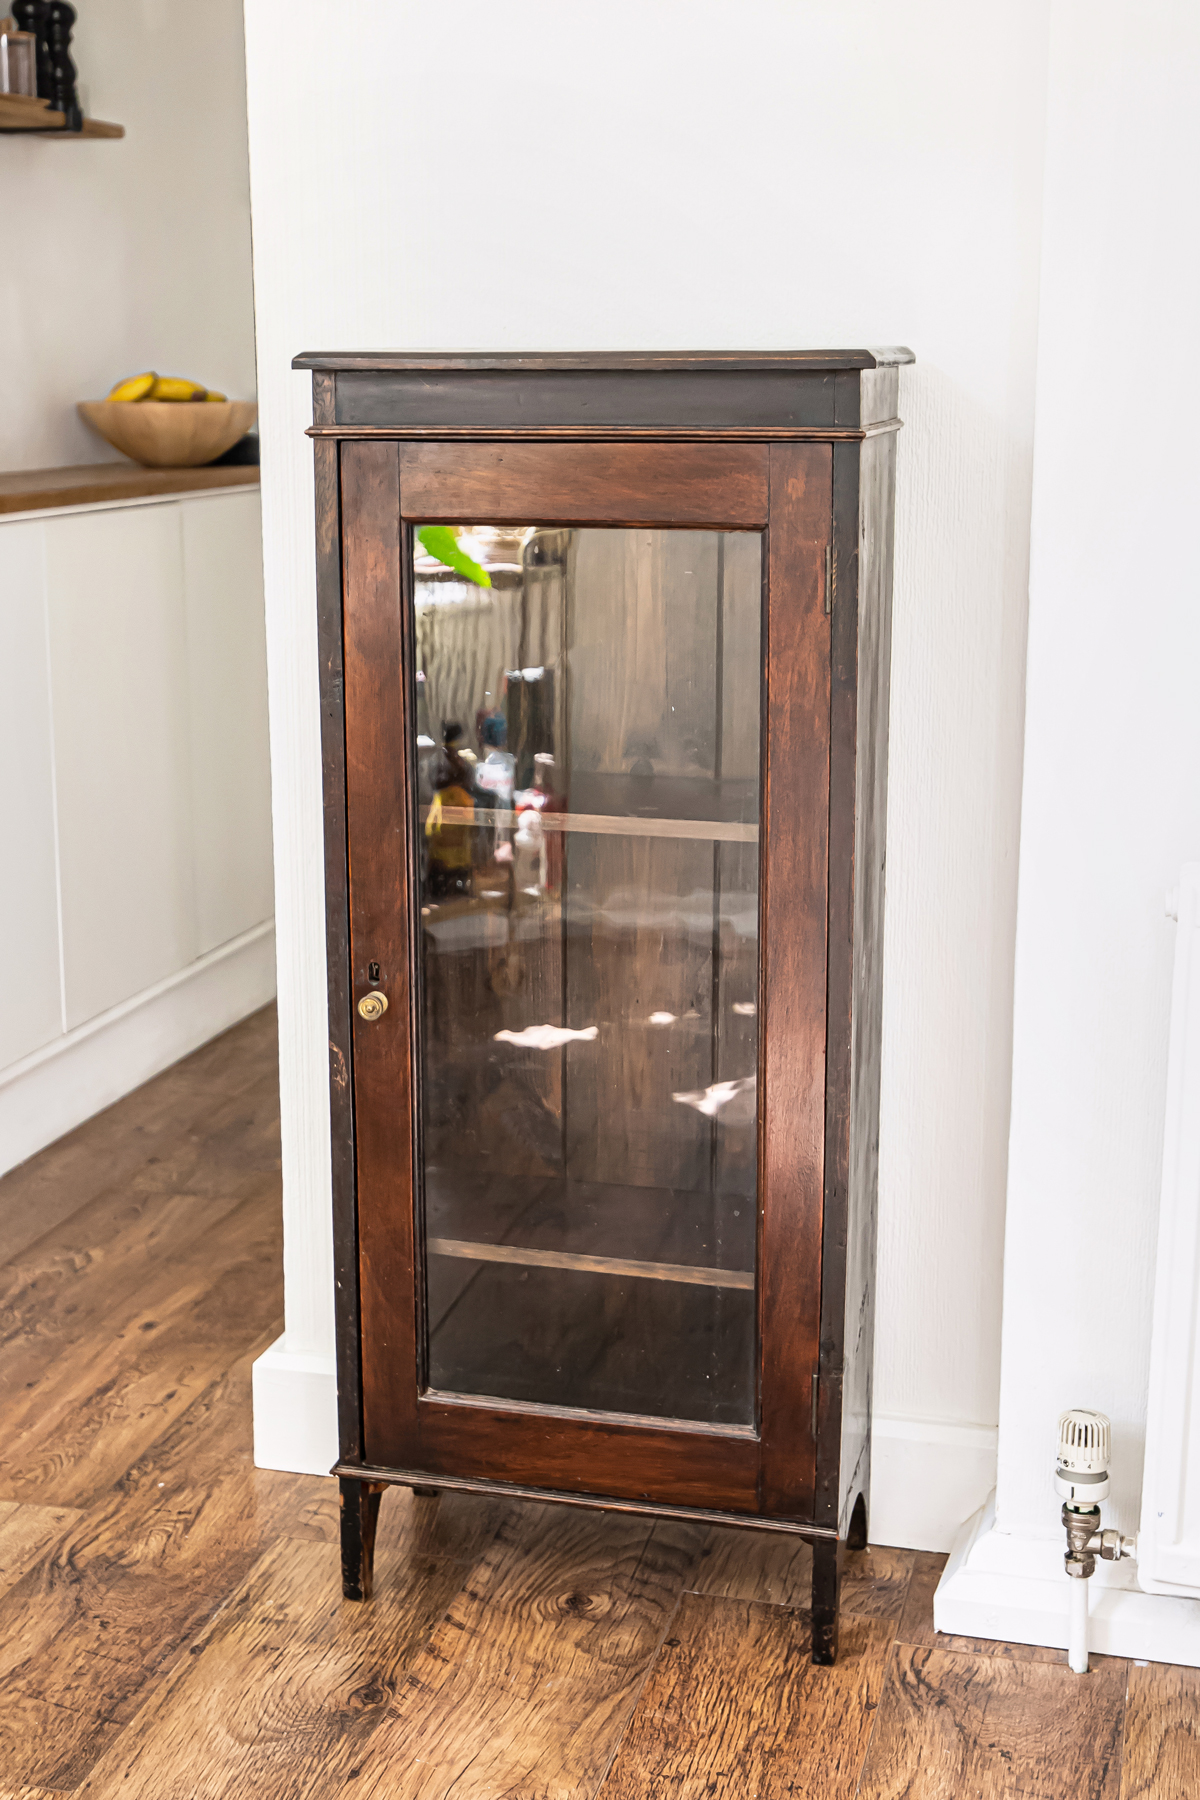
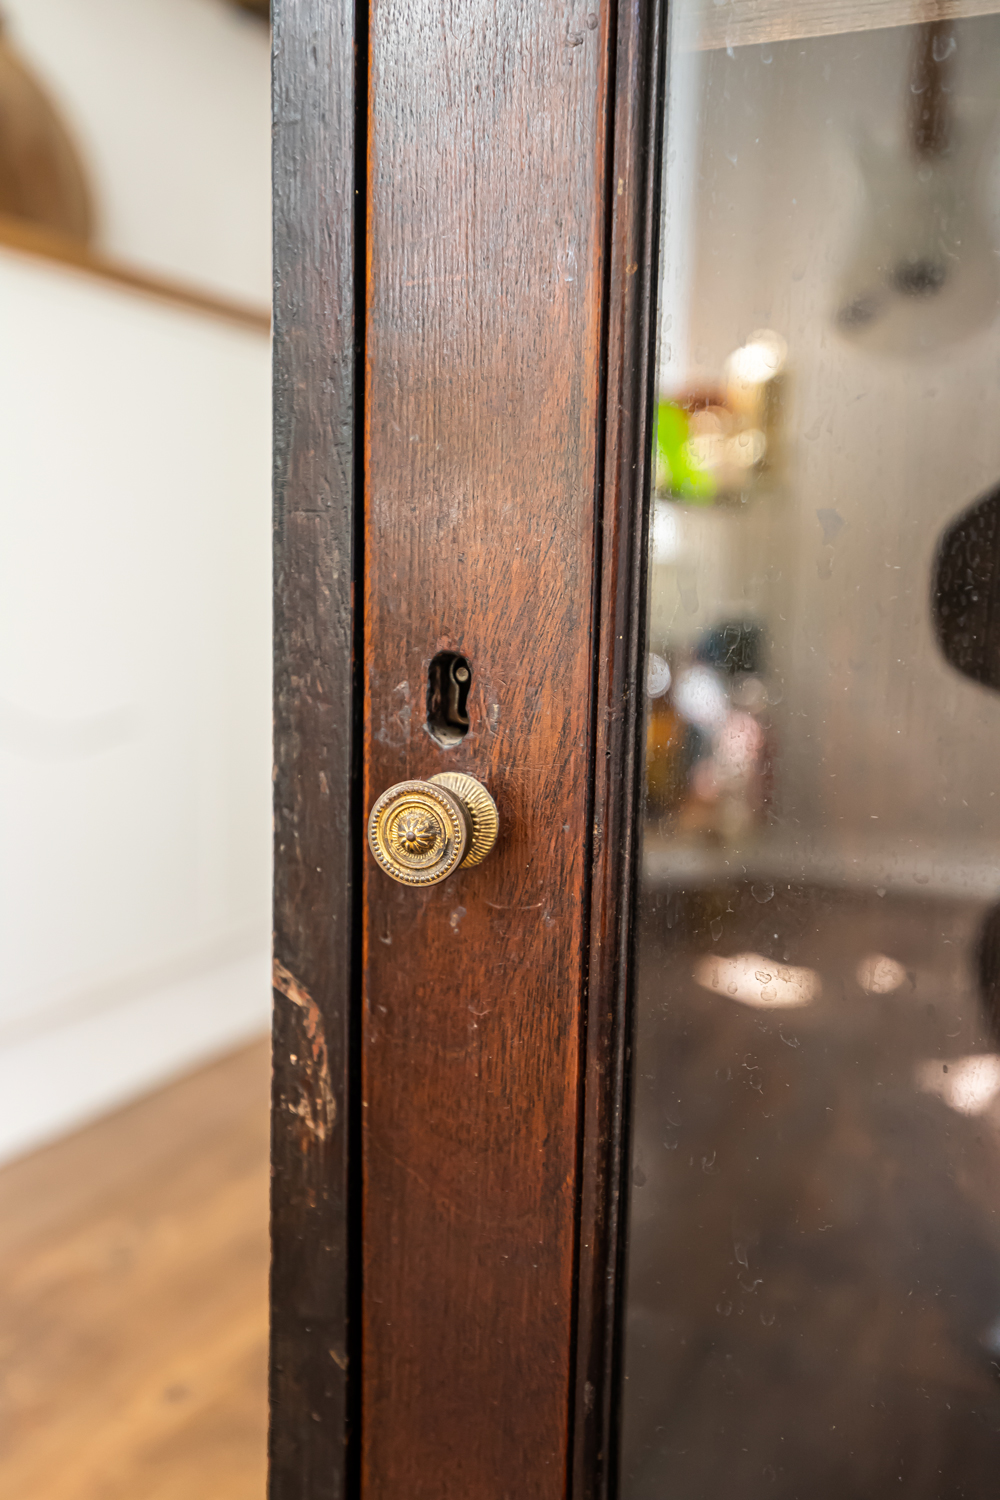
One was a solid wood antique cabinet that was covered in so many stains and holes it was honestly a few seconds away from ending up at the dump it site. The second was an IKEA “leksvik” cabinet, I can’t tell how old this style is as it’s currently not available on their website, however I keep regularly seeing this make on FB Marketplace so it’s definitely worth having a look.
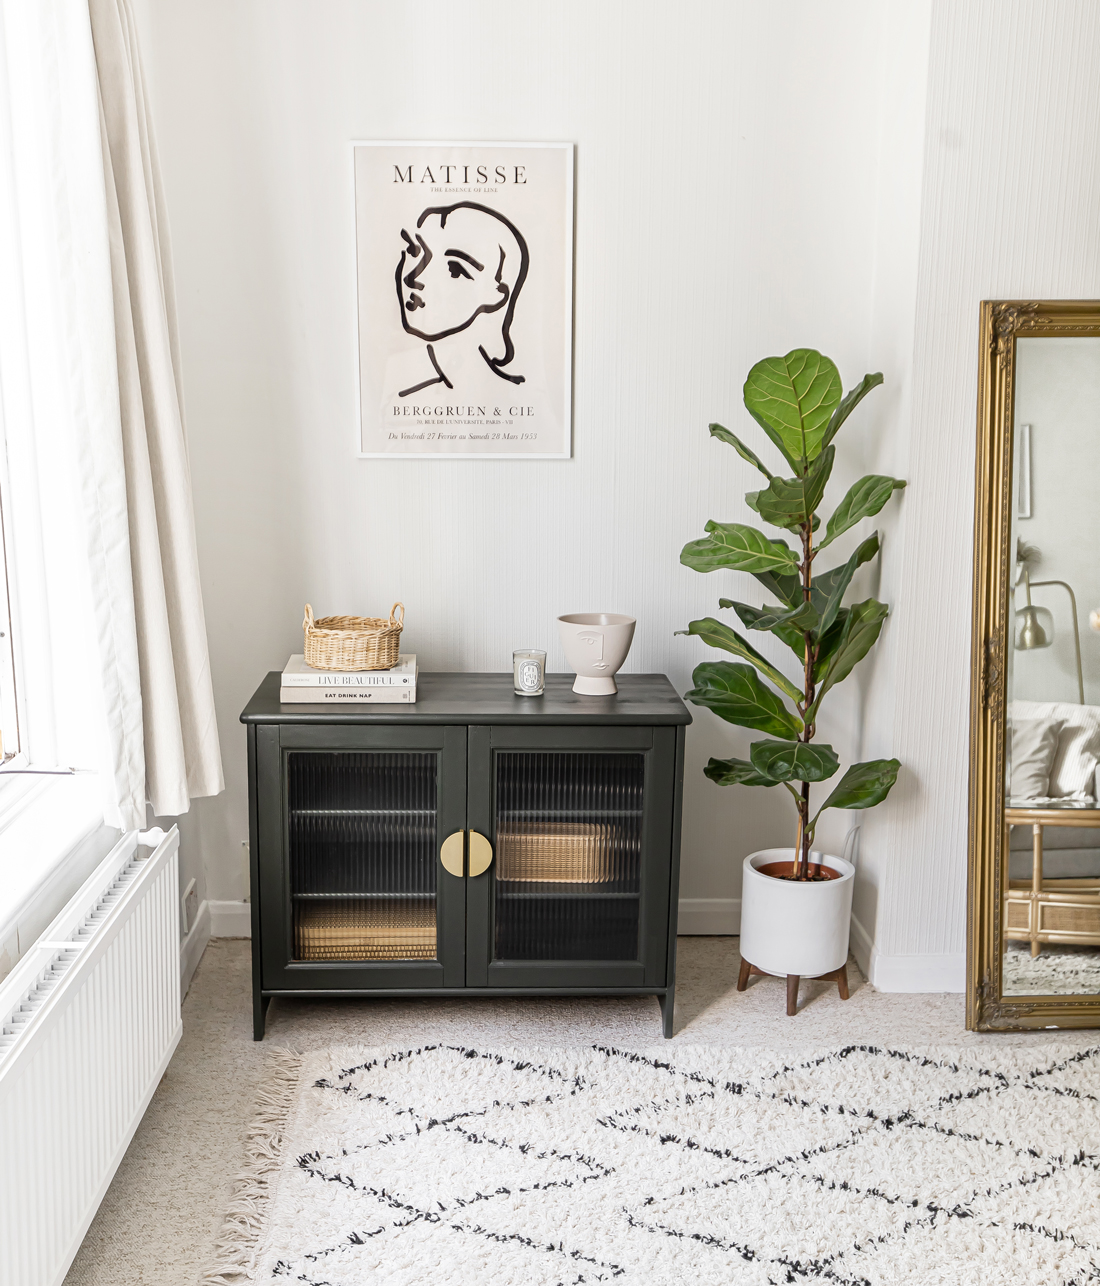
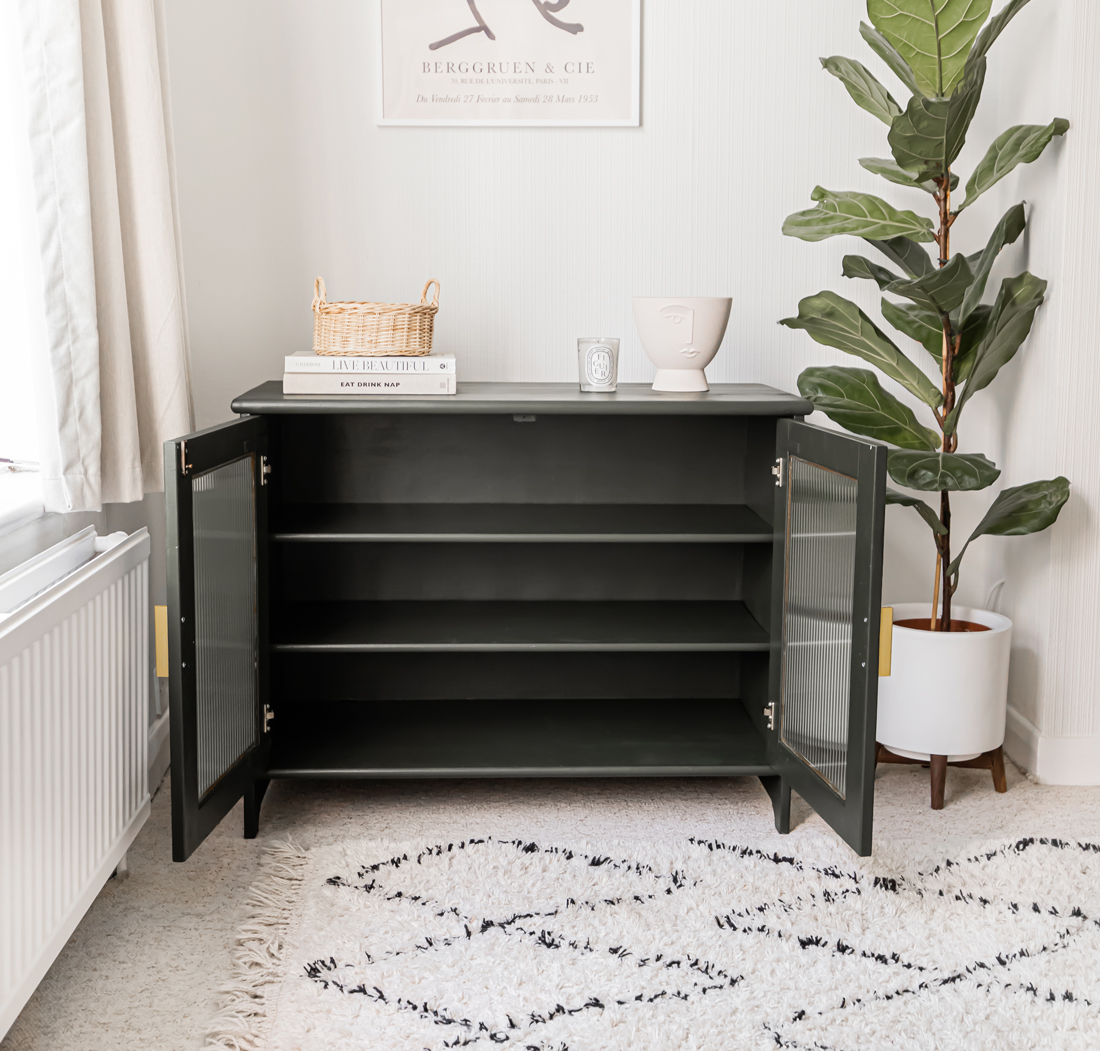
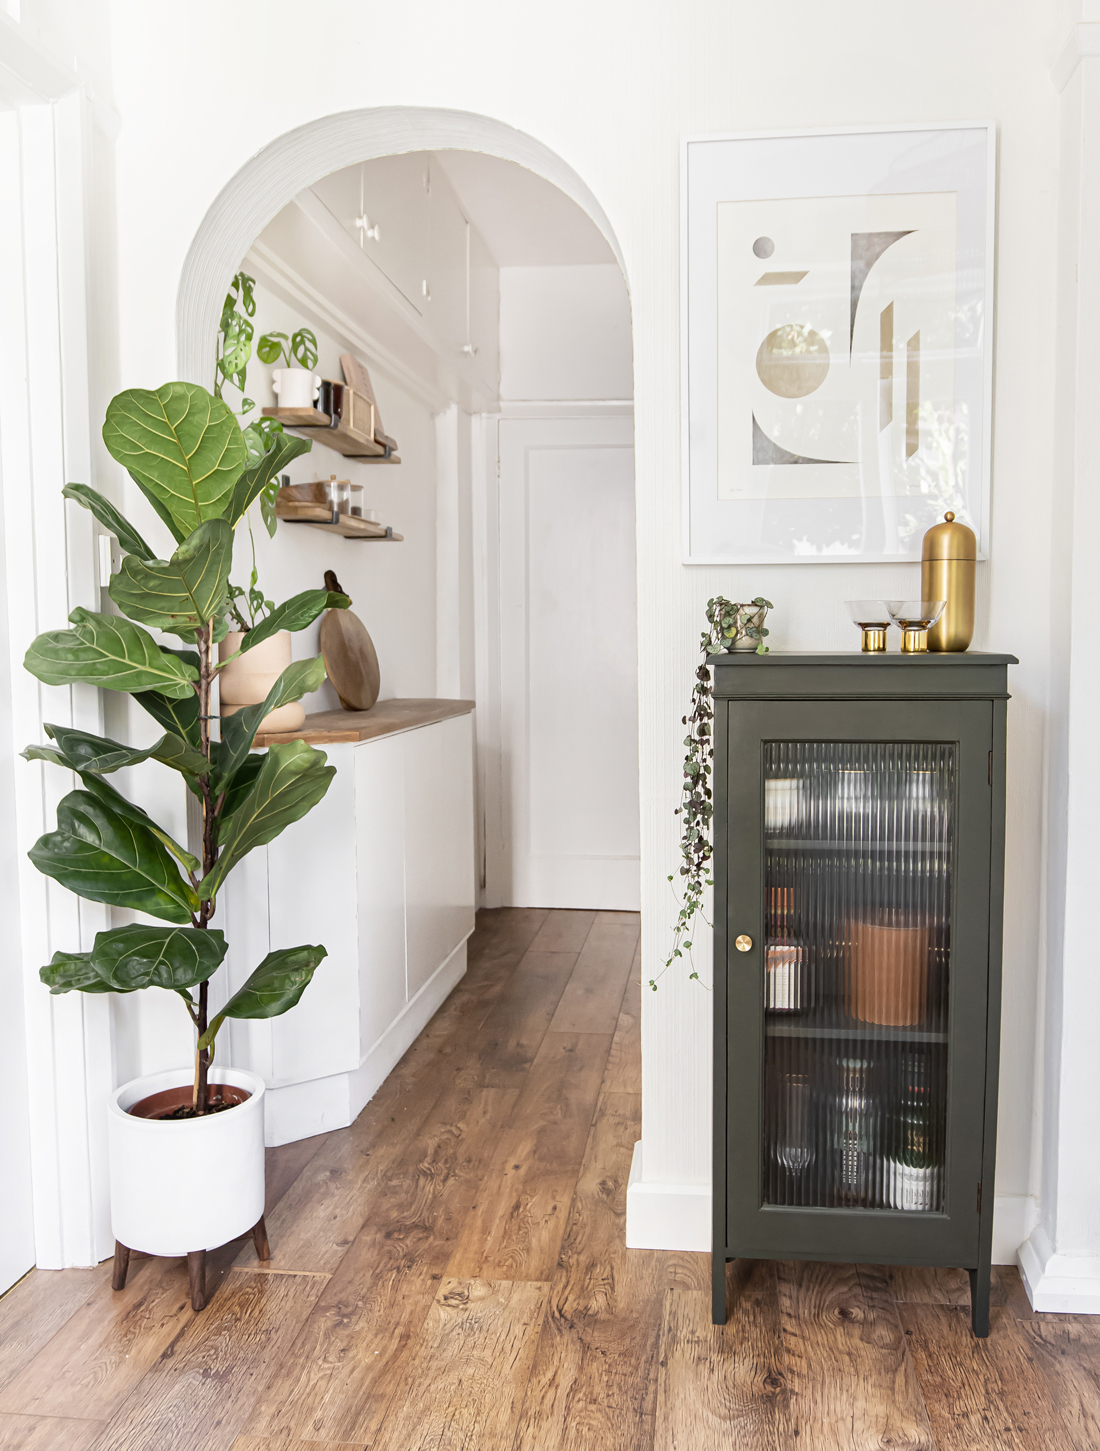
I’m absolutely thrilled with the results of this budget-friendly DIY cabinet upcycle, if you’d like to try it for yourself then keep reading for a step-by-step tutorial with details on how we achieved this makeover.

DIY Cabinet Upcycle Tutorial
Step 1 — Sand
Sanding isn’t always necessary when it comes to upcycling furniture, however because we filled in a few dints and the keyholes on both cabinets with wood filler, we need to sand anyway. We went over the cabinets with 240 grit sandpaper using an orbital sander for the large areas and also did the sanding by hand on the delicate areas like the beading on the antique cabinet.

Step 2 — Prime
We wanted to finish these cabinets within the space of a weekend so I specifically sought out a fast-drying primer so that we can get onto painting sooner. We used the Dulux Trade Quick Dry Wood Primer Undercoat .I prefer using water-based primers as I’ve always found that oil-based primers make paintbrushes harder to clean. Make sure to use painters tape (I love using Frog Tape for the best results) to avoid getting paint on the glass.
Step 3 — Paint
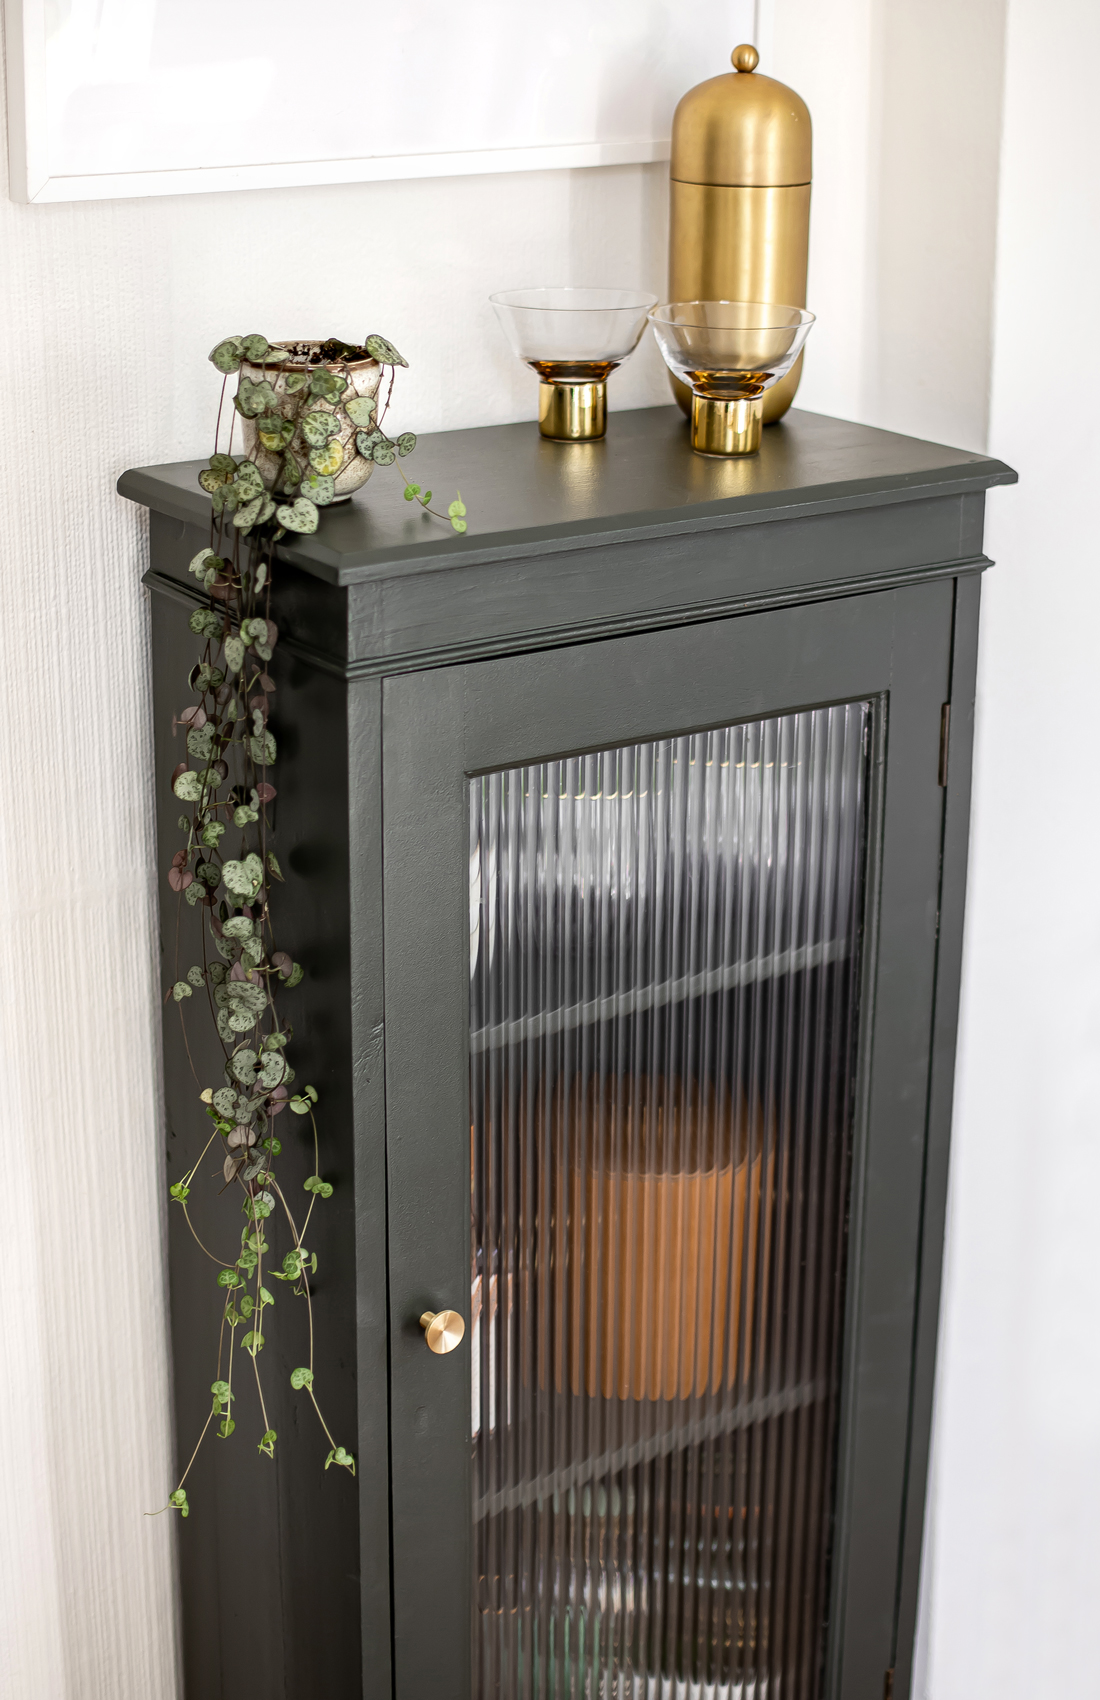
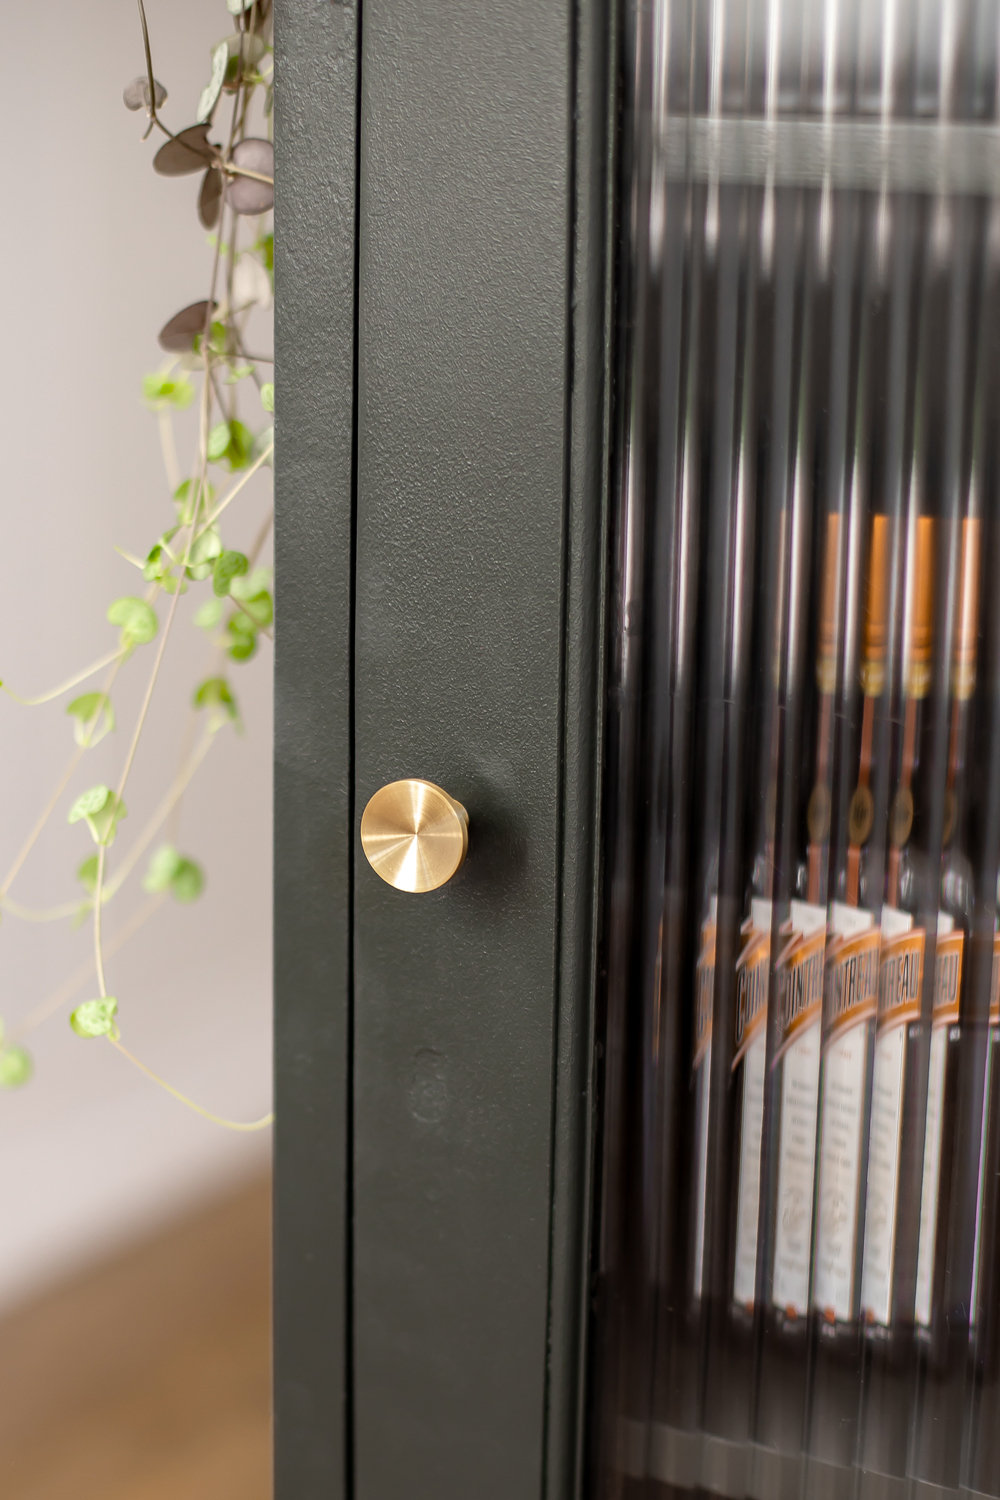
We couldn’t decide on painting these cabinets green or black… so we compromised and chose a greeny black! We went to B&Q to get a specific shade of Valspar paint called Green Beret. Two coats gave us more than enough coverage. We ended up painting the inside of the cabinets as well. If you’re painting a chest of drawers you definitely needn’t bother painting the inside, which will save you time.
Step 4 — Apply Glass Film
Before ordering your Reeded Glass Film, make sure to measure your glass panels and order a width that is slightly wider. I recommend ordering an application kit that includes everything you need for the install. The kit includes a spray bottle, Stanley knife and a squeegee – however you may already have these items at home.
- Prepare a spray bottle with 1 part washing up liquid + 20 parts water.
- Measure your glass and mark the width on the film using a pencil (allow 2cm extra on the width & length) and then cut the film to size.
- Clean the glass with window cleaner and then spray with the solution you prepared earlier.
- Remove the protective liner from the film and spray the adhesive side with the solution, leaving no dry spots. Tip: use masking tape to easily separate these layers and avoid getting fingerprints on the film.
- Place the film on top of the glass and move around until you’re happy with the positioning.
- Use a squeegee to squeeze out the solution and use a paper towel to absorb excess liquid.
- Cut off the excess film with a Stanley knife + a plastic card to get straight edges.
- Use a squeegee again to remove any air bubbles and/or liquid, leave it to dry for a few hours and then you’re done.
If you want to see step-by-step videos of the glass film installation process, watch my Instagram Story highlight HERE.
Step 5 — Attach New Handles
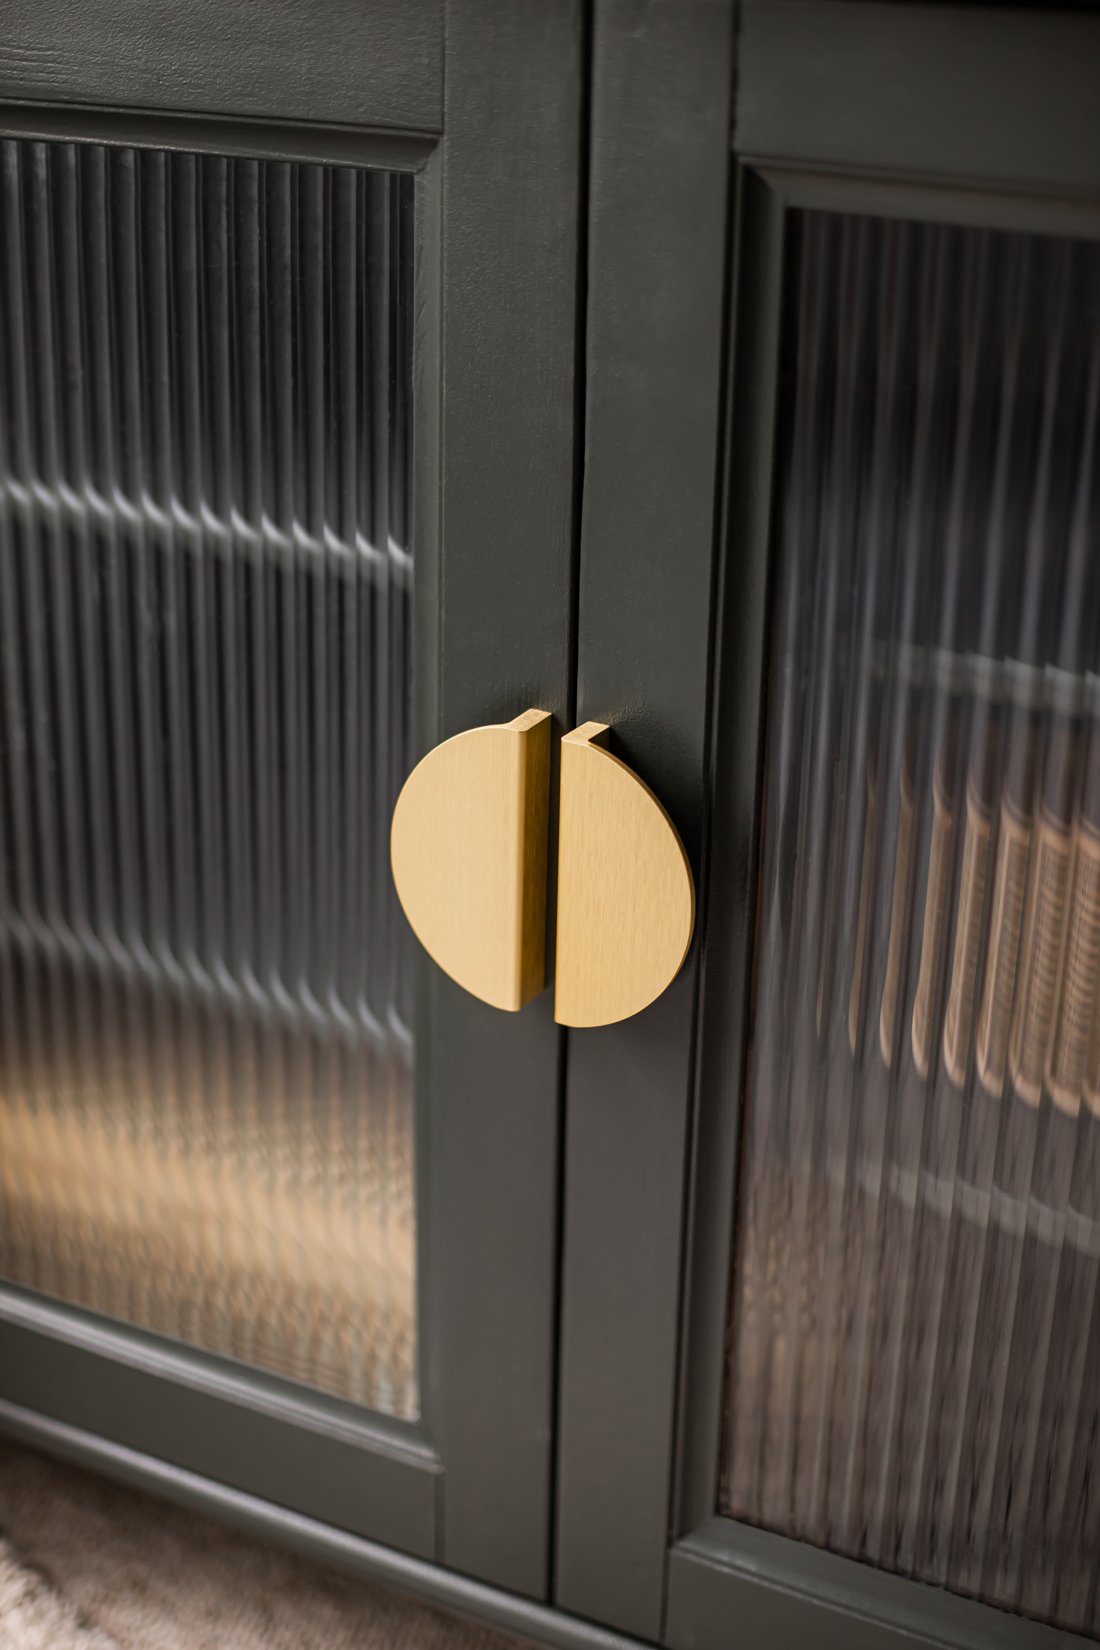
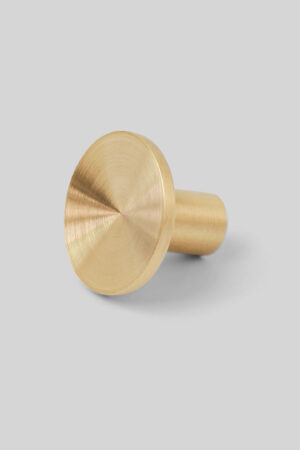
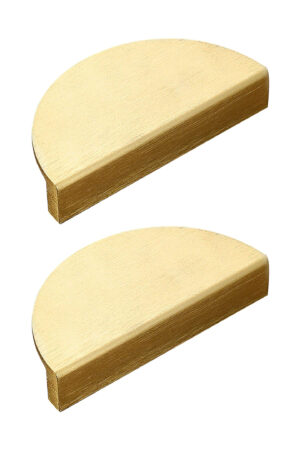
To elevate the look of these cabinets I ordered some inexpensive gold hardware that gave a striking contrast against the dark paint. I adored the beautiful detail in the existing handle on the antique cabinet, so I’ve kept this for another project as I’ll give it a good clean and it’ll look good as new. For the IKEA cabinet, I chose two semicircle handles that mirror each other perfectly at the opening.
Tools & Materials Links
xx Kelsey
Related:
Want more DIY tutorials? Click here.
Enjoyed this post? Pin it for later below! Follow me on Pinterest.